Unscrewing a kitchen faucet can seem hard. But with the right steps, it is easy. This guide will help you understand how to do it.
Why Would You Unscrew a Faucet?
There are many reasons to unscrew a kitchen faucet:
- To fix leaks.
- To replace old parts.
- To clean the faucet.
- To change the faucet completely.
Knowing why you want to unscrew it helps. It prepares you for what to do next.
Tools You Will Need
Before you start, gather your tools. Here is a list:
- A wrench or pliers.
- A screwdriver.
- A towel or rag.
- A small bowl (to catch water).
Having these tools ready makes the job easier. It helps you work fast and safe.
Step 1: Turn Off the Water Supply
This is the most important step. You do not want water spraying everywhere. Look under your sink. You will find two valves. One is for hot water, and one is for cold water.
Turn both valves clockwise. This will stop the water flow. If you can’t find the valves, turn off the main water supply for your home.
Step 2: Prepare Your Area
Now, make sure your area is ready. Clear out any items under the sink. This gives you space to work. Place a towel on the floor. It will catch any water that may drip.
Step 3: Remove the Faucet Handle
The faucet handle is where you turn the water on and off. You need to take it off first. Look for a small screw. It is often hidden under a decorative cap.
Use a flat screwdriver to pop off the cap. Now, use a screwdriver to remove the screw. If the handle is stuck, try twisting it gently.
Credit: www.reddit.com
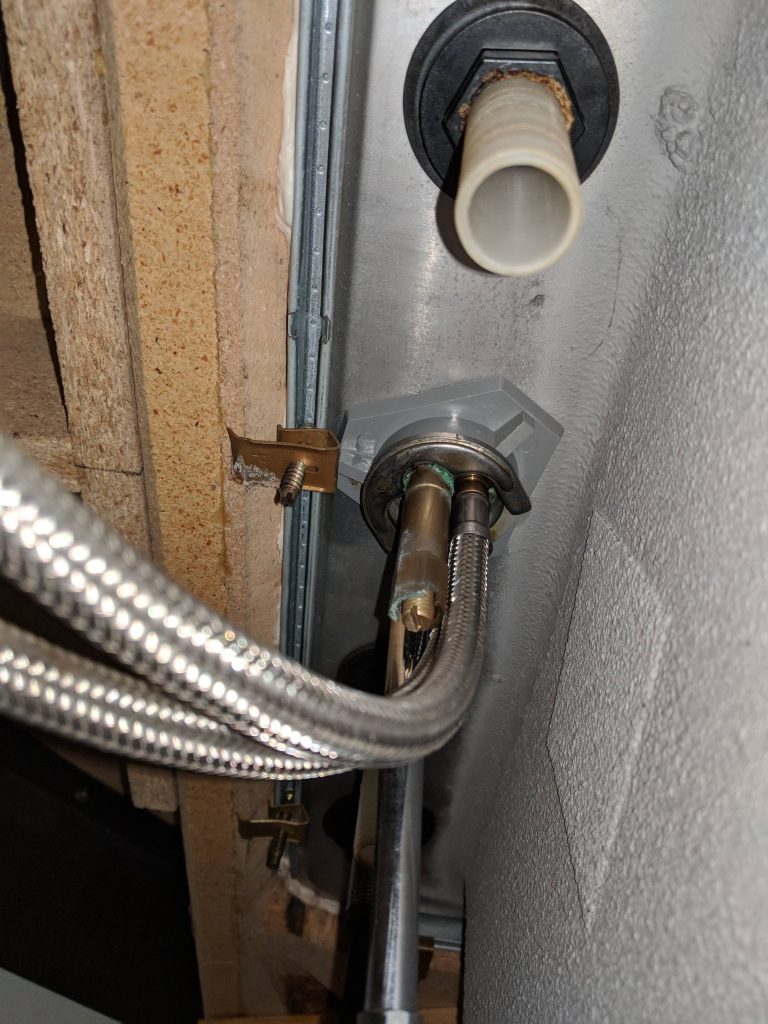
Step 4: Unscrew the Faucet Body
After removing the handle, you can see the faucet body. This is where you will unscrew next. Look for nuts or bolts that hold the faucet in place.
Use a wrench or pliers. Grip the nut tightly. Turn it counterclockwise to loosen. If it is hard to turn, apply some lubricant. Let it sit for a few minutes, then try again.
Step 5: Disconnect Water Supply Lines
Now, you need to disconnect the water lines. These lines bring water to your faucet. Look for nuts that connect the lines to the faucet.
Again, use your wrench or pliers. Turn the nuts counterclockwise. Be careful, as some water may still be in the lines.

Credit: www.homedepot.com
Step 6: Remove the Faucet
Once everything is loose, it is time to remove the faucet. Pull it straight up from the sink. If it feels stuck, check for any hidden screws. Make sure everything is disconnected.
Step 7: Clean the Area
After removing the faucet, clean the sink area. Use a rag to wipe off any dirt or debris. This makes it easier to install a new faucet later.
Step 8: Install the New Faucet (Optional)
If you are replacing the faucet, follow the instructions that come with it. Most new faucets come with their own parts. Make sure to read the manual carefully.
Start by placing the new faucet into the sink. Secure it with the nuts you removed earlier. Tighten them gently.
Step 9: Reconnect Water Supply Lines
Next, reconnect the water supply lines. Make sure the lines are tight. Turn them clockwise to secure them.
Step 10: Replace the Faucet Handle
Now, put the faucet handle back on. Secure it with the screw. If you took off a decorative cap, remember to put it back on too.
Step 11: Turn On the Water Supply
It is time to turn the water supply back on. Go back under the sink. Turn the valves counterclockwise to restore water flow.
Step 12: Test the Faucet
Now, test your work. Turn on the faucet to check for leaks. Run both hot and cold water. Make sure everything works well.
Tips for Success
Here are some tips to help you:
- Be patient. Take your time.
- Use the right tools for the job.
- Wear gloves if you need to.
- Keep a towel handy for spills.
Common Mistakes to Avoid
Sometimes, mistakes happen. Here are some common ones:
- Forgetting to turn off the water supply.
- Using the wrong tools.
- Not cleaning the area before installing.
- Rushing through the process.
Being aware of these mistakes can help you. It makes the job easier and safer.
Frequently Asked Questions
How Do I Start Unscrewing My Kitchen Faucet?
Begin by turning off the water supply. Then, use a wrench to loosen the faucet nuts.
What Tools Do I Need To Unscrew A Kitchen Faucet?
You’ll need a basin wrench, adjustable wrench, and sometimes pliers. These tools make the job easier.
Is It Hard To Remove A Kitchen Faucet?
It’s not very hard. With the right tools and steps, you can do it yourself.
Can I Unscrew A Kitchen Faucet Without Professional Help?
Yes, you can. Many homeowners successfully remove faucets on their own.
Conclusion
Unscrewing a kitchen faucet is not too hard. With this guide, you can do it yourself. Follow the steps carefully.
Always remember to take your time. Make sure to check for leaks after finishing. If you face issues, consider calling a plumber. They can help with any problems you cannot fix.
Now you have the knowledge to unscrew and install a kitchen faucet. You can enjoy your kitchen more. Happy fixing!