Tiling your kitchen floor can make it look fresh. It can also make it easier to clean. This guide will help you learn how to tile a kitchen floor step by step. We will cover all the tools and materials you need. Also, we will talk about the steps to follow. Let’s get started!
Why Tile a Kitchen Floor?
Tiles are strong and durable. They can last a long time. Here are some reasons to tile your kitchen floor:
- Easy to clean
- Water-resistant
- Many styles and colors
- Good for hot pots and pans
Tools and Materials Needed
Before you start, gather your tools and materials. Here’s a list to help you:
Tools
- Trowel
- Tile cutter
- Level
- Sponge
- Measuring tape
- Bucket
- Safety goggles
- Gloves
Materials
- Tiles
- Thin-set mortar
- Grout
- Sealer
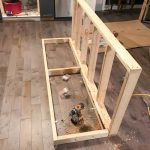
Preparing the Kitchen Floor
First, you need to prepare your kitchen floor. Here are the steps:
- Clear the kitchen. Remove all furniture and appliances.
- Check the floor. It should be clean and dry.
- Fix any cracks. Fill them with a filler.
Measuring the Area
Next, you need to measure the area. This helps you know how many tiles you need.
- Measure the length and width of the floor.
- Multiply the length by the width. This gives you the area.
- Add 10% more tiles for mistakes.
Choosing the Right Tiles
Choose the right tiles for your kitchen floor. Here are some tips:
- Look for non-slip tiles. This is important for safety.
- Choose tiles that match your kitchen style.
- Pick the right size. Smaller tiles are better for small spaces.
Mixing the Mortar
Now it’s time to mix the thin-set mortar. Follow these steps:
- Read the instructions on the mortar bag.
- Pour water into a bucket.
- Add the mortar to the water slowly.
- Mix with a trowel until smooth.
Applying the Mortar
Now you can apply the mortar. Here’s how:
- Start at a corner of the room.
- Use the trowel to spread the mortar.
- Spread it evenly. Make sure it is about 1/4 inch thick.
Setting the Tiles
It’s time to set the tiles. Follow these steps:
- Press the first tile into the mortar.
- Leave a small space for grout.
- Use spacers to keep the tiles even.
- Continue placing tiles in rows.
Cutting Tiles
You may need to cut tiles to fit. Here’s how to do it:
- Use a tile cutter for straight cuts.
- Mark the tile where you need to cut.
- Carefully cut the tile using the cutter.
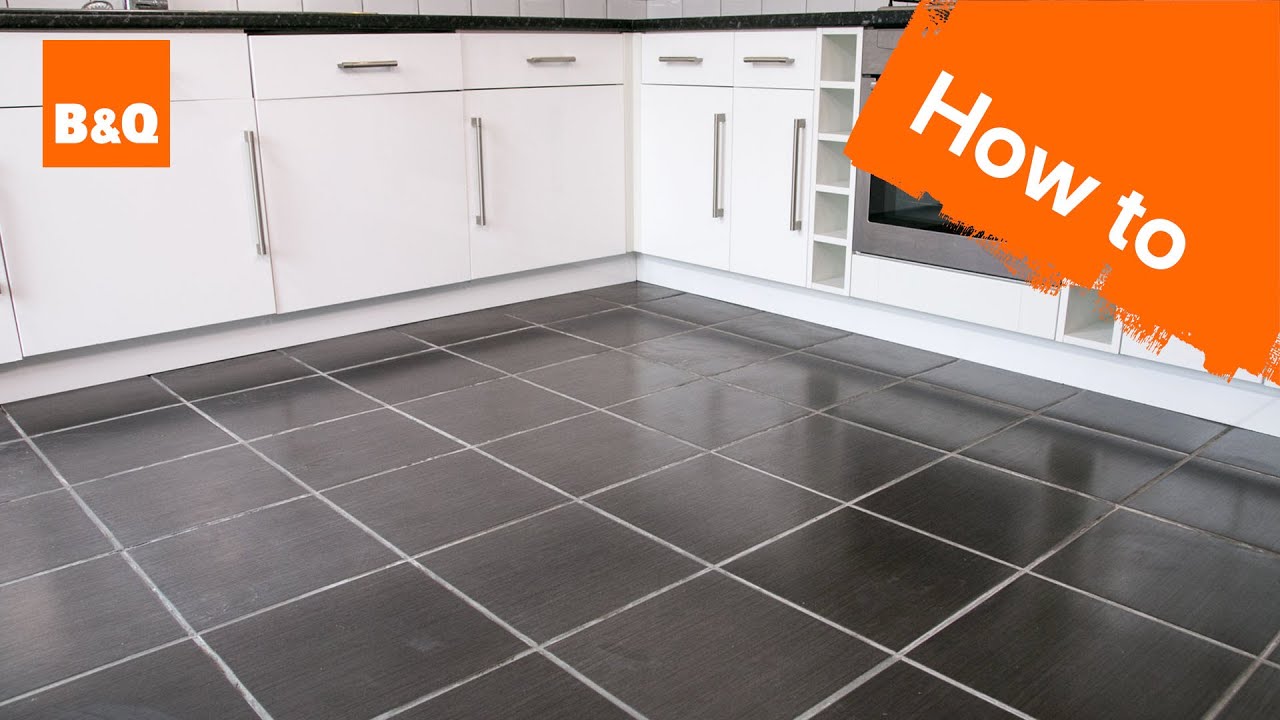
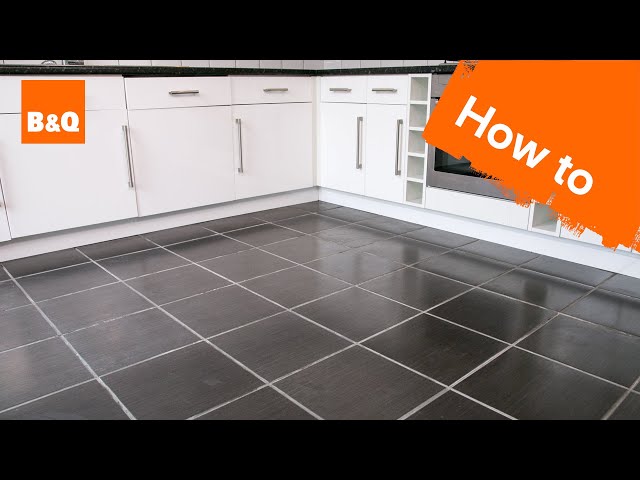
Credit: m.youtube.com
Letting the Mortar Set
After placing all the tiles, let the mortar set. This usually takes 24 hours. Do not walk on the tiles during this time.
Grouting the Tiles
Once the mortar is dry, it’s time to grout. Follow these steps:
- Mix the grout in a bucket according to the instructions.
- Use a float to apply the grout to the spaces.
- Make sure to fill all gaps.
- Wipe off excess grout with a sponge.
Cleaning the Tiles
After grouting, clean the tiles. Here’s how:
- Use a damp sponge to wipe the tiles.
- Remove any grout haze.
- Let the grout dry for 72 hours.
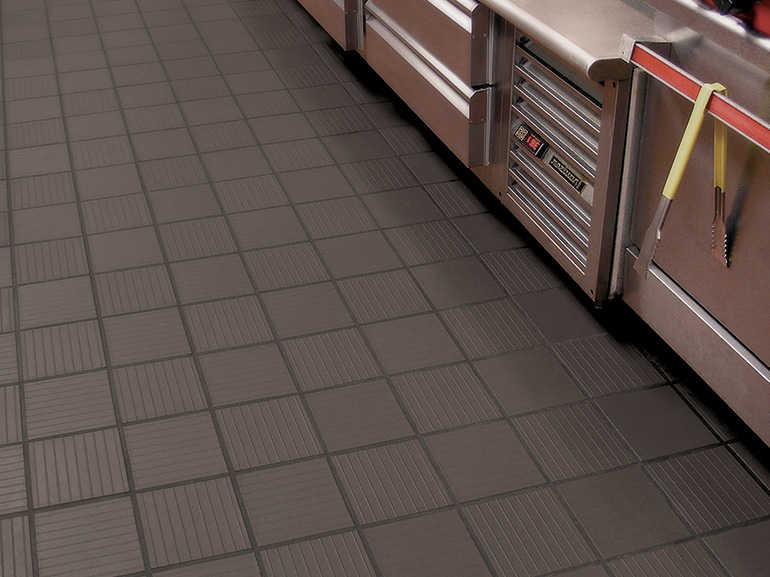
Credit: metroceramics.com
Sealing the Grout
After the grout is dry, seal it. This helps protect it from stains.
- Use a grout sealer and apply it carefully.
- Follow the instructions on the sealer.
Final Touches
Once everything is done, you can enjoy your new floor. Here are some final touches:
- Reinstall baseboards and trim.
- Put back furniture and appliances.
- Admire your work!
Tips for Success
Here are some tips to help you succeed:
- Take your time. Rushing can lead to mistakes.
- Keep your workspace clean. This makes it easier.
- Always wear safety gear. Protect your eyes and hands.
Frequently Asked Questions
How Do I Choose The Right Tiles For My Kitchen Floor?
Selecting tiles depends on style, durability, and budget. Consider ceramic or porcelain for water resistance and easy maintenance.
What Tools Do I Need To Tile A Kitchen Floor?
Essential tools include a tile cutter, trowel, spacers, and grout float. Don’t forget a level and safety gear.
How Long Does It Take To Tile A Kitchen Floor?
Tiling a kitchen floor usually takes one to two days. This includes preparation, tiling, and drying time.
Can I Tile Over Existing Kitchen Floor Tiles?
Yes, you can tile over existing tiles if they are in good condition. Ensure the surface is clean and level.
Conclusion
Tiling a kitchen floor can be a fun project. It can also make your kitchen look great. With the right tools and steps, you can do it yourself. Remember to take your time and measure carefully. Soon, you will have a beautiful new floor to enjoy.