Is your kitchen table looking old? Do you want it to look new again? Restaining your kitchen table is a great way to refresh its look. It is not too hard to do. With some time and effort, you can make your table shine again. In this guide, we will show you how to restain your kitchen table step by step.
Why Restain Your Kitchen Table?
Restaining your kitchen table has many benefits:
- It makes your table look new.
- It protects the wood.
- It saves money instead of buying a new table.
- It is a fun project.
Now that you know why you should restain your table, let’s get started!
What You Need
Before you begin, gather all your tools. Here is a list of what you will need:
- Sandpaper (medium and fine grit)
- Wood stain (color of your choice)
- Paintbrush or cloth
- Wood finish or sealant
- Clean cloth
- Protective gloves
- Drop cloth or newspaper
- Masking tape
Make sure you have everything ready. This will make the work easier.
Step 1: Prepare the Area
Find a good place to work. You need enough space. Make sure the area is clean. Lay down a drop cloth or newspaper. This will protect your floors.
Good ventilation is important. Open windows for fresh air. This helps with dust and fumes.

Credit: m.youtube.com
Step 2: Remove Everything from the Table
Clear the table. Take off all items, like plates and decorations. This gives you a clear space to work. It also helps avoid spills on your belongings.
Step 3: Clean the Table
Wipe the table with a clean cloth. Use a mild cleaner if needed. Make sure there is no dirt or grease. This helps the stain stick better.
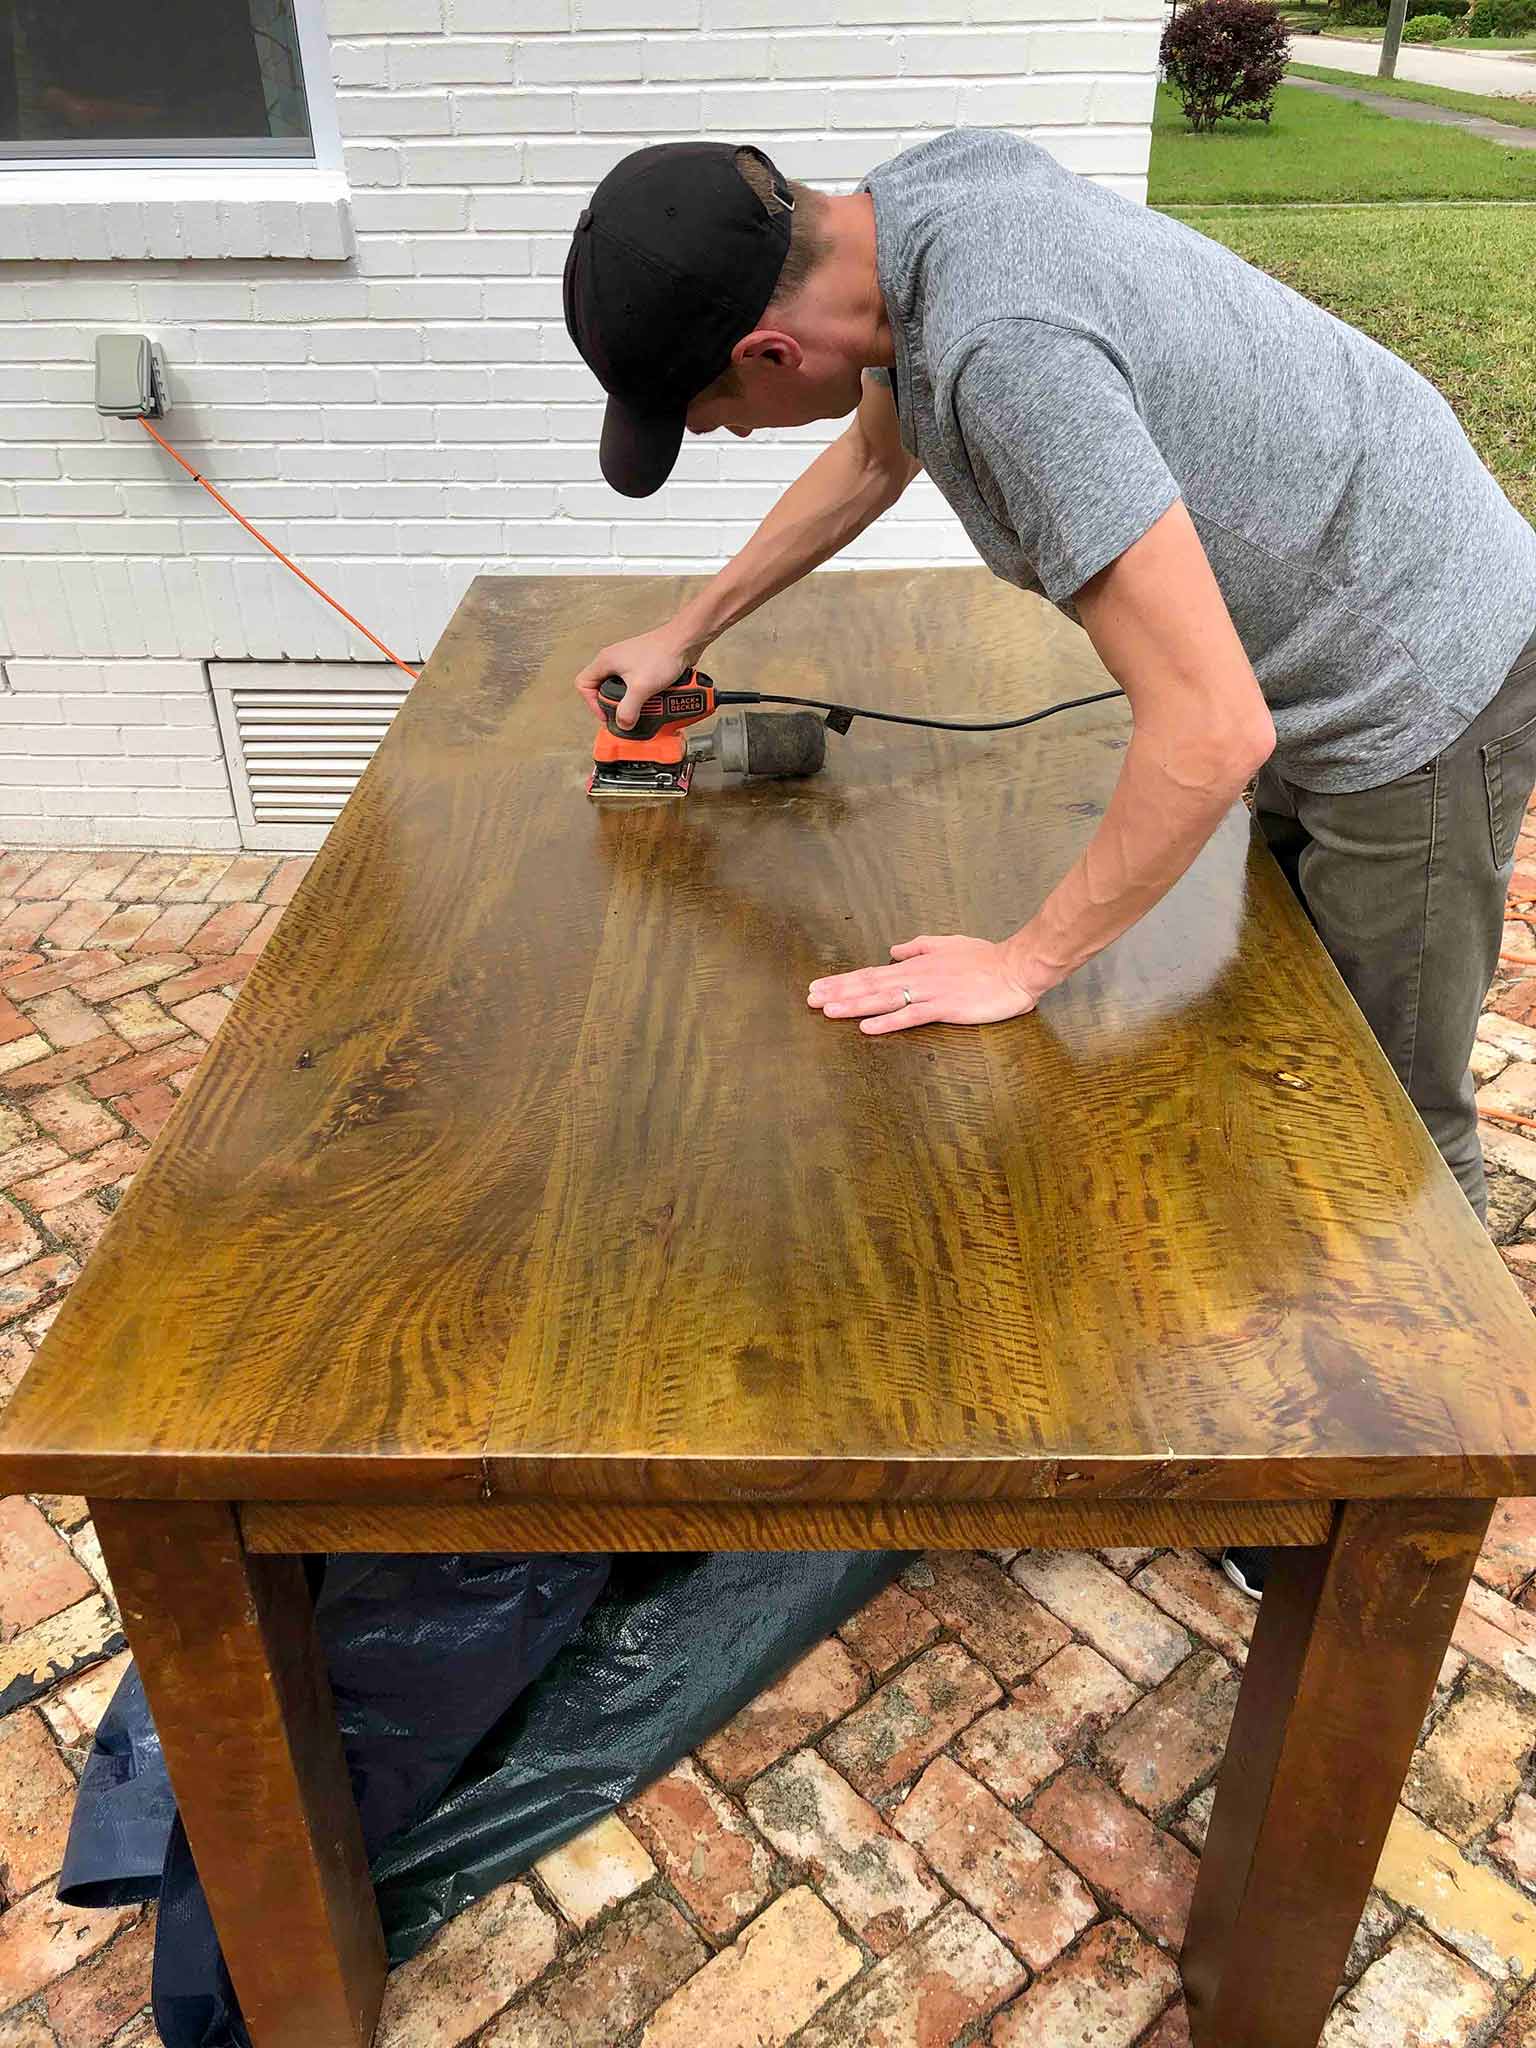
Step 4: Sand the Table
Now it’s time to sand. Start with medium-grit sandpaper. Sand the surface evenly. This removes the old finish.
Move with the wood grain. Don’t go against it. This helps avoid scratches. After that, switch to fine-grit sandpaper. This smooths the surface.
Once done, wipe off dust with a clean cloth. Make sure the surface is clean and smooth.
Step 5: Apply Masking Tape
If your table has edges or any details, use masking tape. Tape off areas you don’t want to stain. This keeps the stain in the right place.
Step 6: Stain the Table
Now, you can apply the stain. Choose a wood stain you like. Use a paintbrush or cloth to apply it. Work in small sections.
Apply the stain with the wood grain. This makes it look nice. Let the stain sit for a few minutes. This helps it soak in.
After a few minutes, wipe off the excess stain. Use a clean cloth. This keeps the color even.
Step 7: Let It Dry
Once you are done staining, let it dry. This can take a few hours. Check the can for drying times. Make sure it is completely dry before the next step.
Step 8: Apply a Finish
After the stain is dry, apply a wood finish. This protects the wood. Use a clean brush or cloth for this step. Apply it evenly across the surface.
Let the finish dry. Follow the instructions on the can. You may need to apply a second coat for better protection.
Step 9: Clean Up
After everything is done, clean up your area. Remove the masking tape carefully. Put away all your tools and materials. Dispose of any waste properly.
Credit: thathomebirdlife.com
Step 10: Enjoy Your Newly Stained Table
Your kitchen table is now ready! Enjoy your beautiful, refreshed table. Invite family or friends to see it. They will love the new look!
Tips for Success
Here are some tips to help you succeed:
- Always test the stain on a small area first.
- Work in a well-ventilated area.
- Be patient; let each coat dry completely.
- Wear gloves to protect your hands.
- Choose a stain color that matches your home.
Common Mistakes to Avoid
Here are some mistakes to avoid:
- Skipping the sanding step.
- Not cleaning the table properly.
- Applying too much stain at once.
- Forgetting to let the finish dry completely.
- Rushing through the project.
Frequently Asked Questions
How Do I Prepare My Kitchen Table For Restaining?
Start by cleaning the table. Remove dust and grease. Then, sand the surface lightly. This helps the stain stick better.
What Materials Do I Need To Restain My Kitchen Table?
You will need sandpaper, wood stain, a brush, and a clean cloth. Gloves and a drop cloth are also helpful.
How Long Does It Take To Restain A Kitchen Table?
Restaining can take a few hours. Drying time varies by stain. Always check the label for guidance.
Can I Restain Over Old Stain?
Yes, you can. Just ensure the old stain is in good condition. Sanding helps the new stain adhere well.
Conclusion
Restaining your kitchen table is a fun and easy project. It can bring new life to your old furniture. Follow these steps carefully. With time and effort, your table will look amazing.
Remember to take your time. Enjoy the process. Soon, you will have a beautiful kitchen table that you can show off. Happy staining!