A kitchen sink is an important part of your home. It is where you wash dishes, prepare food, and clean your hands. If your sink is old or damaged, you may want to replace it. This guide will help you replace and install a kitchen sink. It is easy to follow, even for beginners.
Tools and Materials You Will Need
Before you start, gather all the tools and materials. Here is a list:
- New kitchen sink
- Plumber’s putty
- Adjustable wrench
- Screwdriver
- Pliers
- Bucket
- Dish soap
- Rags
- Safety glasses
- Measuring tape
Step 1: Prepare for the Replacement
First, turn off the water supply. Look under the sink for the water shut-off valves. Turn them clockwise to close them.
Next, clear out the area under the sink. Take out any items stored there. This will give you space to work.
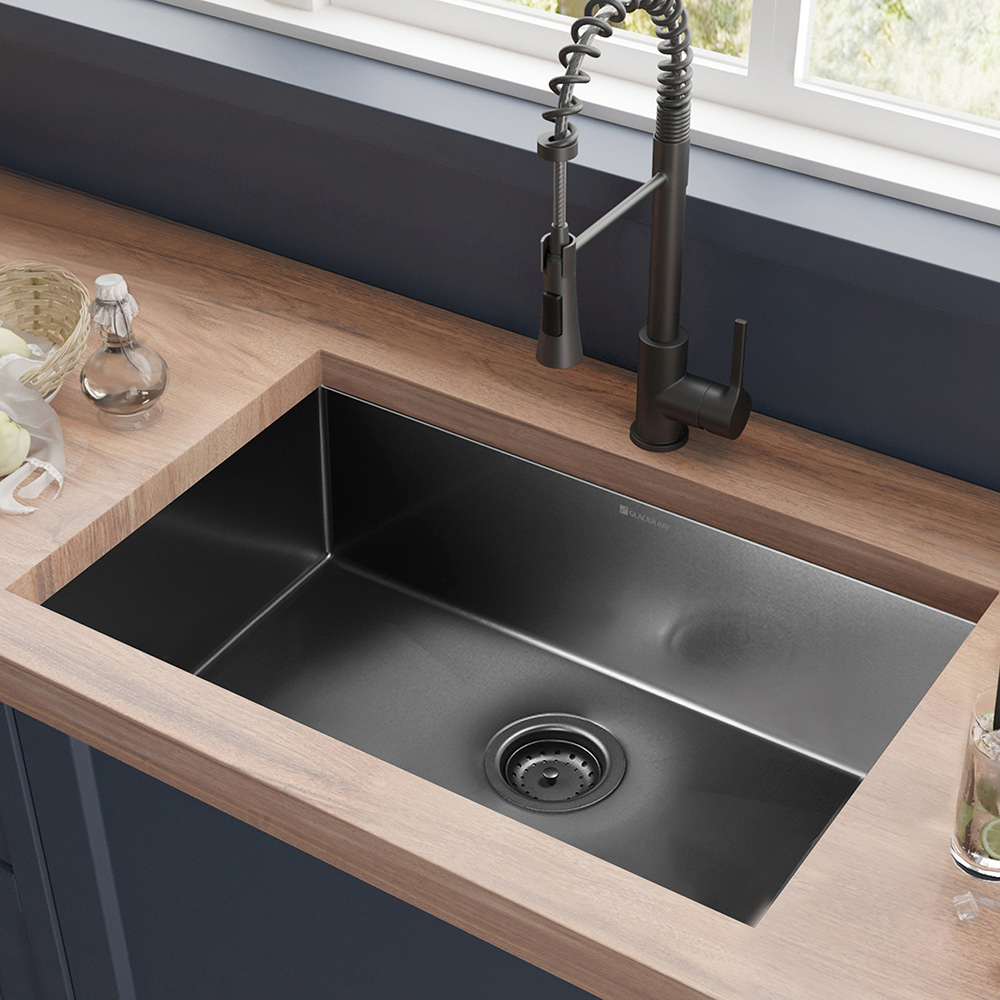
Credit: housebythepreserve.com
Step 2: Remove the Old Sink
Now it is time to remove the old sink. Start by disconnecting the water supply lines. Use the adjustable wrench to loosen the nuts. Be careful; some water may still be in the pipes.
Place a bucket under the pipes to catch any water. After disconnecting the water lines, remove the drain assembly. This part connects the sink to the drain pipe.
Next, look for screws or clips that hold the sink in place. Remove them with a screwdriver. If the sink is glued, you may need to use a putty knife to separate it.
Step 3: Clean the Area
Once the old sink is removed, clean the countertop. Use dish soap and water to remove any residue. Make sure the area is dry and smooth. This will help the new sink fit better.

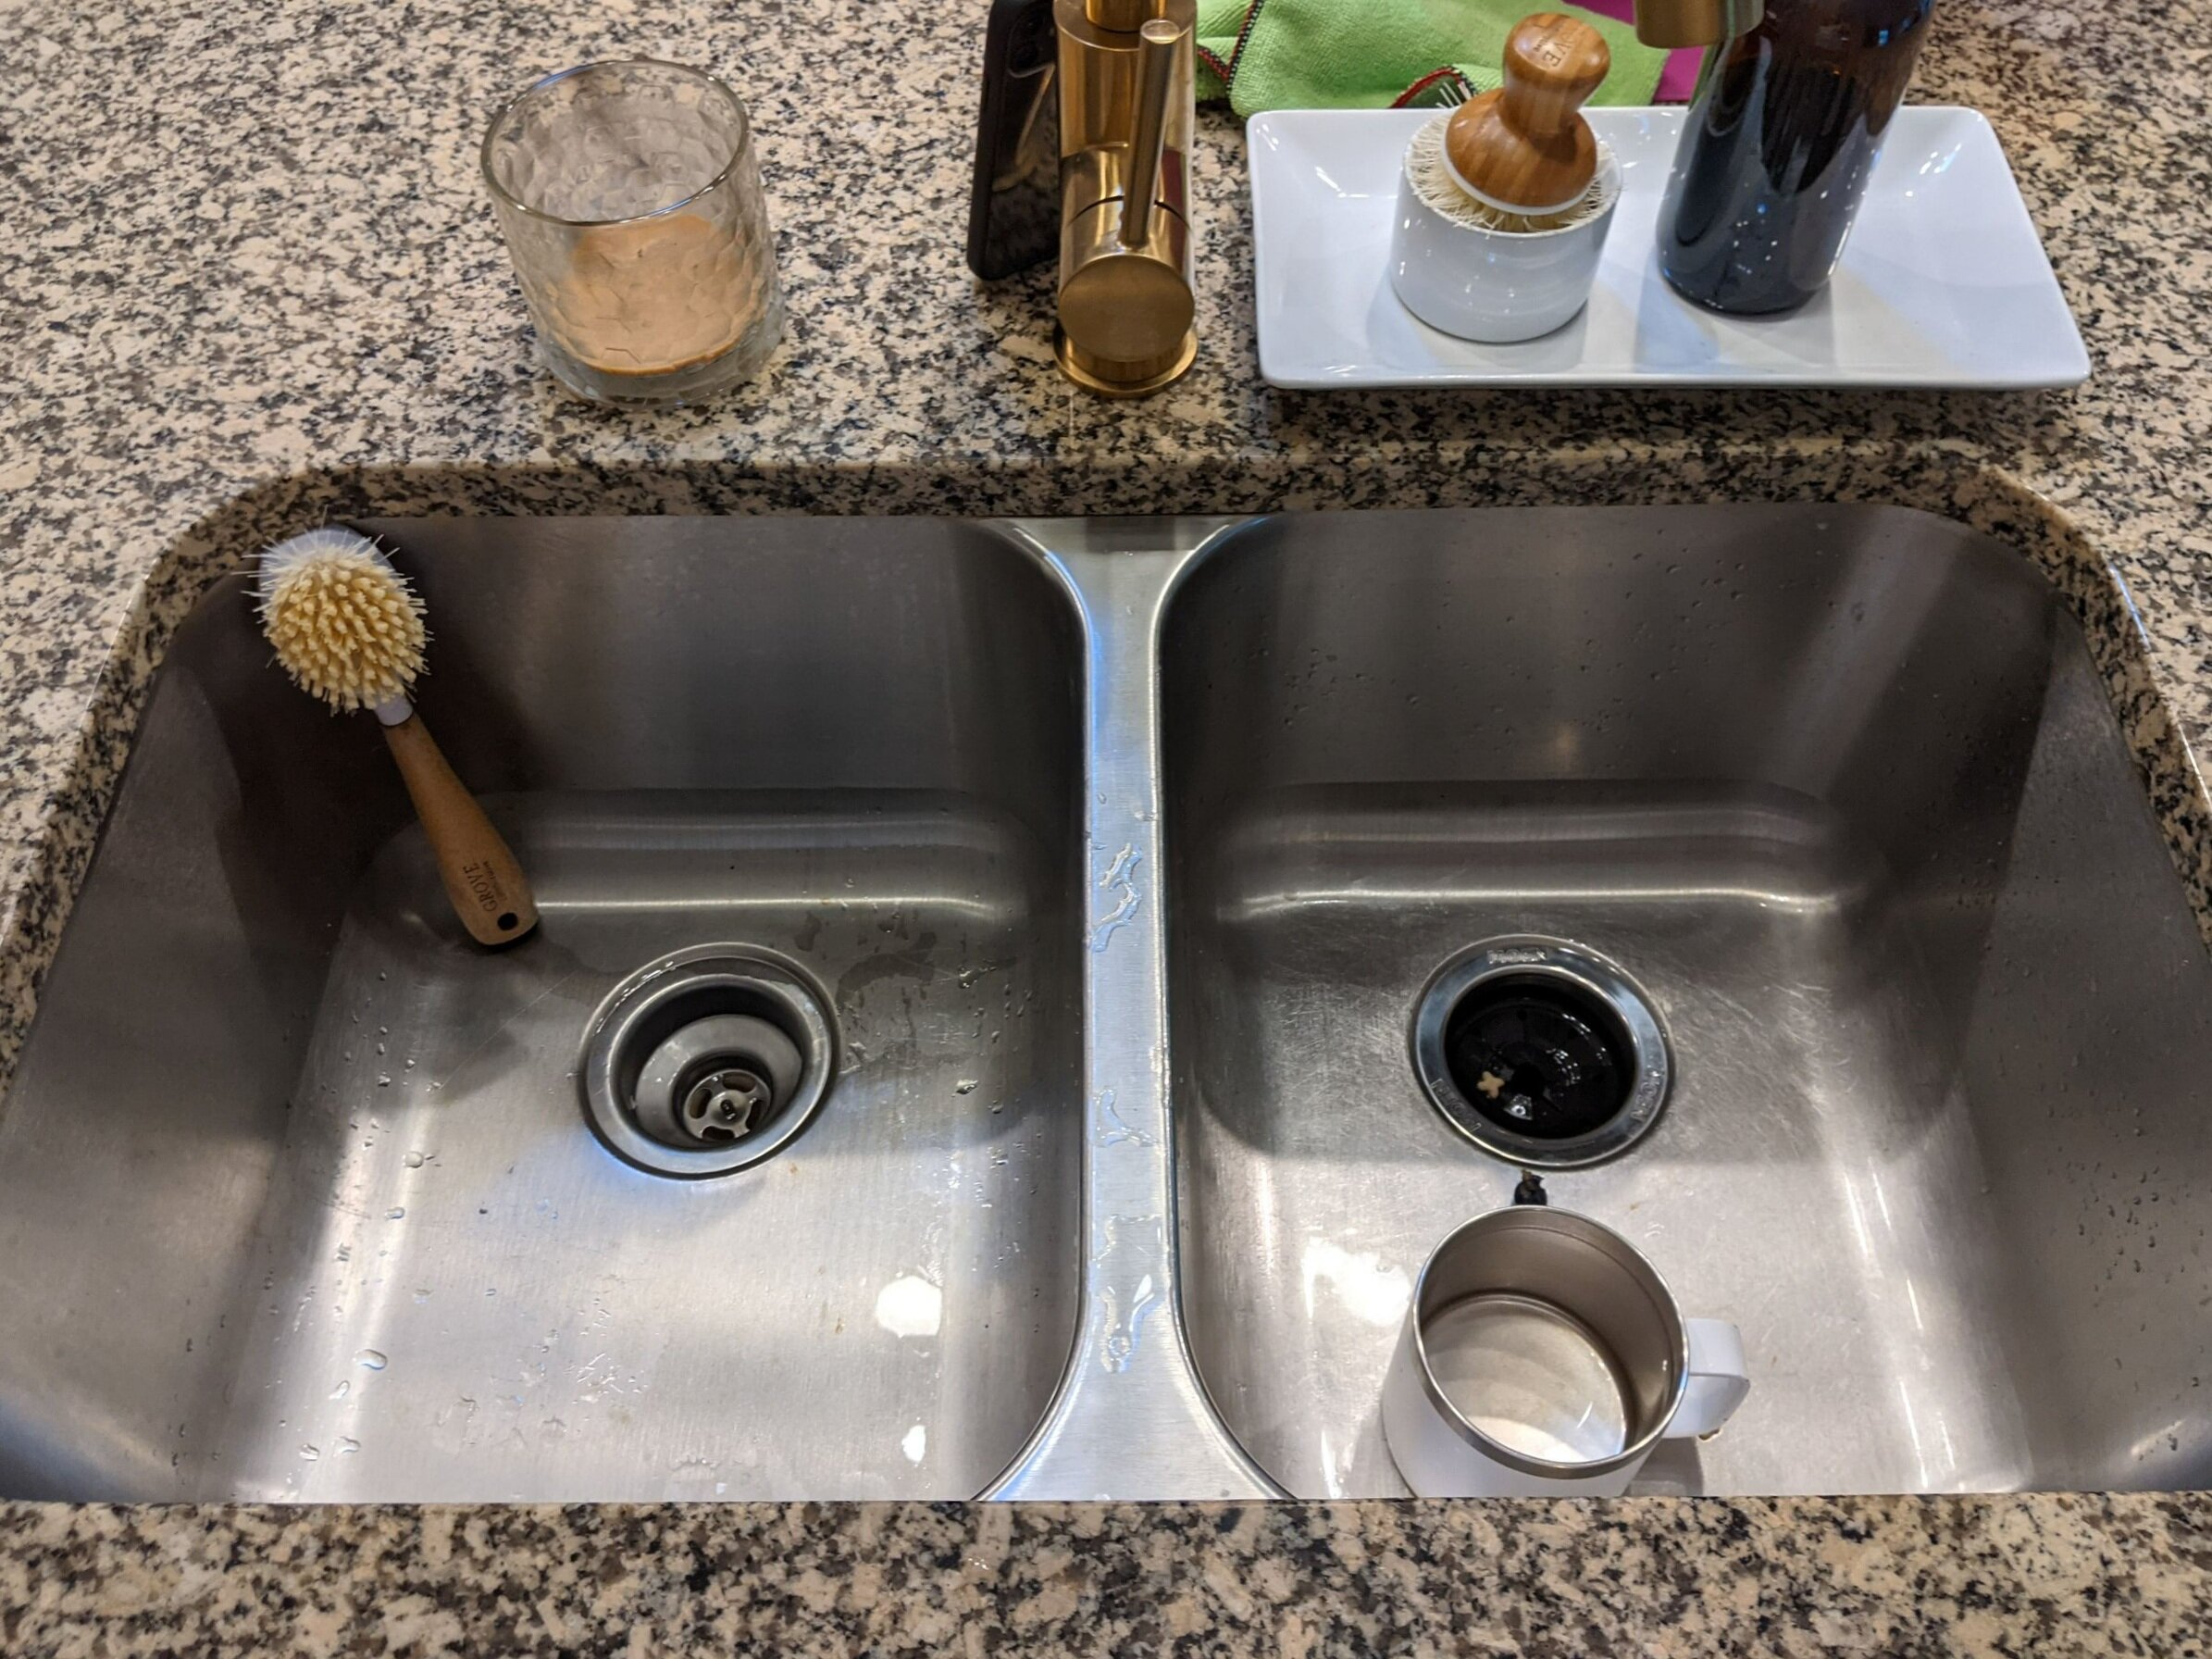
Credit: www.youtube.com
Step 4: Install the New Sink
Now you can install the new sink. First, place the sink into the hole in the countertop. Make sure it fits well.
If the sink has clips, attach them according to the instructions. Tighten the clips with a screwdriver. If your sink needs plumber’s putty, apply it around the edge. This will prevent leaks.
Step 5: Connect the Drain Assembly
Next, connect the drain assembly. Insert the drain into the hole at the bottom of the sink. Use plumber’s putty to seal it. Follow the instructions that came with your new sink.
Now, connect the drain pipe. Make sure it is tight but do not over-tighten. This could cause damage.
Step 6: Connect the Water Supply Lines
After the drain assembly is in place, connect the water supply lines. Take the lines and attach them to the new sink. Use the adjustable wrench to tighten the nuts.
Make sure the connections are secure. Check for any leaks. If you see water, tighten the connections more.
Step 7: Turn On the Water Supply
Once everything is connected, turn the water supply back on. Turn the shut-off valves counterclockwise to open them.
Check for leaks again. If you see any, tighten the connections. Turn on the faucet to test the water flow. Make sure the water flows well.
Step 8: Clean Up
After everything is working, clean up the area. Put back any items you removed. Take away any tools and materials you used.
Wipe down the sink and countertop. Your new sink is now ready to use.
Common Problems and Solutions
Sometimes, you may face problems when installing a new sink. Here are some common issues and how to fix them:
| Problem | Solution |
|---|---|
| Water Leaks | Tighten the connections until the leaks stop. |
| Drain is Clogged | Check for blockages and clear them. |
| Sink Doesn’t Fit | Measure the sink and the countertop again. |
| Pipes are Loose | Tighten the pipes and check for leaks. |
Tips for Success
Here are some tips to help you succeed:
- Take your time. Rushing can lead to mistakes.
- Follow the instructions that come with your sink.
- Ask for help if you feel stuck.
- Wear safety glasses to protect your eyes.
- Use a bucket to catch any water spills.
Frequently Asked Questions
How Do I Choose A Kitchen Sink For My Home?
Choosing a kitchen sink depends on size, style, and material. Consider your kitchen’s design and your cooking needs.
What Tools Do I Need To Install A Kitchen Sink?
You will need a wrench, screwdriver, plumber’s putty, and a basin wrench for installation.
Can I Replace My Kitchen Sink Myself?
Yes, you can replace your kitchen sink yourself with basic tools and some guidance.
How Long Does It Take To Install A Kitchen Sink?
Installing a kitchen sink typically takes about 2 to 4 hours.
Conclusion
Replacing and installing a kitchen sink is a doable task. With the right tools and steps, you can do it yourself. Just remember to take your time and be careful.
Now you can enjoy your new kitchen sink. Happy washing!