Replacing a kitchen sink can seem hard. But with the right steps, it can be simple. This guide will help you learn how to replace a sink. You can do this job by yourself. Let’s get started!
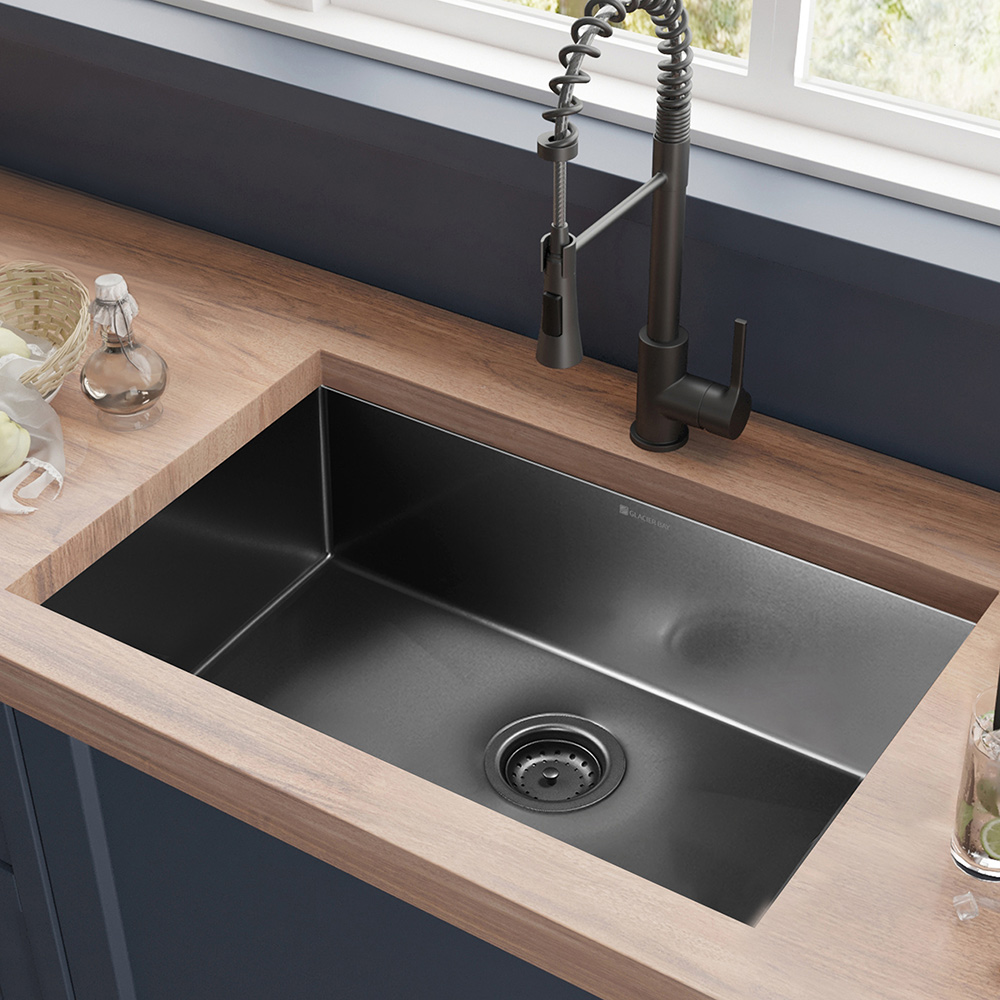
Credit: housebythepreserve.com
What You Need
Before you start, gather your tools and materials. Here is a list of what you need:
- New kitchen sink
- Adjustable wrench
- Plumber’s putty
- Bucket
- Screwdriver
- Pliers
- Utility knife
- Tape measure
- Rags
- Safety glasses
Step 1: Prepare Your Workspace
Clear the area around your sink. Remove all items from the counter. Make sure you have enough light. It helps to see better.
Put on safety glasses. This protects your eyes from debris. Place a bucket under the sink. This will catch any water that spills.
Step 2: Turn Off the Water Supply
Next, turn off the water supply. Look for valves under the sink. Turn them clockwise to stop the water. If you cannot find them, turn off the main water supply for your home.
Step 3: Disconnect the Water Lines
Now you need to disconnect the water lines. Use the adjustable wrench for this. Turn the nuts counterclockwise to loosen them. Be careful, some water may spill out.
Once they are loose, remove the lines completely. Keep them in a safe place. You may need them later.
Step 4: Remove the Old Sink
Next, you will remove the old sink. Check for clips or screws holding it in place. Use a screwdriver or pliers to remove them.
Carefully lift the sink out of the counter. If it is stuck, gently wiggle it. Be sure to have someone help you if it is heavy.
Step 5: Clean the Area
After removing the old sink, clean the area. Remove any old putty or debris. Use a utility knife to scrape off the old putty. Ensure the surface is smooth and clean.
This step is important for the new sink to fit well.
Step 6: Install the New Sink
Now, it is time to install the new sink. First, apply plumber’s putty around the edge of the sink. This helps to prevent leaks.
Carefully place the sink into the opening. Press it down firmly. Make sure it is level. Use a level tool if you have one.
Step 7: Secure the Sink
Once the sink is in place, secure it. Check for clips or brackets in the sink kit. Attach them underneath the sink. Tighten the screws or bolts to hold the sink securely.

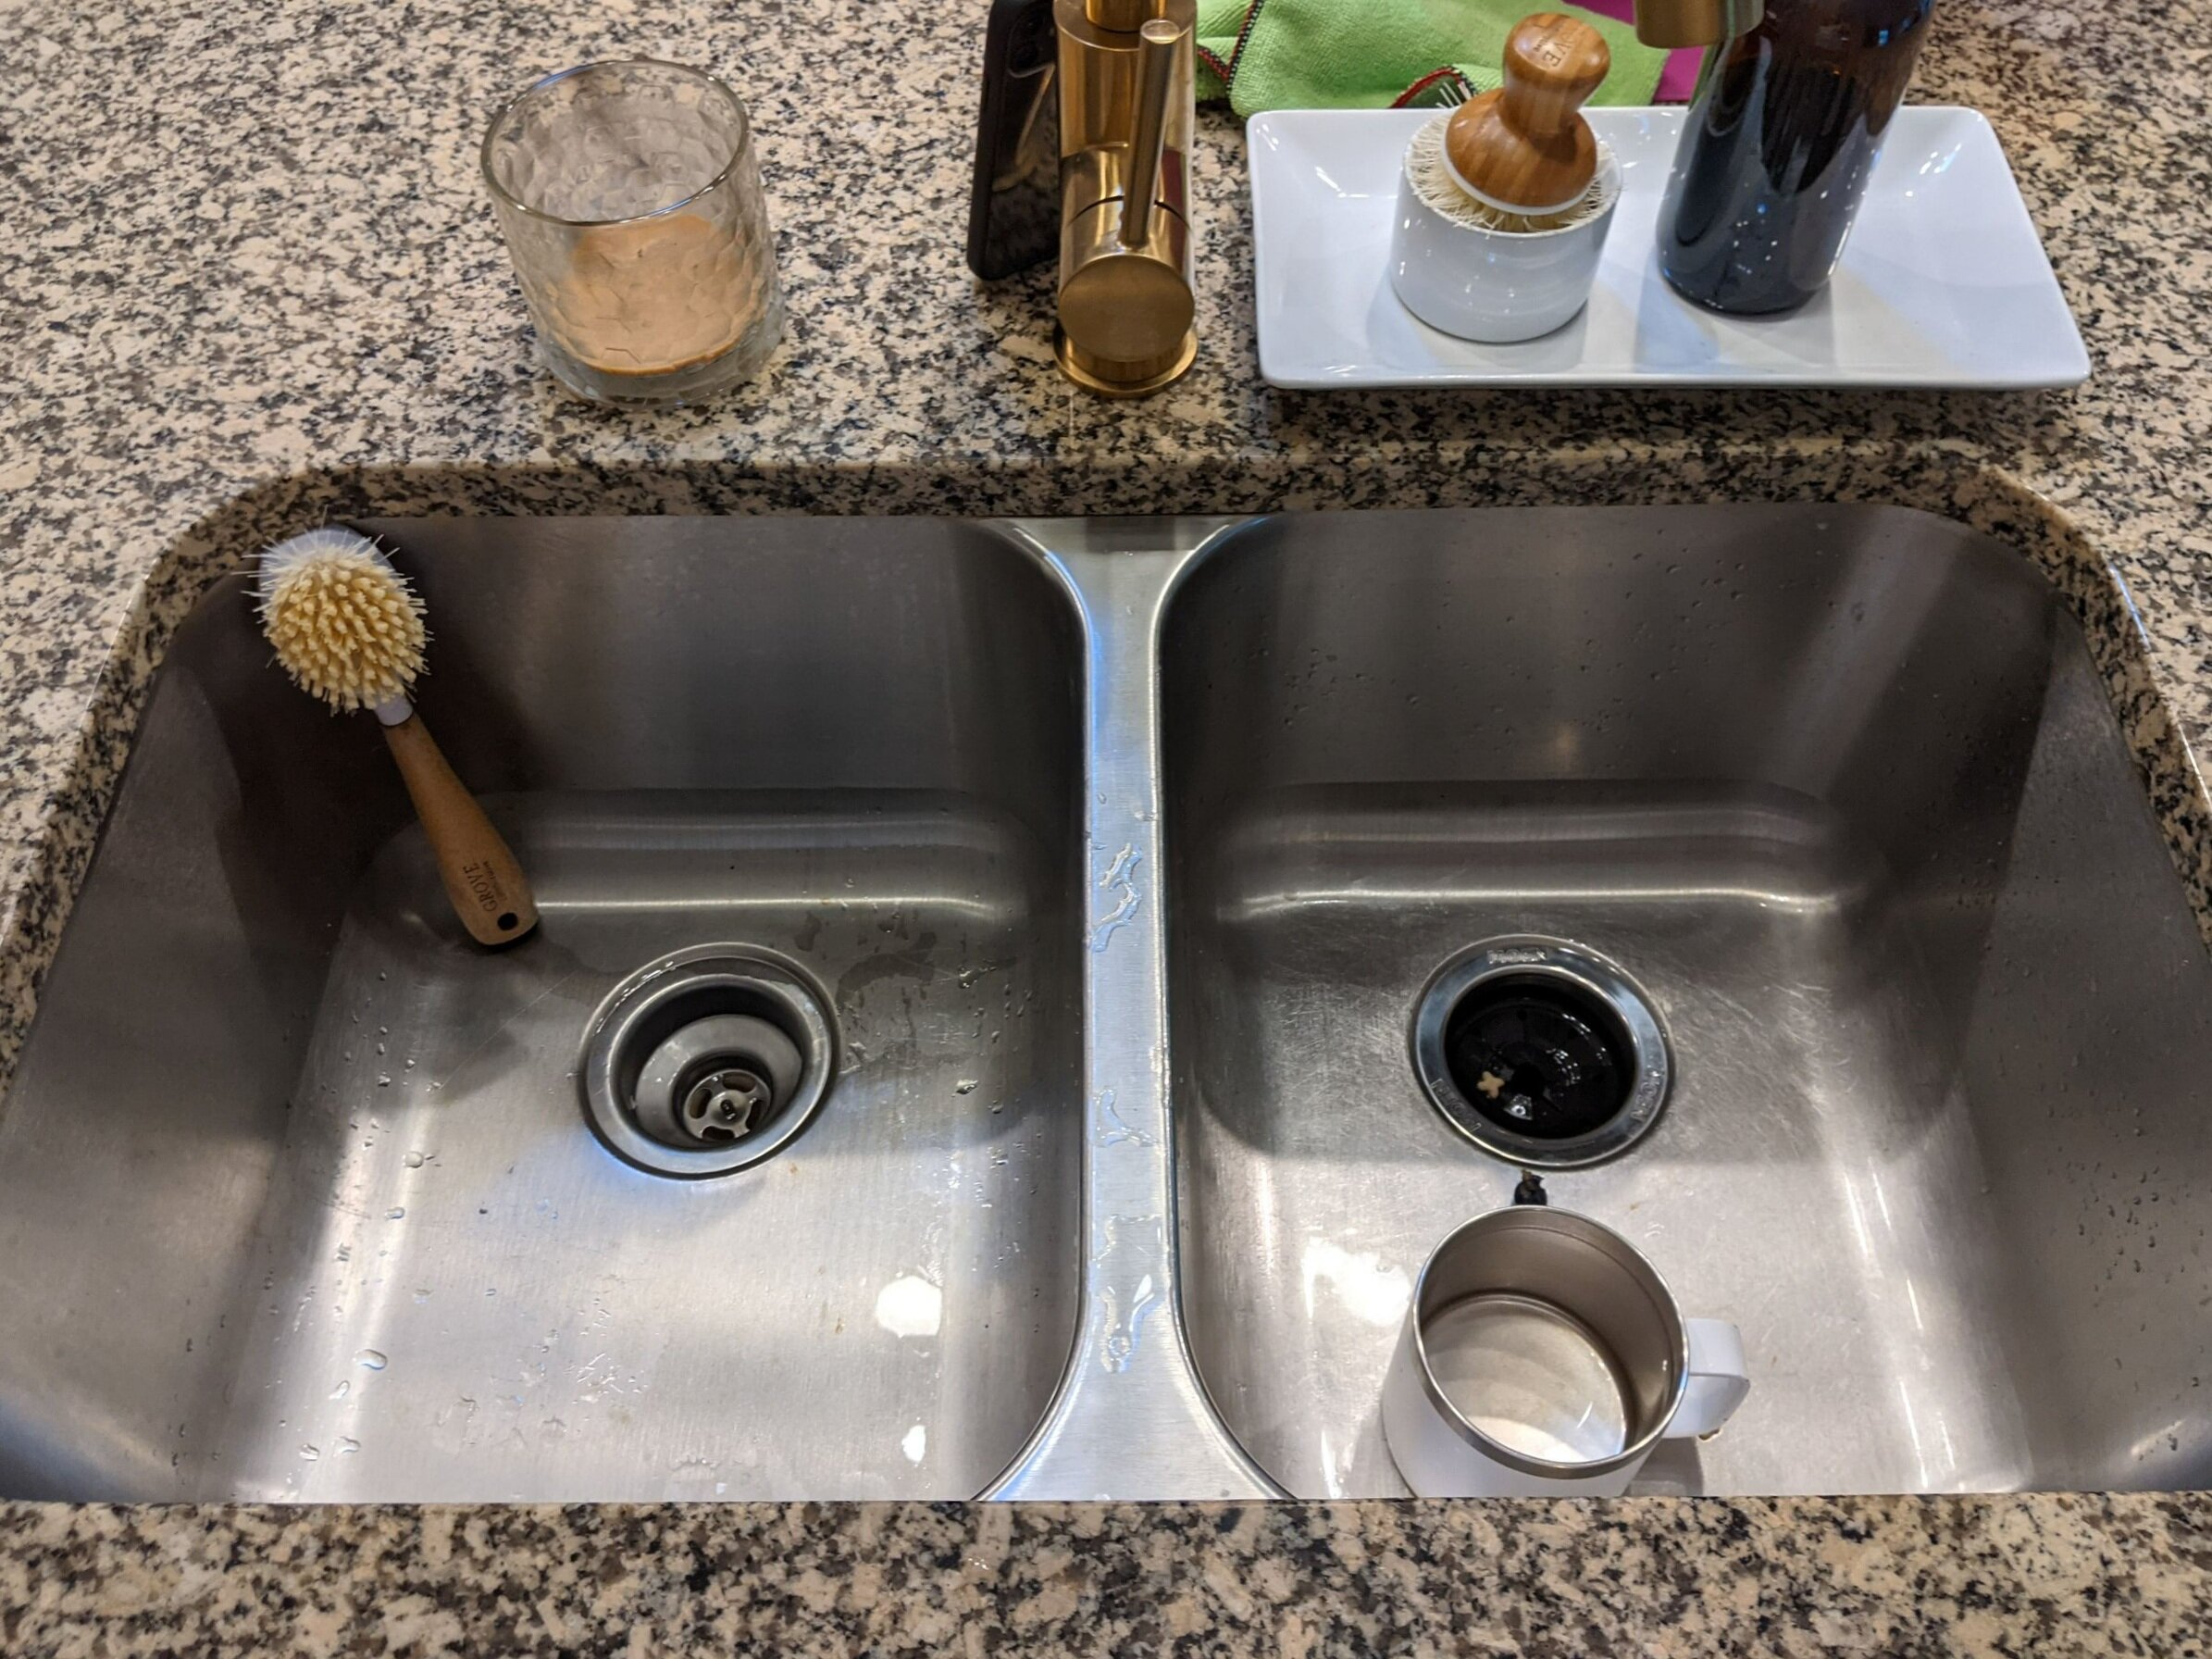
Credit: www.youtube.com
Step 8: Reconnect the Water Lines
Next, reconnect the water lines. Take the old lines and place them back. Use the adjustable wrench to tighten the nuts. Make sure they are snug, but do not over-tighten.
Check for any leaks. If you see any, you may need to tighten them a little more.
Step 9: Turn On the Water Supply
Now you can turn on the water supply. If you turned off the main supply, turn it back on. Slowly open the valves under the sink. Check for leaks as you do this.
Step 10: Test the Sink
Finally, test the new sink. Turn on the faucet and let the water run. Check how it drains. Ensure there are no leaks underneath. If everything is working, you did a great job!
Tips for a Successful Sink Replacement
Here are some tips to help you:
- Take your time. Rushing can cause mistakes.
- Read the instructions that come with the new sink.
- Keep the work area organized and clean.
- Have a friend help if you need it.
- Keep a towel handy for spills.
Common Problems and Solutions
Sometimes, problems can happen. Here are a few common issues and how to fix them:
Leaking Faucet
If your faucet leaks, check the connections. Tighten any loose nuts. If it still leaks, you may need a new faucet.
Slow Drainage
If the sink drains slowly, check for clogs. Use a plunger to try to clear it. You can also use baking soda and vinegar to help.
Bad Odors
If you smell bad odors, clean the drain. Pour hot water down the drain. This can help remove food particles.
Frequently Asked Questions
How Do I Know If I Need A New Sink?
Check for leaks, rust, or cracks. If your sink is old and damaged, it’s time for a replacement.
What Tools Do I Need To Replace A Kitchen Sink?
You will need a wrench, screwdriver, putty knife, and bucket. These tools help you remove the old sink easily.
Can I Replace My Kitchen Sink By Myself?
Yes, many homeowners can replace sinks. Just follow the right steps and take your time.
How Long Does It Take To Replace A Kitchen Sink?
It usually takes about 2 to 4 hours. This depends on your experience and sink type.
Conclusion
Replacing a kitchen sink is a useful skill. With the right tools and steps, you can do it yourself. Follow this guide carefully. You will have a new sink in no time.
Remember to take your time and stay safe. If you face any problems, do not hesitate to ask for help. Enjoy your new kitchen sink!