Garden hoses are important for many tasks. They help us water plants. They wash cars and clean patios. But sometimes, garden hoses get damaged. This can be frustrating. However, repairing a garden hose is easy. In this article, we will learn how to repair a garden hose step by step.
Common Problems with Garden Hoses
Before we repair a garden hose, we need to know what problems can happen. Here are some common issues:
- Leaks
- Cracks
- Knots
- Broken fittings
- Blocked hoses
Tools You Need
To repair a garden hose, you need some tools. Here is a list:
- Scissors or a knife
- Hose repair kit
- Sandpaper
- Clamps
- Water
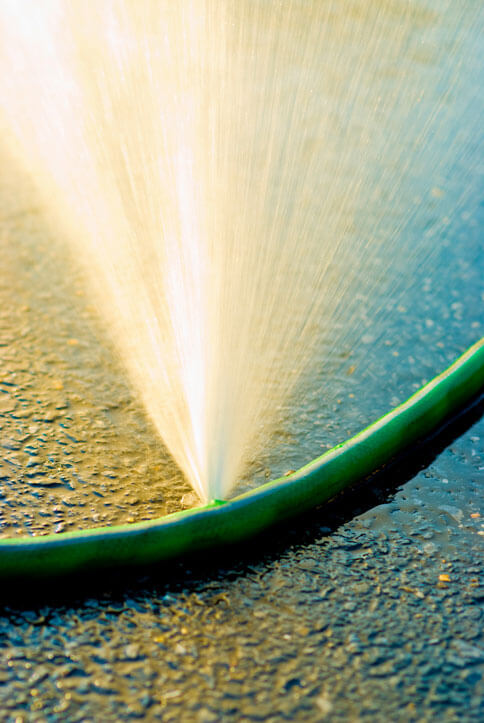
Step 1: Find the Damage
The first step is to find the damage. Look for leaks or cracks. You can do this by:
- Turning on the water.
- Watching the hose closely.
- Listening for hissing sounds.
If you see water leaking, mark the spot. This will help you remember where to fix it.
Step 2: Cutting the Hose
If the hose has a crack or leak, you need to cut it. Use scissors or a knife. Cut about 1 inch above the damage. Make a clean cut. This helps the repair work better.
Step 3: Prepare the Hose End
After cutting the hose, you need to prepare the end. Use sandpaper to smooth the cut. This makes it easier to attach a new fitting. Make sure the end is clean.
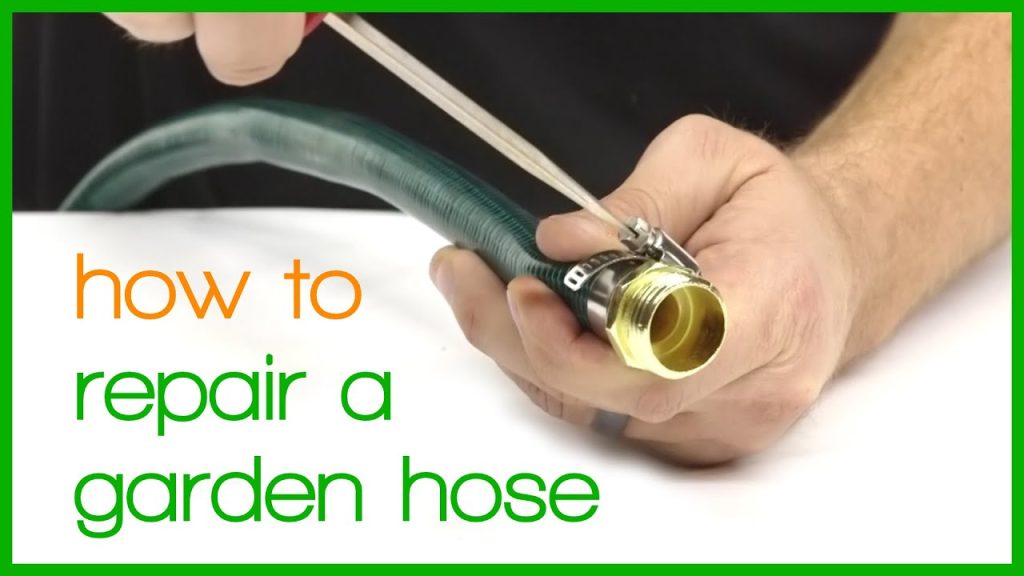
Step 4: Attach the Hose Repair Fitting
Now, it’s time to attach a new fitting. A hose repair kit usually comes with two ends. Follow these steps:
- Take one fitting from the kit.
- Push the fitting into the cut end of the hose.
- Make sure it fits tightly.
Step 5: Secure the Fitting
To make sure the fitting stays on, use a clamp. Here’s how:
- Place the clamp around the fitting.
- Use a screwdriver to tighten the clamp.
- Make sure it is secure, but not too tight.
Step 6: Test the Hose
Now it’s time to test your repair. Turn on the water slowly. Check for leaks. If you see any, tighten the clamp more. If everything is dry, your hose is ready.

Credit: m.youtube.com
Dealing with Knots
Sometimes, hoses get tangled. This can cause damage too. Here’s how to fix knots:
- Gently pull the hose to find the knot.
- Work the knot loose with your fingers.
- Do not pull too hard. This can cause more damage.
If you cannot untie it, cut the hose above the knot. Then follow the steps to repair it.
Repairing Broken Fittings
Sometimes the fittings break. This can stop the water flow. Here’s how to fix it:
- Remove the broken fitting by twisting it off.
- Take a new fitting from your repair kit.
- Attach it like you did before, using a clamp.
Credit: reddilawnmaintenance.com
Cleaning Blocked Hoses
Sometimes, hoses can get blocked. This stops water from flowing. To clear a blockage:
- Turn off the water.
- Look for the blockage in the hose.
- Use a stick or a long object to push it out.
After clearing the blockage, test the hose again.
Preventing Future Damage
Now that you know how to fix garden hose, let’s prevent future problems. Here are some tips:
- Store the hose properly. Keep it in a dry place.
- Avoid stepping on the hose. This can cause cracks.
- Do not leave the hose in direct sunlight for too long.
- Check the hose regularly for signs of damage.
Frequently Asked Questions
How Do I Fix A Leaking Garden Hose?
To fix a leaking garden hose, check for holes or cracks. Use duct tape or a hose repair kit to seal the leak.
What Tools Do I Need To Repair A Garden Hose?
Basic tools like scissors, a wrench, and duct tape are often enough. A hose repair kit can also be very helpful.
Can I Use Tape To Fix My Garden Hose?
Yes, tape can temporarily seal small holes. For a long-term fix, consider a proper repair method.
How Do I Replace A Garden Hose Fitting?
Cut the damaged fitting off. Slide a new fitting onto the hose and secure it tightly.
Conclusion
Repairing a garden hose is simple. You can fix leaks, cracks, and even knots. With the right tools and steps, your hose will work again. Always check your hose for damage. This will help it last longer. Happy gardening!