Are you tired of your old Delta kitchen faucet? Want to replace it? Removing an old faucet can seem hard. But, it is not that difficult. This guide will help you. We will go step by step. You can do it yourself. Let’s begin!
Tools You Will Need
Before starting, gather these tools:
- Adjustable wrench
- Screwdriver (flathead and Phillips)
- Bucket
- Towels or rags
- Pliers

Credit: diy.stackexchange.com
Step 1: Turn Off the Water Supply
First, turn off the water supply. Look under your sink. You will find two valves. One for hot water and one for cold water. Turn both valves to the right. This will stop water flow. If you can’t find the valves, turn off the main water supply. Be careful!
Step 2: Prepare the Area
Next, prepare your workspace. Place a bucket under the sink. This will catch any water that drips. Use towels or rags to clean any spills. Keep your tools close. You are ready to start!
Step 3: Disconnect the Water Lines
Now it is time to disconnect the water lines. Use the adjustable wrench for this. Start with the cold water line. Turn the fitting to the left. Do not use too much force. If it is stuck, try using pliers. Once loose, pull it off. Repeat this for the hot water line.
Step 4: Remove the Faucet Handles
Next, you will remove the faucet handles. Look for screws on each handle. They are usually under a cap. Use the flathead screwdriver to pry off the cap. Then, use the Phillips screwdriver to remove the screws. Pull the handles straight up. If they are stuck, wiggle them gently.
Step 5: Remove the Faucet Body
You are almost done! Now you need to remove the faucet body. Look for nuts under the sink. These hold the faucet in place. Use the adjustable wrench to loosen them. Turn the nuts to the left. Once loose, remove them by hand.
After removing the nuts, lift the faucet body up. If it is hard to lift, check for any attached parts. Make sure nothing is still connected.
Step 6: Clean the Sink Area
Now that the faucet is out, clean the sink area. Use a cloth to wipe away any dirt. Make sure the area is smooth. This will help with the new faucet. Check for rust or damage. If you see any, fix it before adding a new faucet.
Step 7: Install the New Faucet
Now you can install your new faucet. Follow the instructions that come with it. Start by placing the faucet in the hole. Make sure it fits well. Then, secure it with the nuts you removed earlier. Tighten them gently with the adjustable wrench.
Step 8: Reconnect the Water Lines
Next, reconnect the water lines. Take the cold water line first. Push it onto the fitting. Use the wrench to tighten it. Remember, do not over-tighten. Repeat this for the hot water line.
Step 9: Turn On the Water Supply
You are almost finished! Now it is time to turn on the water supply. Go back under the sink. Turn the valves to the left. This will allow water to flow again.
Step 10: Check for Leaks
After turning on the water, check for leaks. Turn on the faucet. Look under the sink. If you see water, you may need to tighten the connections. If everything is dry, you did a great job!
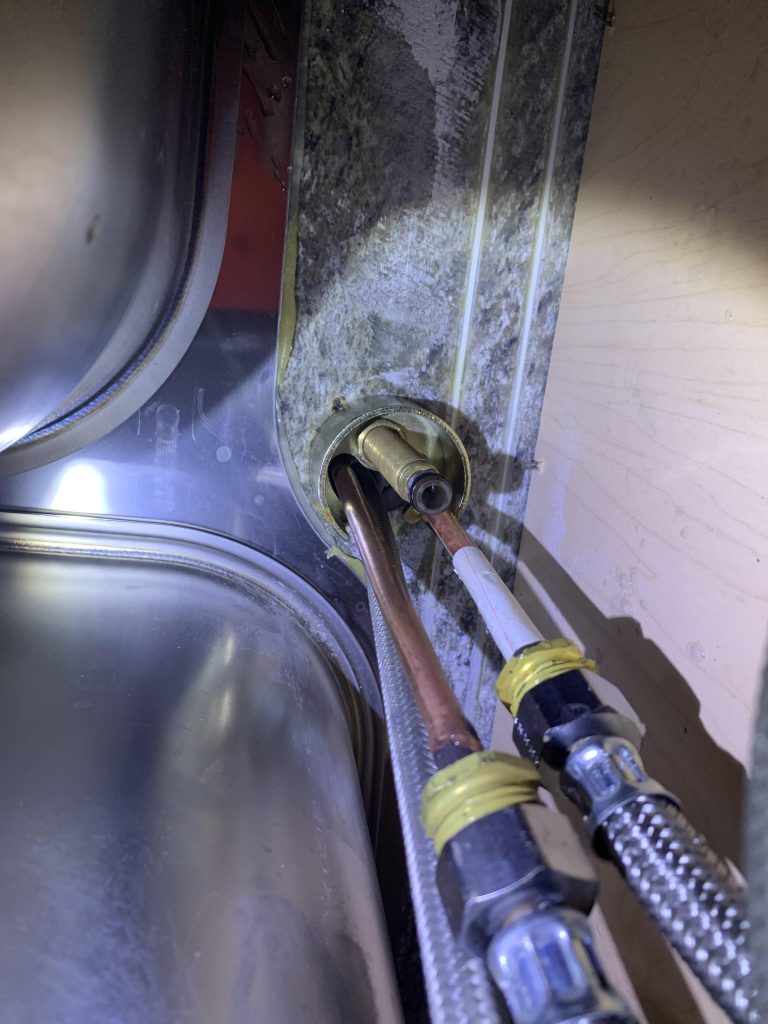
Credit: www.reddit.com
Tips for Success
Here are some helpful tips:
- Always keep a bucket handy.
- Do not rush. Take your time.
- Read the instructions for your new faucet.
- If you feel stuck, ask someone for help.
Frequently Asked Questions
How Do I Start Removing An Old Delta Kitchen Faucet?
Turn off the water supply and gather your tools. This includes a basin wrench, screwdrivers, and a towel.
What Tools Do I Need To Remove A Delta Faucet?
You will need a basin wrench, pliers, screwdrivers, and a towel to catch water.
How Do I Disconnect The Water Supply Lines?
Loosen the nuts on the supply lines using pliers. Be careful as some water might spill.
How Can I Remove The Faucet Handle?
Unscrew the handle screw located under the handle or at the back. Pull the handle straight up.
Conclusion
Removing an old Delta kitchen faucet is easy. With the right tools and steps, you can do it. Follow this guide carefully. Remember to check for leaks. Enjoy your new faucet!