Painting your kitchen cupboards can change your kitchen’s look. It is a simple way to refresh your space. You can do it yourself. This guide will help you paint your kitchen cupboards step-by-step.
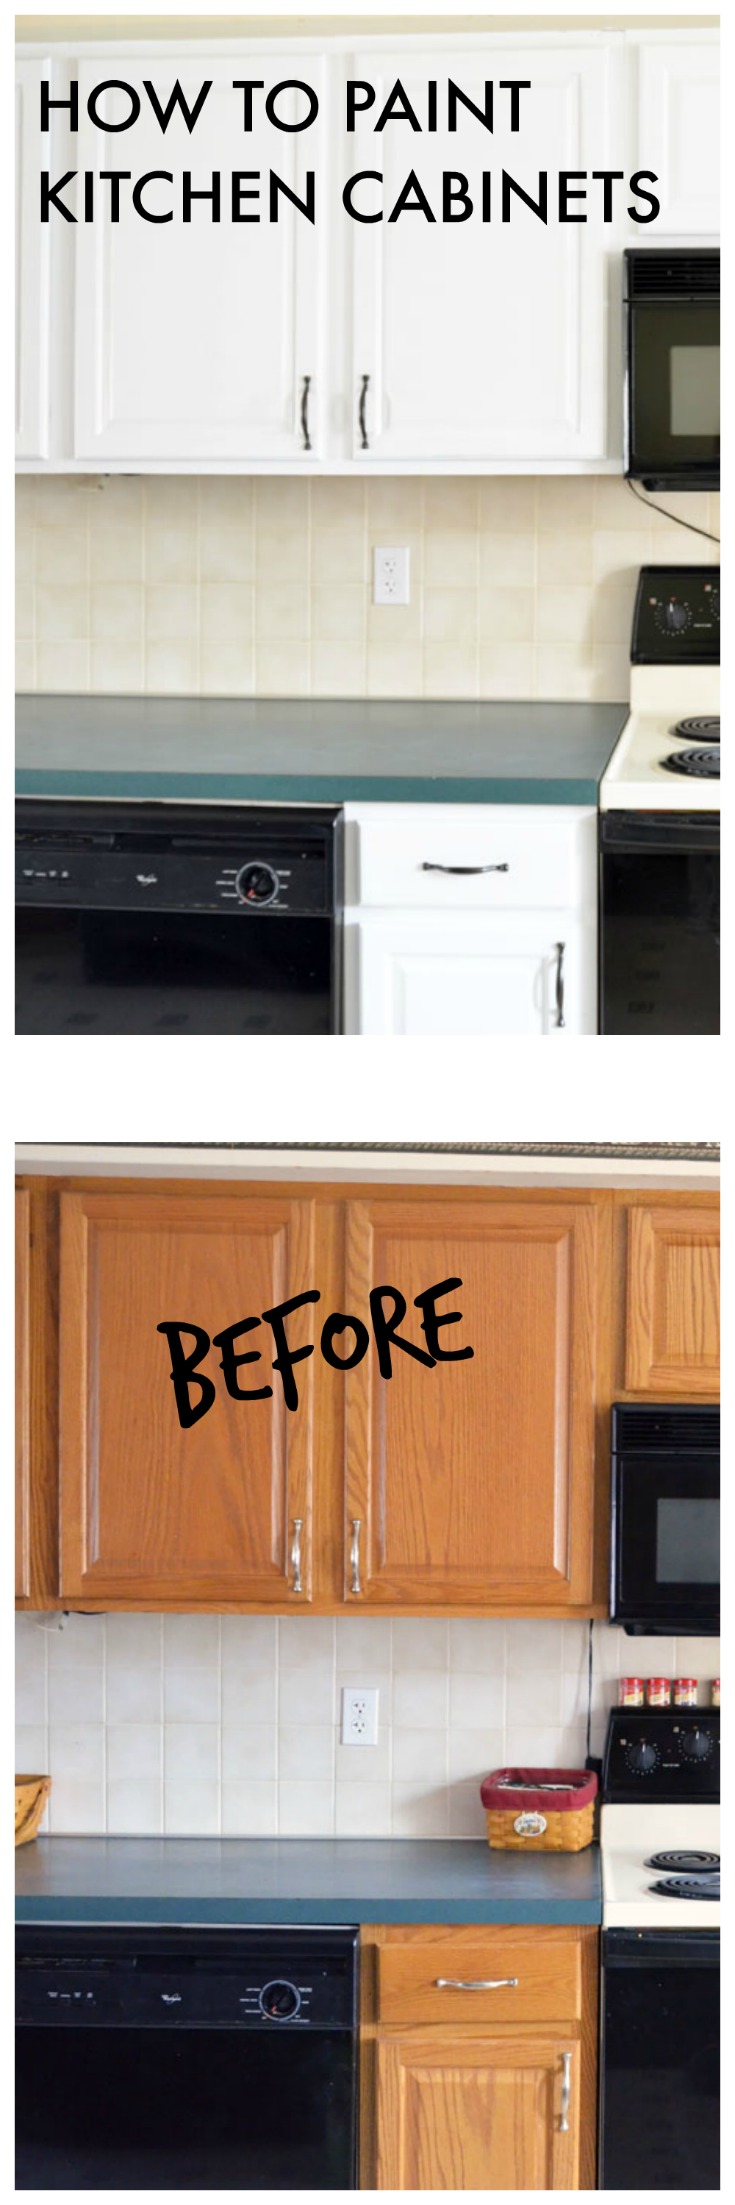
Credit: createandbabble.com
Why Paint Kitchen Cupboards?
There are many reasons to paint your kitchen cupboards. Here are some of them:
- It is cost-effective.
- You can choose any color you like.
- It makes your kitchen feel new.
- You can cover up scratches and marks.
- It is a fun project.
What You Need
Before you start, gather your supplies. Here is a list:
- Paint (choose a color)
- Primer (if needed)
- Paintbrushes and rollers
- Sandpaper (medium and fine grit)
- Drop cloths
- Painter’s tape
- Clean cloths
- Paint tray
- Protective gloves
- Face mask (for dust and fumes)
Step 1: Prepare Your Kitchen
Preparing your kitchen is very important. Start by removing all items from your cupboards. This includes dishes, food, and utensils. Clean the surfaces to remove any dirt or grease. Use a damp cloth for this task.
Next, cover your countertops and floors. Use drop cloths to protect them from paint splatters. Make sure to tape edges and areas you do not want to paint. This will help keep lines clean.
Step 2: Remove Doors and Hardware
Now, it is time to remove the cupboard doors. Use a screwdriver to take off the hinges. Place the doors on a flat surface. This makes painting easier.
Remove any hardware like knobs and handles. Keep them in a safe place. You can clean them or paint them later if you like.
Step 3: Sand the Surfaces
Sanding is an important step. It helps the paint stick better. Use medium-grit sandpaper for the first round. Sand all surfaces of the cupboards and doors.
After that, switch to fine-grit sandpaper. This makes the surfaces smooth. Wipe away dust with a clean cloth. Make sure there are no dust particles left.
Step 4: Prime the Cupboards (If Needed)
Priming helps the paint stay longer. It is not always necessary. If your cupboards are dark, use primer. If they are light, you can skip this step.
Apply the primer with a paintbrush or roller. Let it dry completely before moving to the next step. Check the can for drying times.
Step 5: Paint the Cupboards
Now, it is time to paint. Choose a color you love. Stir the paint well before using it. Use a brush for edges and corners. Use a roller for flat surfaces.
Apply the paint in thin layers. Thin layers dry better and look smoother. Let the first coat dry. Check the can for drying times.
After the first coat dries, look for spots that need more paint. If needed, apply a second coat. You may need a third coat for full coverage.
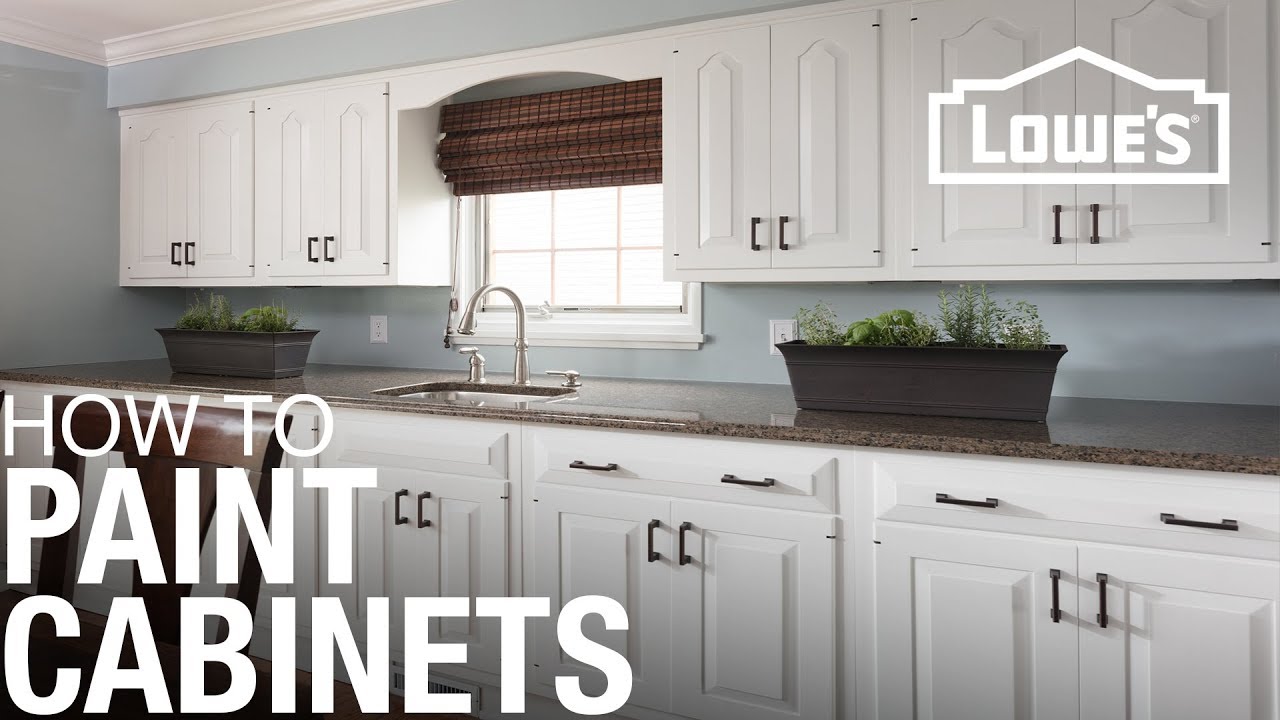
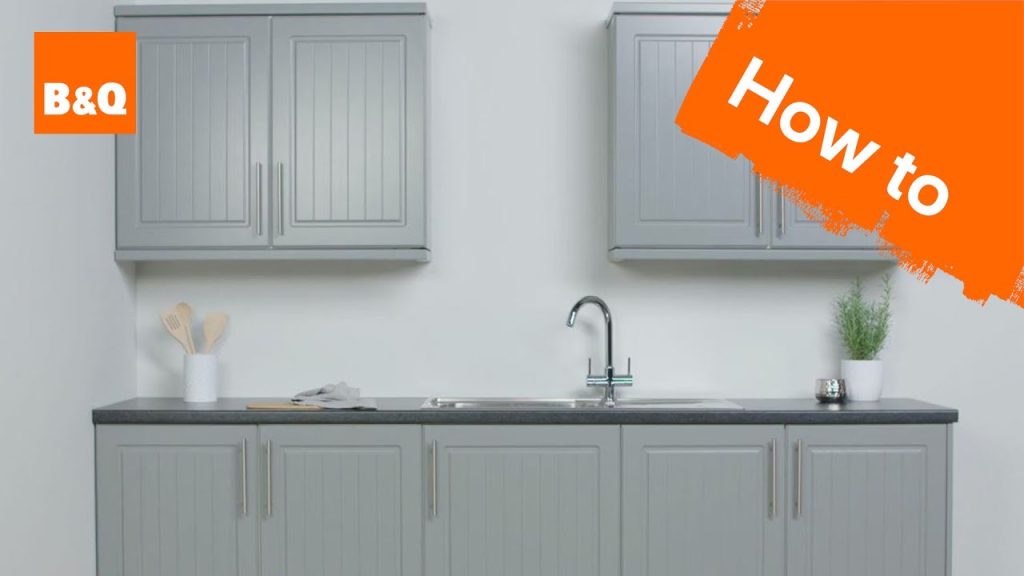
Credit: www.youtube.com
Step 6: Reattach Doors and Hardware
After the paint dries completely, reattach the doors. Use the same screws and hinges you removed. Make sure they are secure.
Now, attach the hardware. If you decided to paint the knobs, make sure they are dry. If you cleaned them, use them as they are.
Step 7: Clean Up
Once everything is back in place, it is time to clean up. Remove the painter’s tape carefully. This will help avoid peeling paint.
Dispose of any used materials properly. Clean your brushes and trays with water or solvent, depending on the paint type. Make sure to wash your hands well.
Step 8: Enjoy Your New Kitchen
Now that your cupboards are painted, enjoy your kitchen! Step back and look at your work. It is nice to see a fresh look. You can add decorations or new items to match the new color.
Tips for Success
Here are some tips to help you along the way:
- Choose a paint that is durable and easy to clean.
- Always use protective gear like gloves and masks.
- Work in a well-ventilated area for safety.
- Take your time with each step for the best results.
- Keep children and pets away from the workspace.
Common Mistakes to Avoid
While painting, be aware of common mistakes. Here are some to avoid:
- Skipping the sanding step can cause peeling paint.
- Not using primer when needed leads to uneven color.
- Applying thick coats can lead to drips and unevenness.
- Rushing the drying time may ruin your work.
Frequently Asked Questions
How Do I Prepare My Kitchen Cupboards For Painting?
Start by cleaning the cupboards. Remove grease and dust. Then, remove hardware like knobs and handles.
What Paint Is Best For Kitchen Cupboards?
Use acrylic or latex paint. They are durable and easy to clean. Look for paint made for cabinets.
How Long Does It Take To Paint Kitchen Cupboards?
It usually takes a few days. This includes cleaning, drying, and curing time. Plan for at least 48 hours.
Should I Sand My Kitchen Cupboards Before Painting?
Yes, sanding helps the paint stick better. Use fine-grit sandpaper for a smooth finish.
Conclusion
Painting your kitchen cupboards is an easy project. It can make your kitchen look fresh and inviting. By following these steps, you can do it yourself.
Remember to take your time and be careful. Enjoy the process and the final result. Your kitchen will feel new and bright!