Making a wood cutting board is a fun project. It is great for your kitchen. You can use it for chopping fruits, vegetables, and meats. Plus, it adds beauty to your kitchen. In this guide, we will show you how to make one. It is easy to follow. Let’s get started!
Why Choose Wood?
Wood is a popular choice for cutting boards. Here are some reasons:
- Durable: Wood lasts a long time.
- Gentle on Knives: Wood does not dull knives quickly.
- Natural Look: Wood looks nice and warm.
- Antimicrobial: Some wood types kill bacteria.
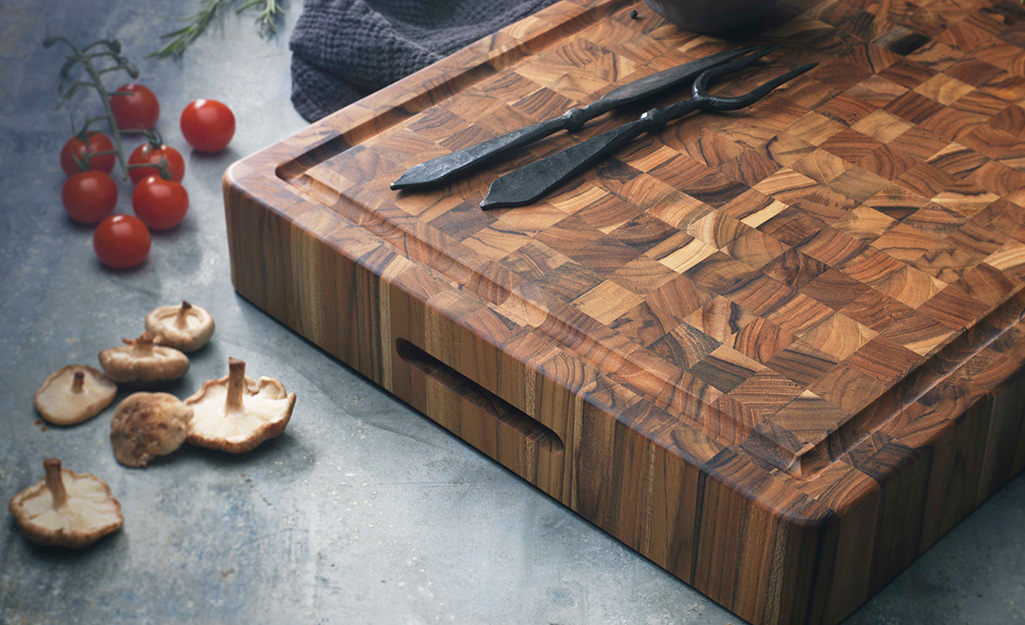
Credit: www.homedepot.com
Materials You Will Need
Before you begin, gather your materials. Here is a list:
- Wood boards (maple, walnut, or cherry)
- Wood glue
- Saw (table saw or hand saw)
- Sander (or sandpaper)
- Clamps
- Food-safe finish (mineral oil or beeswax)
Step 1: Choose Your Wood
Pick the type of wood you like. Maple is strong and common. Walnut looks beautiful. Cherry has a rich color. Choose wood that is dry and free of cracks. You need at least two pieces of wood. They should be the same thickness.
Step 2: Cut the Wood
Now, it is time to cut the wood. Use a saw to cut the wood into strips. Each strip should be about 1 to 2 inches wide. Make sure to measure carefully. You can cut longer or shorter pieces. It depends on the size you want for your cutting board.
Step 3: Arrange the Strips
After cutting, lay the strips out. Arrange them in a pattern you like. You can mix colors and types of wood. Make sure the edges touch. This will help when gluing. Check the layout before you start gluing.
Step 4: Glue the Strips Together
Now, it’s time to glue. Apply wood glue on one edge of a strip. Press it against the next strip. Use clamps to hold them together. Make sure they are tight. Wipe away any extra glue with a damp cloth. Let the glue dry for at least 1 hour.
Step 5: Sand the Board
Once the glue is dry, it is time to sand. Sanding smooths the surface. Use a sander or sandpaper. Start with rough sandpaper. Then, switch to finer sandpaper. Sand the edges and corners too. Your board should feel smooth to the touch.
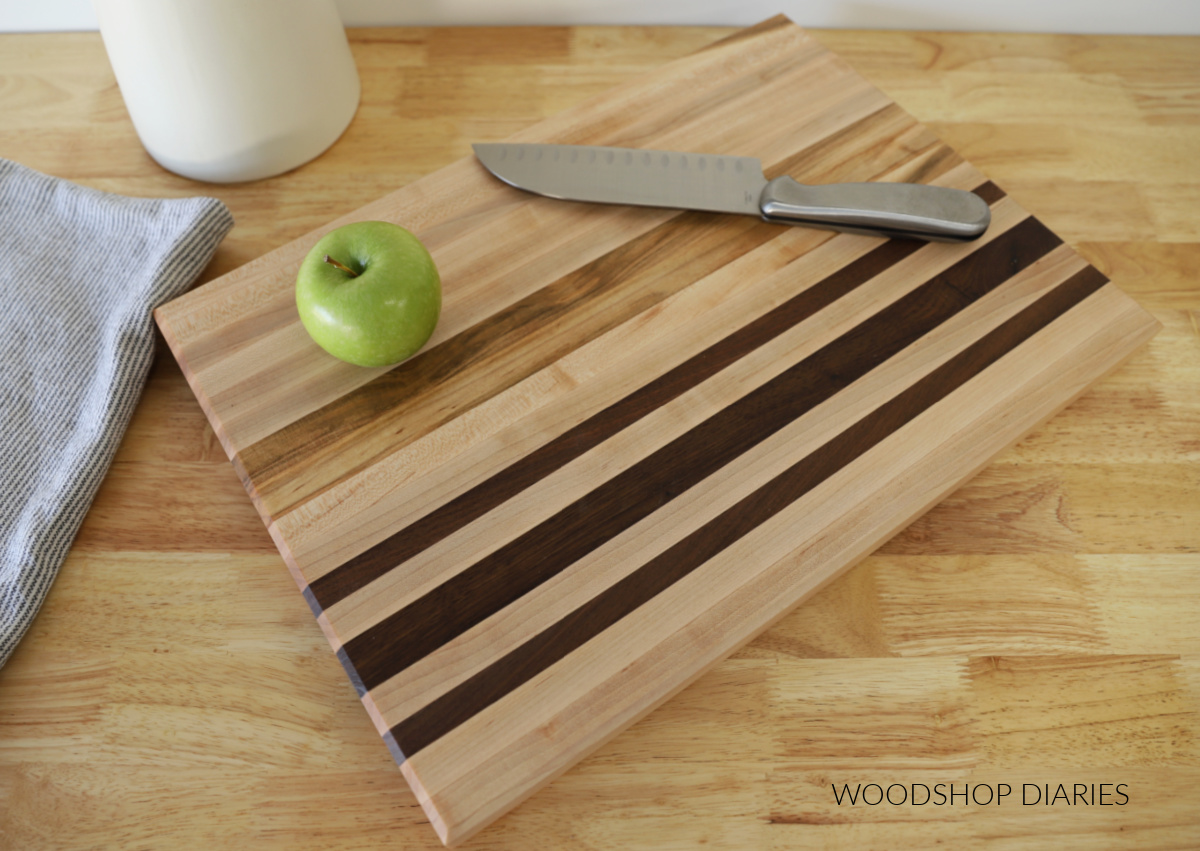
Credit: www.woodshopdiaries.com
Step 6: Shape the Board
Now, shape your cutting board. You can keep it rectangular or make it round. Use a jigsaw for curves. Cut carefully to keep it even. Smooth the edges with sandpaper. This will make it safe to use.
Step 7: Finish the Cutting Board
Your cutting board needs a finish. This keeps it safe for food. You can use mineral oil or beeswax. Apply a generous amount. Use a cloth to rub it in. Let it soak for a few hours. You can apply more coats. This will protect the wood.
Step 8: Care for Your Cutting Board
After making your cutting board, take care of it. Here are some tips:
- Wash with warm, soapy water.
- Do not soak in water.
- Dry it right away.
- Reapply mineral oil every few months.
Benefits of Making Your Own Cutting Board
Making a cutting board has many benefits:
- Personal Touch: You can customize it to your style.
- Save Money: Making it can be cheaper than buying one.
- Fun Activity: It is a great project to do.
Common Mistakes to Avoid
Here are some mistakes to watch out for:
- Using wet wood. Make sure it is dry.
- Not using enough glue. Apply glue generously.
- Skipping sanding. A smooth board is safer.
Frequently Asked Questions
What Wood Is Best For Cutting Boards?
Hardwoods like maple, walnut, and cherry are great choices. They resist scratches and are durable.
How Do I Finish A Wood Cutting Board?
Use food-safe mineral oil or beeswax. Apply it with a cloth and let it soak in.
Can I Put My Cutting Board In The Dishwasher?
No, avoid the dishwasher. Hand wash with mild soap and warm water instead.
How Often Should I Oil My Cutting Board?
Oil your cutting board every month. This keeps it from drying out and cracking.
Conclusion
Making a wood cutting board is simple and fun. You can create something beautiful for your kitchen. Follow these steps carefully. Choose the right wood and finish it well. With a little time, you will have a great cutting board.
Enjoy your new cutting board! Happy cooking!