Installing a backsplash tile in your kitchen can be fun. It can also change how your kitchen looks. You can do this project yourself. Follow the steps below. Soon, you will have a beautiful backsplash.
Why Use Backsplash Tile?
Backsplash tile has many benefits. Here are a few reasons to consider:
- Protects the wall from spills and stains.
- Makes cleaning easier.
- Adds style to your kitchen.
- Comes in many colors and designs.
Tools and Materials You Will Need
Before you start, gather the right tools and materials. Here is a list:
- Backsplash tiles
- Tile adhesive or thin-set mortar
- Tile cutter or wet saw
- Notched trowel
- Tile spacers
- Grout
- Grout float
- Sponge and water
- Measuring tape
- Pencil
- Level
Step 1: Measure the Area
First, measure the area where you want the backsplash. Use a measuring tape. Write down the height and width. Multiply these numbers. This gives you the total area in square feet.
Step 2: Choose Your Tile
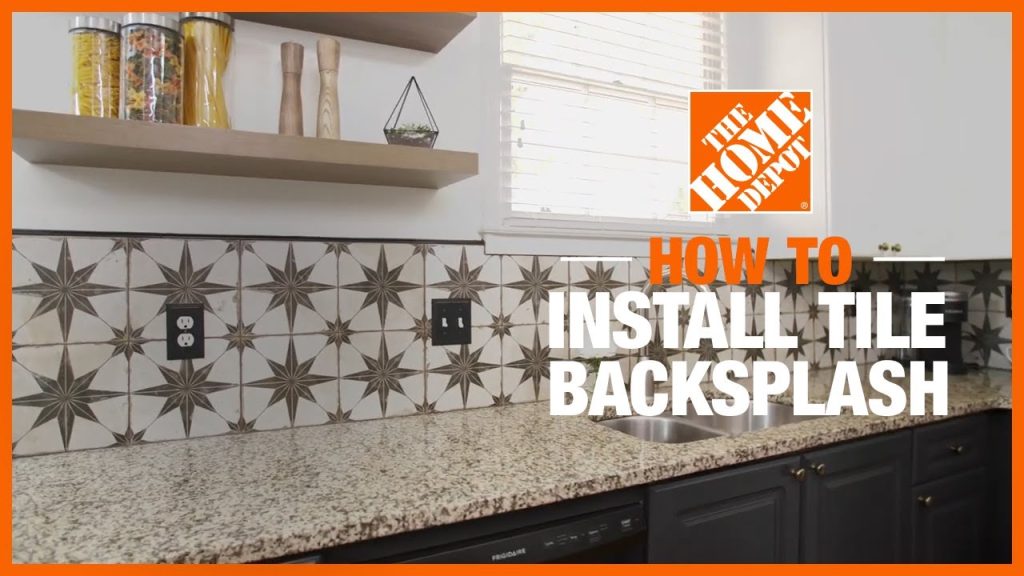
Next, choose your tile. There are many types. You can pick ceramic, glass, or stone tiles. Think about color and style. Make sure it matches your kitchen.

Credit: www.youtube.com
Step 3: Prepare the Wall
Now, prepare the wall. The wall should be clean and dry. Remove any old wallpaper or dirt. If needed, patch up holes. Make sure the surface is smooth.
Step 4: Plan Your Layout
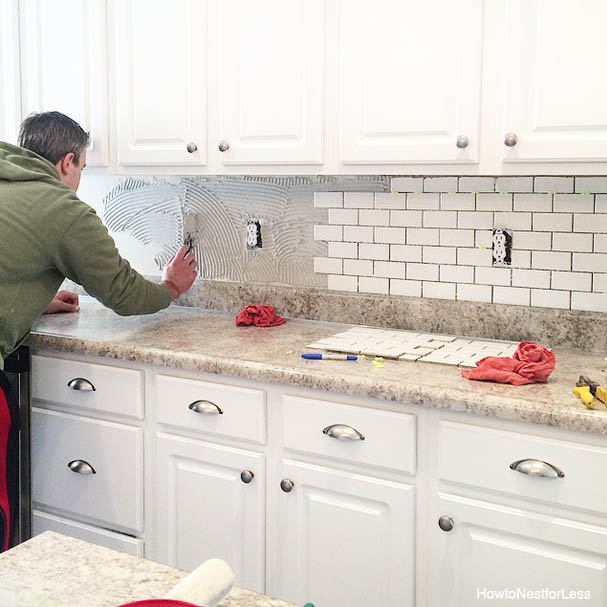
Before you start, plan your layout. Lay out the tiles on the counter. This shows you how they fit. You can adjust the design if needed. Mark where the tiles will go with a pencil.
Step 5: Apply Adhesive
Now it is time to apply the adhesive. Use a notched trowel. Spread the adhesive on a small area. Make sure to create grooves. This helps the tiles stick better.
Step 6: Install the Tiles
How to Install Wall Tiles in Kitchen? Start placing the tiles on the wall. Press each tile firmly into the adhesive. Use tile spacers to keep even gaps. Check with a level to ensure they are straight. Continue until the area is covered.
Step 7: Cut Tiles as Needed
Some tiles may need cutting. Use a tile cutter or wet saw. Measure the space carefully. Mark the tile where you need to cut. Always wear safety gear when cutting.
Step 8: Let the Adhesive Dry
Once all tiles are in place, let the adhesive dry. This usually takes about 24 hours. Do not touch the tiles during this time. This ensures they stay in place.
Step 9: Grout the Tiles
After the adhesive dries, it is time to grout. Remove the tile spacers first. Mix the grout according to the package instructions. Use a grout float to apply the grout between the tiles.
Step 10: Clean the Tiles
Once you apply the grout, clean the tiles. Use a damp sponge to wipe off excess grout. Be gentle so you do not remove grout from the gaps. Rinse the sponge often.
Step 11: Let the Grout Cure
Let the grout cure. This usually takes about 72 hours. Avoid using the kitchen during this time. It is important for the grout to set properly.
Step 12: Seal the Grout
After the grout is dry, consider sealing it. Grout sealer helps protect it. Apply the sealer with a small brush. Follow the instructions on the sealer. This keeps your backsplash looking new.
Tips for Success
Here are some helpful tips:
- Work in small sections to avoid mistakes.
- Use a level often to check for straightness.
- Choose colors that match your kitchen theme.
- Be patient and take your time.

Credit: howtonestforless.com
Common Mistakes to Avoid
Be aware of common mistakes. Here are some to avoid:
- Not measuring correctly.
- Using too much adhesive or grout.
- Not letting materials dry properly.
- Skipping the sealer, which can lead to stains.
Frequently Asked Questions
How Do I Choose Backsplash Tile For My Kitchen?
Choosing backsplash tile depends on style, color, and your kitchen’s theme. Consider easy-to-clean materials and durability.
What Tools Do I Need To Install Backsplash Tile?
You will need tile adhesive, a trowel, tile cutter, level, and grout. A sponge and safety glasses are also helpful.
Can I Install Backsplash Tile Myself?
Yes, many homeowners install backsplash tile themselves. With patience and careful planning, it can be done easily.
How Long Does It Take To Install Backsplash Tile?
Installation time varies but typically takes 1 to 3 days. This includes preparation, laying tiles, and grouting.
Conclusion
Laying backsplash tile in your kitchen is a great project. It is easy if you follow the steps. Remember to take your time. Soon, you will have a beautiful backsplash. It will protect your walls and look amazing.
Now that you know how to do it, start planning your project. Enjoy your new kitchen look!


