Installing wall tiles in your kitchen can be fun. It helps make your kitchen look nice. You can choose different colors and designs. This guide will help you install tiles easily. Let’s start!
Why Choose Wall Tiles?
Wall tiles have many benefits. Here are a few:
- They are easy to clean.
- They come in many colors.
- They can protect walls from water.
- They make the kitchen look stylish.

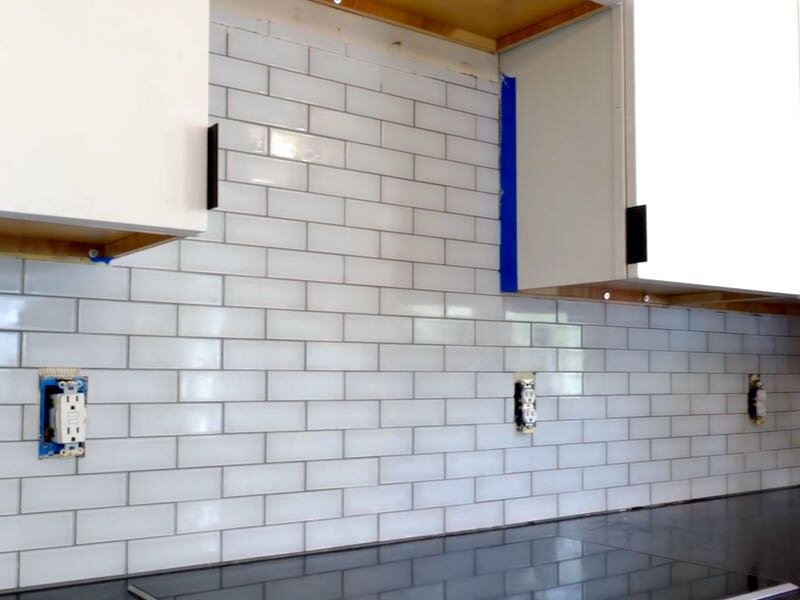
Credit: m.youtube.com
Tools and Materials Needed
Before you start, gather your tools. Here is a list of what you will need:
- Wall tiles
- Tile adhesive
- Tile cutter
- Notched trowel
- Level
- Measuring tape
- Sponge
- Grout
- Grout float
- Bucket
- Safety goggles
- Gloves
Steps to Install Wall Tiles
Now, let’s go step by step. Follow these easy steps to install wall tiles.
1. Prepare The Wall
First, clean the wall where you will put the tiles. Remove any old paint or wallpaper. Make sure the wall is smooth. You can use sandpaper for rough spots. If the wall is dirty, wash it with soap and water. Let it dry completely.
2. Measure The Area
Next, measure the area for the tiles. Use the measuring tape. Find the height and width of the wall. Multiply these numbers to get the total area. This will help you know how many tiles you need. Always buy a few extra tiles. This helps if you make mistakes.
3. Lay Out The Tiles
Before you glue tiles, lay them out. Start from the center of the wall. Use a level to make sure they are straight. This helps to see how they will look. Adjust as needed. Lay out a few rows to see the fit.
4. Mix The Adhesive
Now, mix the tile adhesive. Follow the instructions on the package. Use a bucket for mixing. Make sure it is smooth and thick. Use the notched trowel to apply it.
5. Apply The Adhesive
Spread the adhesive on the wall. Use the flat side of the trowel first. Then use the notched side to create grooves. Work in small areas. This helps the adhesive stick better.
6. Start Placing The Tiles
Begin placing the tiles on the wall. Press each tile firmly into the adhesive. Twist slightly to ensure they stick. Leave small spaces between tiles. You can use tile spacers for this. They keep the gaps even.
7. Cut Tiles If Needed
Some tiles may need cutting. Use the tile cutter for this. Measure the space needed. Mark it on the tile. Cut slowly and carefully. Wear safety goggles when cutting.
8. Let The Adhesive Dry
After placing all the tiles, let the adhesive dry. This usually takes about 24 hours. Do not touch the tiles during this time. This helps them stay in place.
9. Apply Grout
Once the adhesive is dry, it’s time for grout. Mix the grout in a bucket. Follow the instructions on the package. Use the grout float to apply it. Fill all the spaces between the tiles. Make sure it is even.
10. Clean The Tiles
After applying grout, clean the tiles. Use a damp sponge. Wipe away any extra grout. Be careful not to remove grout from the gaps. Do this while the grout is still wet.
11. Let The Grout Dry
Let the grout dry completely. This may take a few days. Follow the instructions on the grout package. Do not touch or use the wall during this time.
12. Seal The Grout
After the grout is dry, seal it. This helps protect it from water. Use a grout sealer. Apply it with a small brush. Follow the instructions on the sealer. Let it dry completely.
Credit: craftedworkshop.com
Tips for Successful Tile Installation
Here are some helpful tips:
- Always wear safety gear when working.
- Work slowly and carefully.
- Keep your tools clean.
- Check for level as you go.
- Ask for help if you need it.
Common Mistakes to Avoid
Here are some mistakes to avoid:
- Not measuring properly.
- Using too much adhesive.
- Not allowing enough drying time.
- Ignoring safety precautions.
- Rushing through the process.
Frequently Asked Questions
How Do I Prepare Walls For Tile Installation?
Clean the walls thoroughly. Remove dust, grease, and old paint. Ensure walls are smooth and dry.
What Tools Do I Need For Tiling A Kitchen Wall?
Gather a tile cutter, trowel, level, measuring tape, and adhesive. These are essential for a successful installation.
How Long Does It Take To Tile A Kitchen Wall?
It usually takes one to two days. This includes preparation, tile placement, and drying time.
Can I Tile Over Existing Tiles?
Yes, you can tile over existing tiles if they are secure. Make sure they are clean and level.
Conclusion
Installing wall tiles in your kitchen is a great project. It makes your kitchen look beautiful. By following these steps, you can do it yourself. Remember to take your time. Enjoy the process and be proud of your work. Good luck with your tile installation!