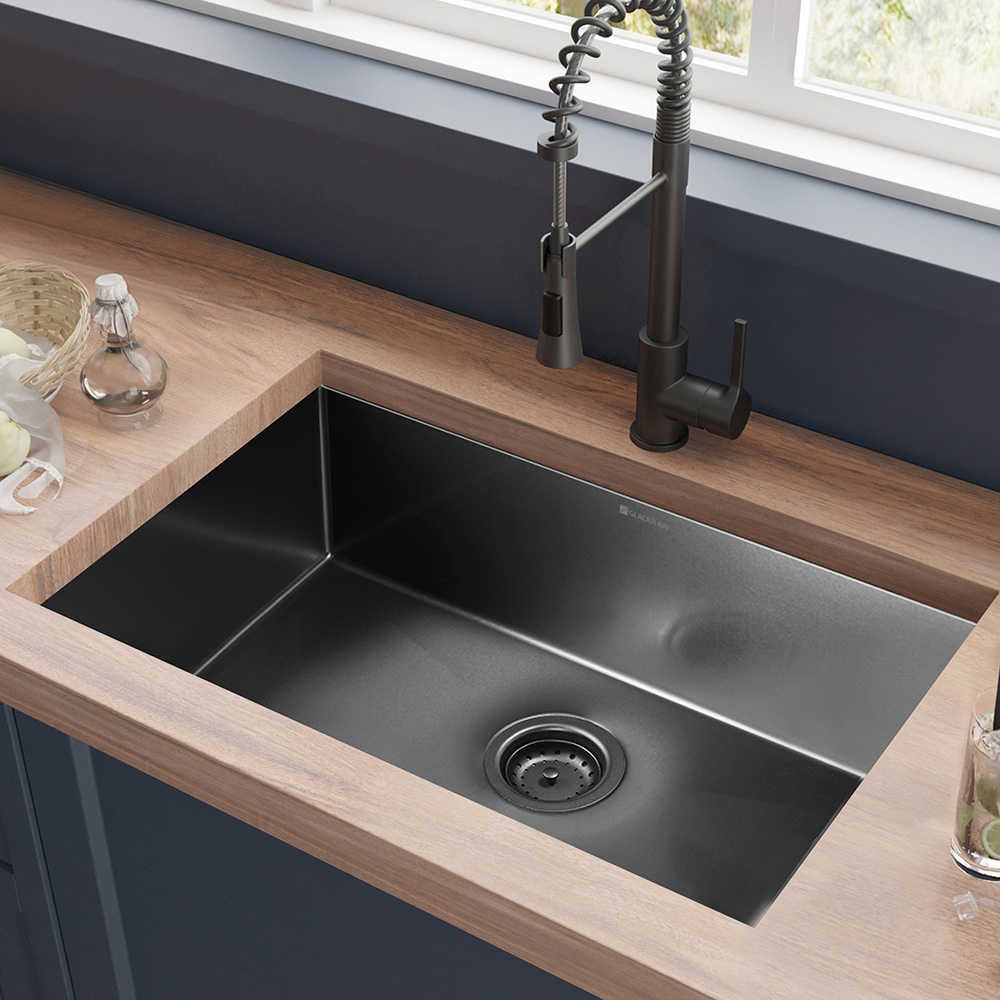
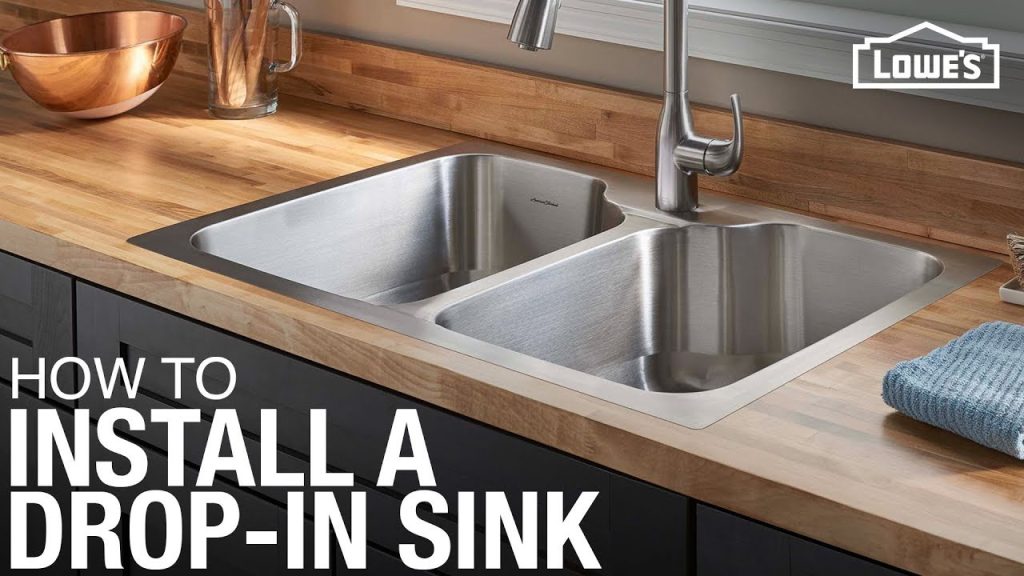
Installing a kitchen sink can be easy. You can do it yourself. This guide will help you. Follow the steps carefully. Soon, you will have a new sink.
Tools You Will Need
Before you start, gather your tools. Here is a list of what you need:
- Adjustable wrench
- Plumber’s tape
- Pipe wrench
- Bucket
- Putty knife
- Caulk
- New sink
- New faucet (optional)
- Safety goggles
- Gloves
Step 1: Prepare the Area
First, clear the area under the sink. Remove all items. This makes it easier to work.
Next, turn off the water supply. Look for the valves under the sink. Turn them clockwise to stop the water.
Step 2: Remove the Old Sink
Now, you need to take out the old sink. Check for any screws or clips holding it. Use your adjustable wrench to loosen the nuts.
Disconnect the water lines. Use your pipe wrench if needed. Have a bucket ready. Water may spill out.
Once everything is loose, lift out the old sink. Clean the counter area. Remove any old putty or caulk.
Step 3: Prepare the New Sink
Now, take your new sink. Check if it fits the counter. If it does not fit, do not force it. You may need a different sink.
Apply plumber’s putty around the edge of the sink. This will help make a tight seal. Make sure to spread it evenly.
Step 4: Install the New Sink
Carefully place the new sink into the counter. Press it down gently. Make sure it sits evenly in the hole.
Next, connect the clips or screws. Tighten them with your adjustable wrench. Be careful not to over-tighten.
Step 5: Install the Faucet
If you have a new faucet, now is the time to install it. Follow the instructions that come with it.
Usually, you will place it in the hole at the back of the sink. Secure it with nuts underneath.
Connect the water lines to the faucet. Use plumber’s tape to avoid leaks. Tighten with your wrench.
Step 6: Connect the Drain
Now, it is time to connect the drain. Install the drain assembly that came with your sink. Follow the instructions carefully.
Use your putty knife to apply a bead of putty around the drain hole. Press the drain into place.
Secure it from underneath with a locknut. Do not over-tighten. This can crack the sink.
Step 7: Test for Leaks
Now, turn the water supply back on. Check for leaks under the sink. Run the faucet for a few minutes.
Watch where the pipes connect. If you see water, you may need to tighten some connections.
Step 8: Caulk the Edges
To finish, use caulk around the edges of the sink. This helps to seal it. Use a caulk gun for even application.
Smooth the caulk with your finger or a tool. This makes it look nice and clean.
Step 9: Clean Up
Finally, clean up your work area. Put away all tools and items. Make sure everything is tidy.
Now, enjoy your new kitchen sink. You did a great job!
Tips for Success
Here are some tips to help you:
- Read all instructions carefully before starting.
- Take your time. Rushing can lead to mistakes.
- Ask a friend for help if needed.
- Keep a towel handy for spills.
- Wear safety goggles and gloves for protection.

Credit: www.homedepot.com

Credit: www.youtube.com
Frequently Asked Questions
How Do I Prepare To Install A Kitchen Sink?
Start by gathering tools. You will need a wrench, screwdriver, and plumber’s tape. Clear the area under the sink for easy access.
What Tools Do I Need For Installing A Kitchen Sink?
You will need a basin wrench, screwdriver, plumber’s tape, and a bucket. A level can help ensure proper alignment.
Can I Install A Kitchen Sink Myself?
Yes, many homeowners install sinks themselves. Follow instructions carefully and take your time to avoid mistakes.
How Long Does It Take To Install A Kitchen Sink?
Installation usually takes 2 to 4 hours. It depends on your experience and the sink type.
Conclusion
Installing a kitchen sink is a simple task. With the right tools and steps, you can do it.
Follow this guide to install your sink. Remember to take your time and be careful.
Now, enjoy your new sink and the work you did!


