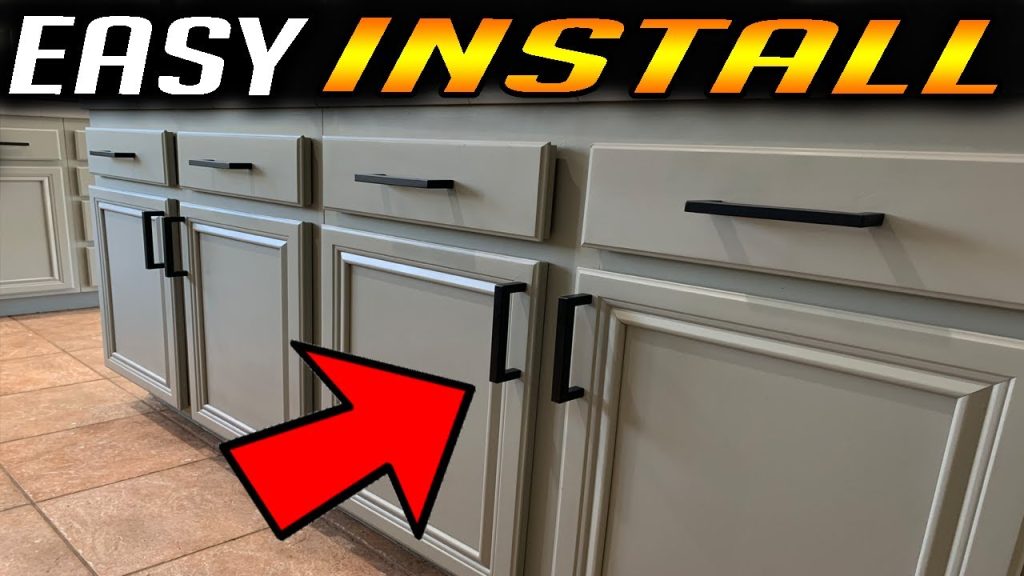
Installing kitchen cabinet handles is an easy task. You can do it yourself. This guide will help you through the process. Follow these simple steps to make your kitchen look better.
What You Need
Before you start, gather the tools and materials. Here is a list:
- Handles or knobs
- Drill
- Screws
- Measuring tape
- Pencil
- Level
- Safety glasses
- Wood filler (if needed)
Credit: truepositiontools.com
Choosing Your Handles
First, choose the right handles. They come in many styles and sizes. Think about your kitchen’s design. Do you want modern or traditional handles? Pick what you like best.
Preparing Your Cabinets
Next, prepare your cabinets. Check if they need repair. If there are holes from old handles, fill them with wood filler. Wait for it to dry. Sand the area smooth.
Measuring for New Handles
Now, it’s time to measure. Use a measuring tape. Decide where to place the handles. Most people place them 2.5 to 3 inches from the edge. Mark the spots with a pencil.
Drilling Holes for Handles
Put on safety glasses. Use a drill to make holes. Be careful and go slow. Drill straight down to avoid mistakes. Check the depth of the hole. It should match the screws’ length.
Attach the Handles
Now, it’s time to attach the handles. Take a handle and place it over the holes. Insert the screws from the back. Use a screwdriver to tighten them. Do not make them too tight. This can damage the cabinet.
Check the Alignment
After attaching all handles, check the alignment. Use a level to ensure they are straight. If something is off, loosen the screws. Adjust until they look good.
Final Touches
Once everything is in place, check your work. Open and close the cabinets. Make sure the handles work well. If they wobble, tighten the screws again.

Credit: www.homedepot.com
Cleaning Up
After you finish, clean your area. Put away tools. Dispose of any waste. Enjoy your new kitchen cabinet handles!
Tips for Success
Here are some tips to help you:
- Always use a level to check alignment.
- Don’t rush. Take your time for best results.
- Ask a friend for help if needed.
- Choose handles that match your kitchen style.
- Keep the area clean while working.
Common Mistakes to Avoid
Many people make mistakes when installing handles. Here are some common ones:
- Not measuring correctly. Always double-check your measurements.
- Drilling too deep. Know the length of your screws.
- Forgetting to wear safety glasses. Protect your eyes!
- Using handles that are too heavy. Ensure they fit your cabinets.
- Skipping the leveling step. Always check for straightness.
Frequently Asked Questions
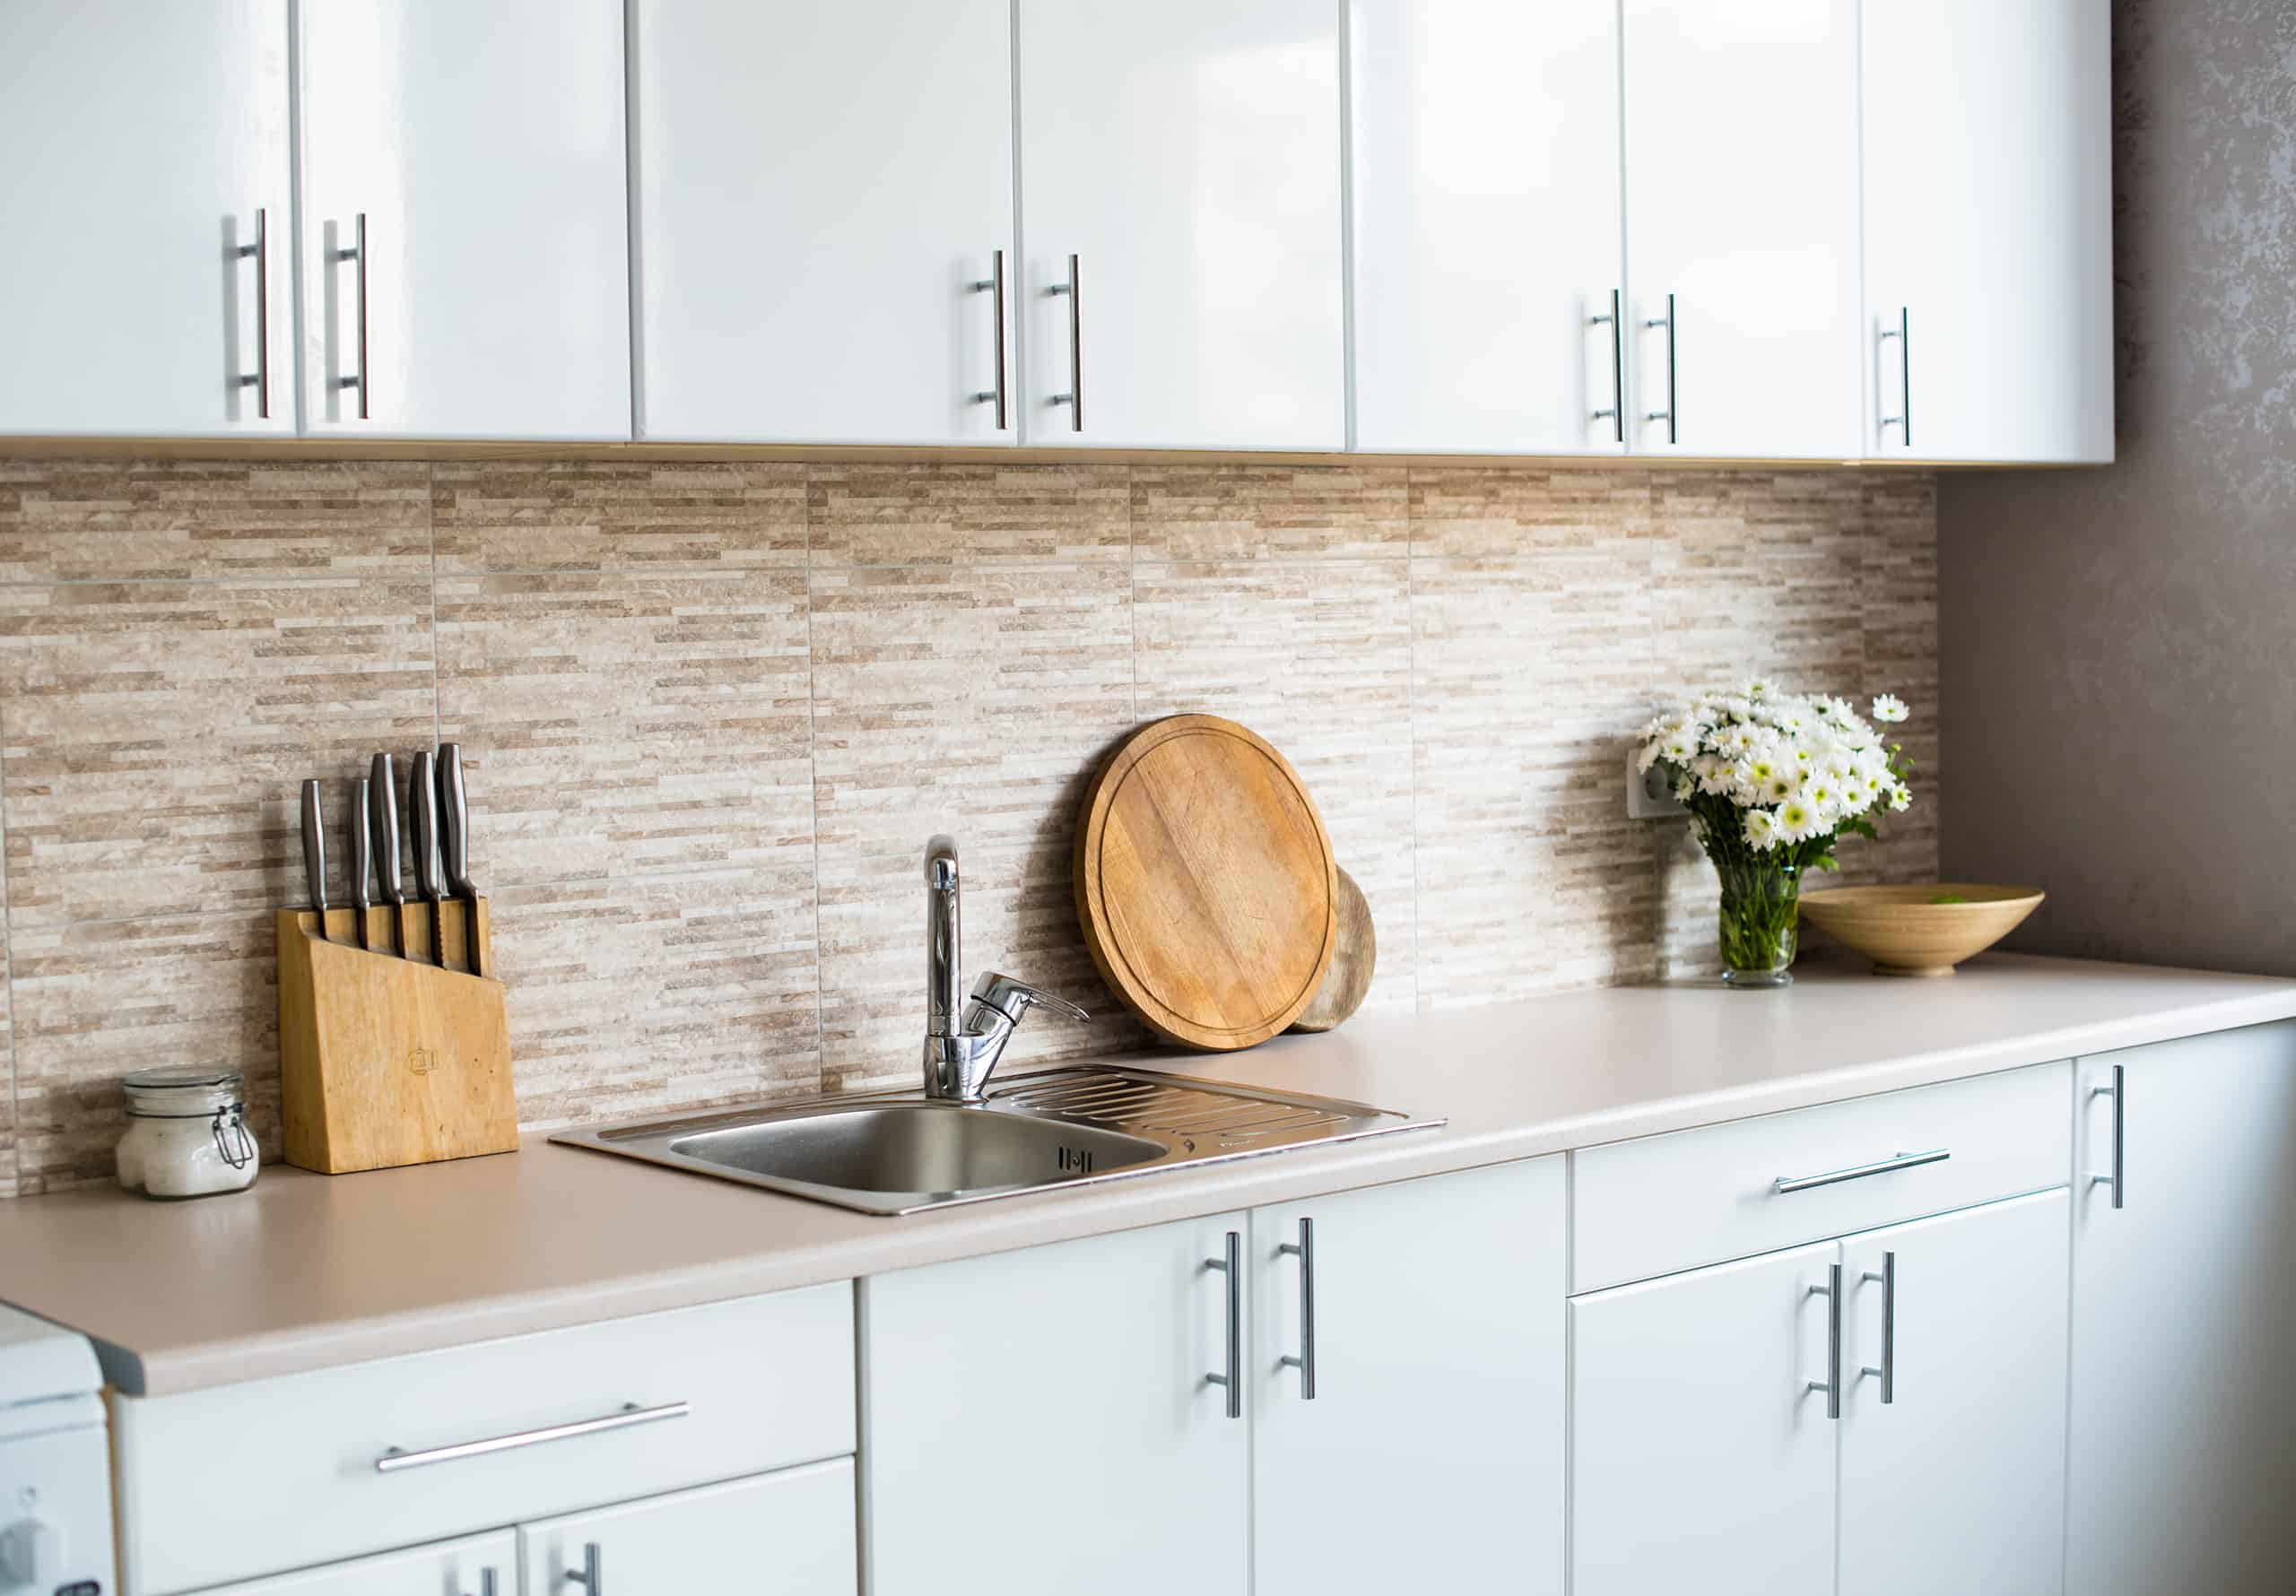
How Do I Choose The Right Cabinet Handles?
Choosing the right cabinet handles depends on style, size, and comfort. Consider your kitchen’s design and your personal preference.
What Tools Do I Need To Install Cabinet Handles?
You will need a drill, screwdriver, measuring tape, and a level. These tools make the installation easier and more precise.
How High Should Cabinet Handles Be Installed?
Cabinet handles should be 2. 5 to 3 inches above the countertop. This height is comfortable for most people.
Can I Install Handles On Cabinets Without Pre-drilled Holes?
Yes, you can install handles on cabinets without pre-drilled holes. Just measure and mark where you want to drill.
Conclusion
Installing kitchen cabinet handles is easy. With the right tools and steps, anyone can do it. Follow the guide above for a great result. Enjoy your refreshed kitchen!
Further Reading
If you want to learn more about kitchen projects, check out these topics:
- How to Paint Kitchen Cabinets
- Choosing the Right Cabinet Style
- Updating Kitchen Fixtures