Installing a Glacier Bay kitchen faucet is easy. You can do it yourself. This guide helps you through every step. Let’s get started!
Tools You Will Need
Before you start, gather your tools. Here is a list:
- Adjustable wrench
- Screwdriver (flathead and Phillips)
- Pliers
- Plumber’s tape
- Bucket or towel
Parts of the Faucet
Know the parts of your Glacier Bay faucet. Here they are:
- Faucet body
- Sprayer
- Hoses
- Mounting hardware
- Pull-down sprayer (if applicable)
Preparation Steps
Before you install the faucet, prepare your area. Follow these steps:
- Turn off the water supply. Find the valves under the sink.
- Open the old faucet. Let any water drain out.
- Remove the old faucet. Use a wrench if needed.
- Clean the sink area. Make sure it is free of dirt.
Installing the New Faucet
Now, let’s install your new Glacier Bay faucet. Follow these steps:
Step 1: Place The Faucet
Put the faucet body into the sink. Make sure it fits well. The holes must match.
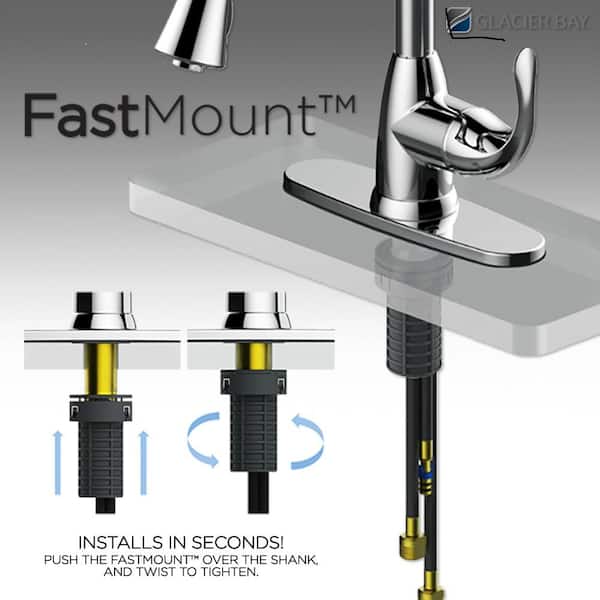
Step 2: Secure The Faucet
Use the mounting hardware to secure the faucet. Tighten it with your hand. Do not over-tighten.
Step 3: Connect Water Supply Lines
Now, connect the water supply lines. Follow these steps:
- Locate the hot and cold water lines.
- Attach the lines to the faucet. Match hot to hot and cold to cold.
- Use plumber’s tape on the threads. This helps prevent leaks.
- Tighten the connections with a wrench.
Step 4: Install The Sprayer
If your faucet has a sprayer, install it now:
- Insert the sprayer hose through the sink.
- Attach the sprayer to the faucet. Ensure it is secure.
- Connect the other end to the water supply.
Step 5: Check For Leaks
It’s time to check for leaks. Here’s how:
- Turn on the water supply.
- Open the faucet slowly. Check for leaks.
- Inspect all connections. Tighten if necessary.
Credit: www.homedepot.com
Final Steps
You are almost done! Follow these final steps:
Step 1: Clean Up
Clean your workspace. Remove any tools and debris.
Step 2: Test The Faucet
Test the faucet again. Check both hot and cold water.
Make sure the sprayer works well.
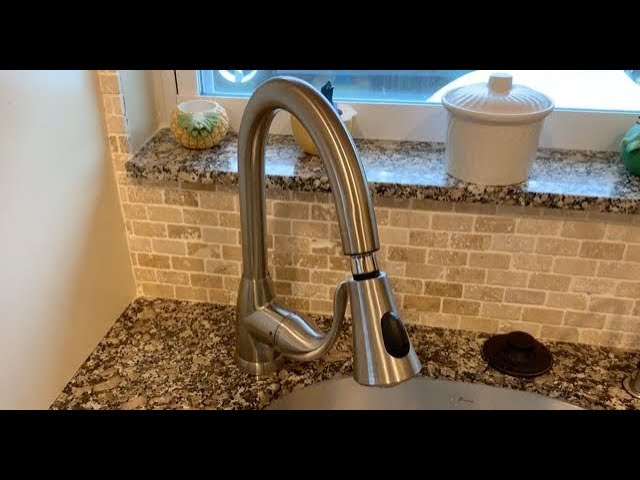
Credit: www.youtube.com
Troubleshooting Common Problems
Sometimes, things may not go as planned. Here are some common issues and solutions:
1. Faucet Leaks
If you see water dripping, check the connections. Make sure they are tight. Use plumber’s tape if needed.
2. Low Water Pressure
If the water pressure is low, check the aerator. Clean it if it is clogged. Also, check the water supply valves.
3. Faucet Doesn’t Turn On
If the faucet won’t turn on, ensure the water supply is on. Check the hoses for kinks or blockages.
Maintenance Tips
Keep your Glacier Bay faucet in good shape. Follow these tips:
- Clean the faucet regularly. Use a soft cloth.
- Avoid harsh chemicals. They can damage the finish.
- Check for leaks every few months.
- Replace the aerator if it gets clogged.
Frequently Asked Questions
How Do I Prepare To Install A Glacier Bay Kitchen Faucet?
Start by gathering tools like a wrench, screwdriver, and plumber’s tape. Read the installation manual carefully.
What Tools Do I Need For Installation?
You will need a wrench, screwdriver, pliers, and plumber’s tape for the installation process.
How Long Does It Take To Install A Kitchen Faucet?
Installing a kitchen faucet usually takes about 1 to 2 hours. This can vary based on experience.
Can I Install The Faucet Myself?
Yes, most people can install it with basic tools and instructions. Follow the manual step by step.
Conclusion
Installing a Glacier Bay kitchen faucet is simple. With the right tools and steps, you can do it. Follow this guide, and you will have a new faucet in no time. Enjoy your new kitchen faucet!
Remember to take your time. Don’t rush through the steps. Happy installing!