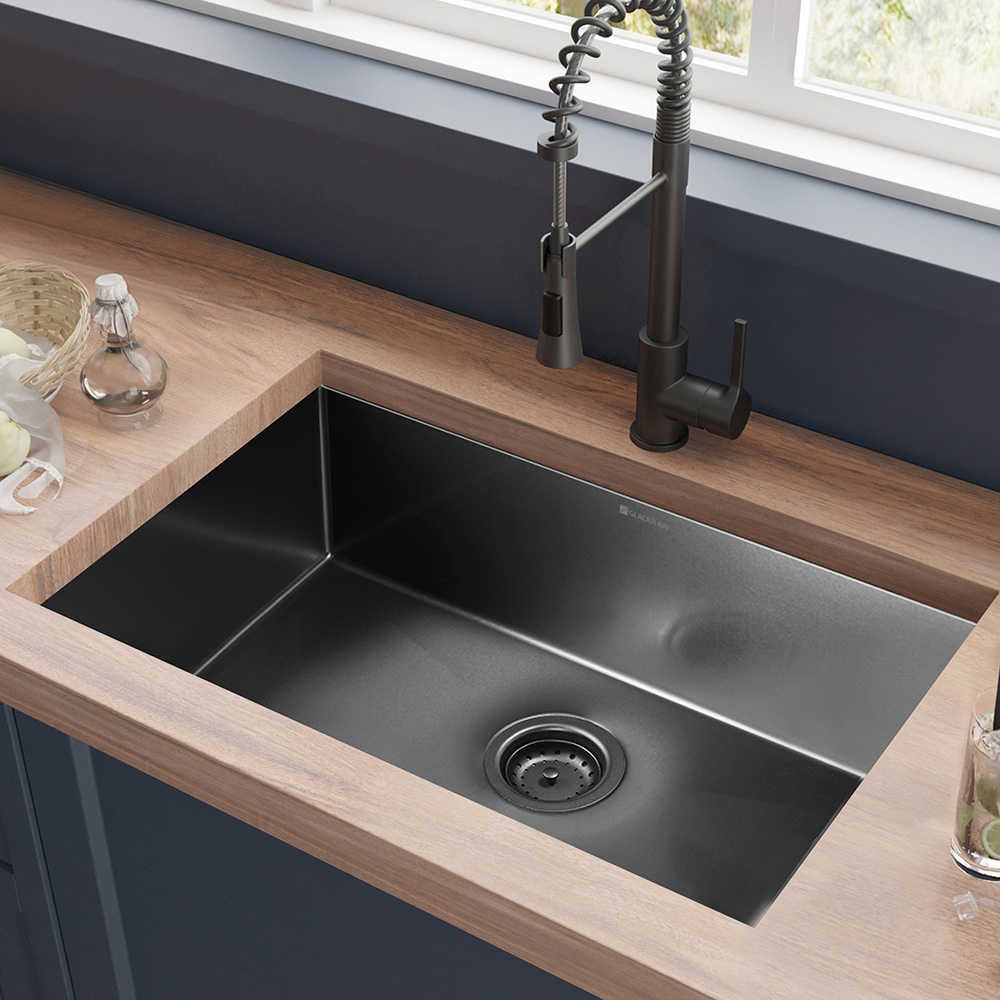
Installing a kitchen sink can seem hard. But with the right tools and steps, you can do it. In this guide, we will show you how to install a kitchen sink. Let’s get started!
Tools You Will Need
Before you start, gather your tools. Here is a list:
- Adjustable wrench
- Plumber’s putty
- Pipe wrench
- Bucket
- Caulk gun
- Drill
- Measuring tape
- Safety goggles
- Gloves
:max_bytes(150000):strip_icc()/how-to-install-a-sink-drain-2718789_hero_5078-64538f6f90d545c7af0728e4bf8f894e.jpg)
Credit: www.thespruce.com
Materials Needed
You will also need some materials. Here they are:
- New kitchen sink
- Sink faucet
- Water supply lines
- P-trap
- Mounting hardware
Steps to Install a Kitchen Sink
1. Prepare The Area
First, clear the area under the old sink. Remove all items. Make sure the space is clean. This will help you work better.
2. Shut Off The Water
Next, shut off the water supply. Look for the valves under your sink. Turn them clockwise to close. This stops the water flow.
3. Disconnect The Old Sink
Now, it’s time to remove the old sink. Use the adjustable wrench. Disconnect the water supply lines. Place a bucket under the pipes to catch water.
4. Remove The Drain Assembly
Next, remove the drain assembly. Use the pipe wrench for this task. Unscrew the drain from the sink. Be careful, as it may be stuck.
5. Clean The Surface
After you remove the sink, clean the counter. Make sure to remove any old putty or debris. A clean surface helps the new sink fit well.
6. Place The New Sink
Now, it’s time for the new sink. Set the new sink into the opening. Make sure it fits snugly. Check the alignment with the counter edges.
7. Secure The Sink
Use the mounting hardware to secure the sink. Follow the instructions with your sink. Make sure it is tight but not too tight. You don’t want to crack the sink.
8. Install The Faucet
Next, install the faucet. Follow the instructions that come with it. Usually, you place it in the hole at the back of the sink. Secure it with nuts underneath.
9. Connect The Water Supply
Now, connect the water supply lines. Attach them to the faucet. Use your wrench to tighten them. Make sure there are no leaks.
10. Install The Drain Assembly
It’s time to install the drain assembly. Place the drain into the sink hole. Use plumber’s putty around the edge. This helps to seal it well.
11. Connect The P-trap
Next, connect the P-trap to the drain. This helps to carry waste away. Make sure all connections are tight. Check for any leaks.
12. Turn On The Water Supply
Now, turn on the water supply. Go back to the valves under the sink. Turn them counterclockwise to open. Watch for leaks as water flows.
13. Test The Sink
Finally, test the sink. Turn on the faucet and let it run. Check for leaks under the sink. If you see any, tighten the connections.
Common Issues
Sometimes, things do not go as planned. Here are a few common issues:
- Leaking faucet: Check the connections. Make sure they are tight.
- Clogged drain: Run hot water down the drain. This may help.
- P-trap leaks: Ensure all connections are secure.
Tips for Success
Here are some tips to help you:
- Read the instructions carefully.
- Take your time. Do not rush.
- Ask a friend for help if needed.
- Wear safety goggles and gloves.
- Clean as you go. This makes the job easier.

Credit: www.homedepot.com
Frequently Asked Questions
How Do I Prepare For Kitchen Sink Installation?
Gather tools like a wrench, plumber’s tape, and a bucket. Clear the area under the sink.
What Tools Do I Need To Install A Kitchen Sink?
You will need a wrench, screwdriver, plumber’s tape, and a bucket.
Can I Install A Kitchen Sink Myself?
Yes, many homeowners can install a sink with basic tools and skills.
How Long Does It Take To Install A Kitchen Sink?
It usually takes about 1 to 3 hours to install a sink.
Conclusion
Installing a kitchen sink can be done easily. With the right tools and steps, you can do it yourself. Follow this guide for a successful installation. Enjoy your new sink!


