
A leaky kitchen faucet can be annoying. It drips and wastes water. Fixing it is not hard. You can do it yourself. This guide will help you fix your leaky faucet step by step.
Why Does a Faucet Leak?
Faucets can leak for many reasons. The most common reasons are:
- Worn-out washers
- Loose parts
- Corroded valve seats
- Broken O-rings
Understanding these reasons helps you find the problem.
Tools You Will Need
Before starting, gather your tools. Here’s a list:
- Adjustable wrench
- Screwdriver (flathead and Phillips)
- Replacement washers
- Replacement O-rings
- Plumber’s grease
- Bucket or towel
Having the right tools makes the job easier.
Step-by-Step Guide to Fix Your Faucet
Step 1: Turn Off The Water Supply
Find the water supply valves under your sink. Turn them clockwise to shut off the water. If you can’t find them, turn off the main water supply. This keeps water from spilling everywhere.
Step 2: Drain The Faucet
Open the faucet to let any water out. This step is important. It ensures you have no water left in the pipes.
Step 3: Remove The Faucet Handle
Look for screws on the handle. Some handles have caps that hide the screws. Use a flathead screwdriver to pop off the cap. Then, remove the screws with a Phillips screwdriver. Pull the handle off gently.
Step 4: Take Off The Packing Nut
Use the adjustable wrench to loosen the packing nut. Be careful not to scratch the faucet. Once it is loose, remove it by hand.
Step 5: Inspect The Parts
Look for worn-out washers, O-rings, or corroded valve seats. If you see damage, it is time to replace them. You can take the old parts to the store. This helps you find the right size replacements.
Step 6: Replace The Washers And O-rings
Take the old washers and O-rings out. Put in the new ones. Make sure they fit well. Add some plumber’s grease to help them seal better.
Step 7: Reassemble The Faucet
Put the packing nut back on. Tighten it with the wrench, but do not over-tighten. Put the handle back on and secure it with the screws. If there was a cap, put it back on too.
Step 8: Turn The Water Supply Back On
Go back to the water supply valves. Turn them counter-clockwise to open them. Check for leaks while the faucet is running.
Step 9: Test The Faucet
Turn the faucet on and off several times. Make sure the leak is gone. If it is still leaking, check the parts again. You might need to replace different parts.
Common Faucet Types and Their Fixes
There are different types of kitchen faucets. Each type has its own way to fix leaks.
Compression Faucets
Compression faucets have two handles. One for hot and one for cold. They often leak due to worn washers. Follow the steps above to fix them.
Cartridge Faucets
Cartridge faucets have a single or double handle. They use a cartridge to control water flow. If they leak, replace the cartridge. Follow the same steps to remove the handle and packing nut.
Ball Faucets
Ball faucets have a single handle on top. They have a ball-and-socket design. If they leak, you need a special kit to fix them. Replace the springs and seals inside.
Disc Faucets
Disc faucets have a single handle and a wide body. They use ceramic discs. If they leak, replace the seals and O-rings. Follow the same steps for removing parts.

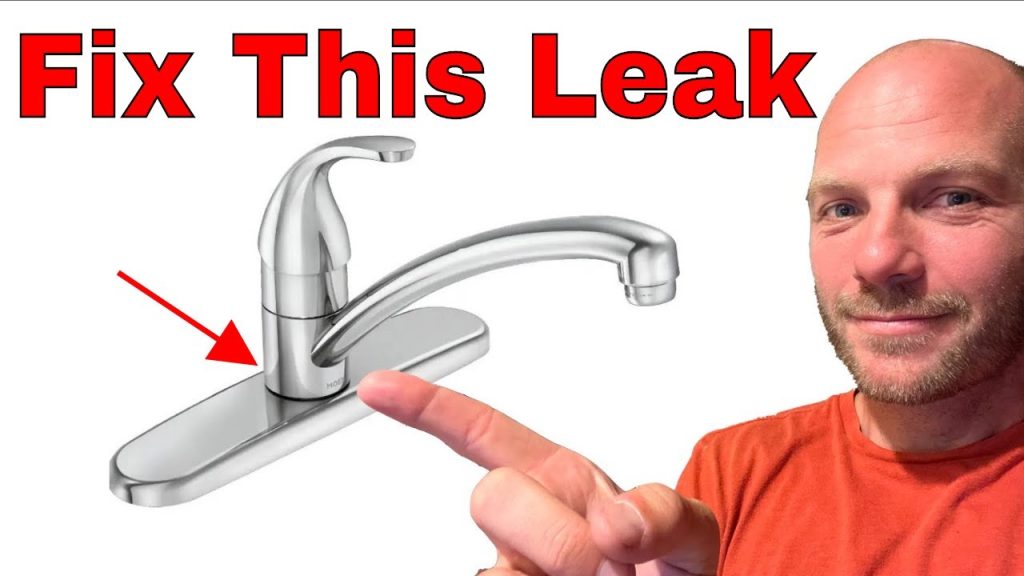
Credit: www.familyhandyman.com
Preventing Future Leaks
Fixing a leaky faucet is important. You can also prevent leaks in the future. Here are some tips:
- Do not turn the faucet on hard.
- Clean the faucet regularly.
- Check for leaks every few months.
- Keep the water supply valves in good shape.
These tips can help your faucet last longer.
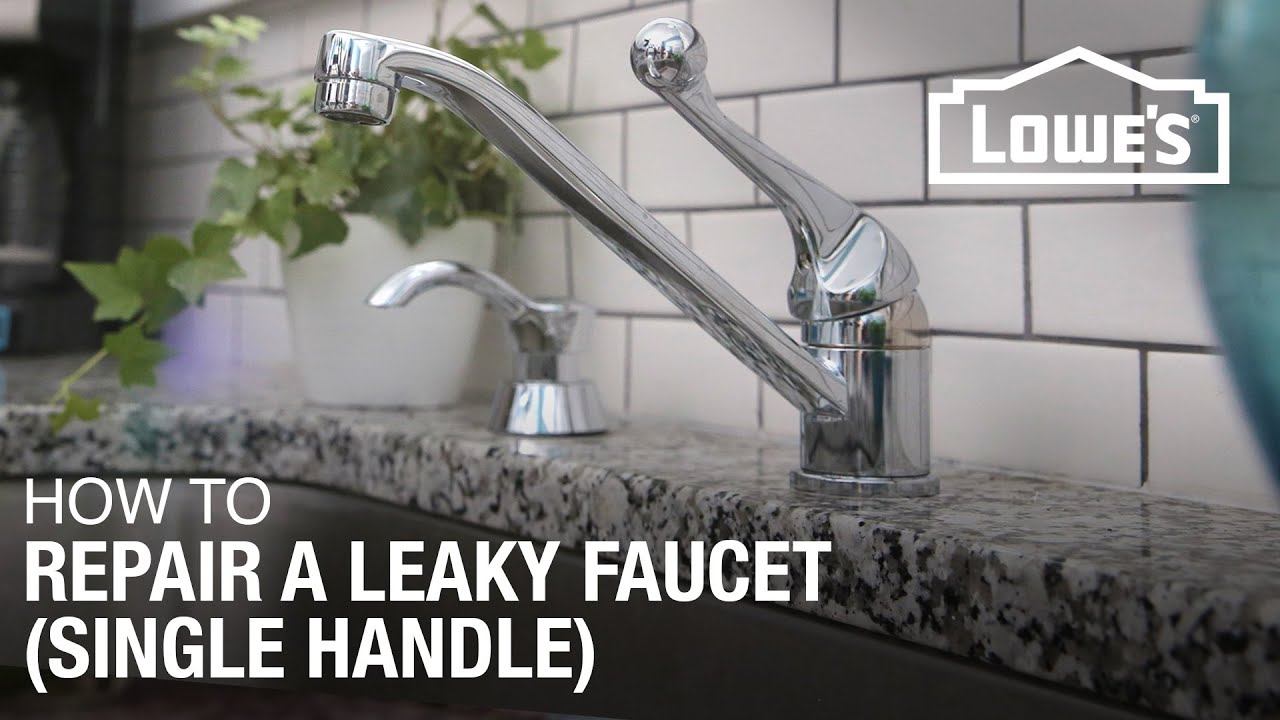
Credit: www.youtube.com
When to Call a Plumber
Sometimes, fixing a faucet is too hard. If you feel unsure, call a plumber. Here are some reasons to call:
- You cannot find the leak source.
- You do not have the right tools.
- The leak is very bad.
- You feel uncomfortable doing the repair.
A plumber can help you with these issues. They have experience and tools to fix the problem.
Frequently Asked Questions
How Do I Know If My Faucet Is Leaking?
Look for water pooling around the faucet base. Drips or constant moisture are signs too.
What Tools Do I Need To Fix A Leaky Faucet?
You need a wrench, screwdriver, and replacement washers. These tools help with most faucet repairs.
Can I Fix A Leaky Faucet Myself?
Yes, many leaks can be fixed at home. It’s often simple and saves money.
What Causes A Kitchen Faucet To Leak?
Worn-out washers, loose fittings, or damaged O-rings often cause leaks. Regular wear and tear plays a role too.
Conclusion
A leaky kitchen faucet can be fixed easily. With the right tools, you can do it yourself. Follow the steps in this guide. Remember to turn off the water supply first. Check the parts for damage. Replace them if needed. Test the faucet after you finish. If it still leaks, consider calling a plumber. Taking care of your faucet can save water and money.
FAQs
1. How Long Does It Take To Fix A Leaky Faucet?
It usually takes about 30 minutes to an hour.
2. Can I Use Any Type Of Washer For My Faucet?
No, you should use washers that fit your faucet model.
3. What If My Faucet Still Leaks After I Fix It?
Check all parts again. You might need to replace more parts.
4. Is It Okay To Use Plumber’s Grease?
Yes, it helps create a better seal and prevents leaks.
5. How Can I Find The Right Replacement Parts?
Take the old parts to a hardware store for help.