A dripping kitchen faucet can be annoying. It can waste water, too. Fixing it is easier than you think. You can do it yourself. This guide will help you step by step.
Why Does a Faucet Drip?
There are many reasons a faucet may drip. Here are some common causes:
- Worn-out washers
- Loose parts
- Corroded valve seats
- Broken O-rings
- High water pressure
Understanding these causes helps you know what to check. Now, let’s look at how to fix the problem.
Tools You Will Need
Gather the tools before you start. Here is a list:
- Adjustable wrench
- Screwdriver
- Replacement parts (washers, O-rings)
- Towel or cloth
- Bucket
Having these tools ready makes the job easier.
Step 1: Turn Off the Water Supply
Before you start fixing, turn off the water. Look under the sink. You will find two valves. One is for hot water. The other is for cold water. Turn them both off. This stops water from flowing.
If you cannot find the valves, turn off the main water supply. This will stop all water in the house.
Step 2: Drain the Faucet
After turning off the water, open the faucet. Let the water drain out. This removes any leftover water in the pipes. It helps you work without spills.
Step 3: Plug the Drain
Use a towel or cloth to cover the drain. This prevents small parts from falling in. You do not want to lose anything while you work.
Step 4: Remove the Faucet Handle
Now, you need to take off the faucet handle. Look for a screw on the handle. Use a screwdriver to remove it. If you do not see a screw, check for a decorative cap. Pop it off gently to find the screw.
Once you remove the screw, lift the handle off. Keep it in a safe place.
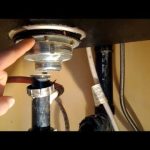
Step 5: Inspect the Parts
Now, you can see the inner parts of the faucet. Check the washers and O-rings. Look for any wear or damage. If they look cracked or worn out, they need replacement.
Also, check the valve seat. If it is corroded, it may need cleaning or replacing.

Credit: www.familyhandyman.com
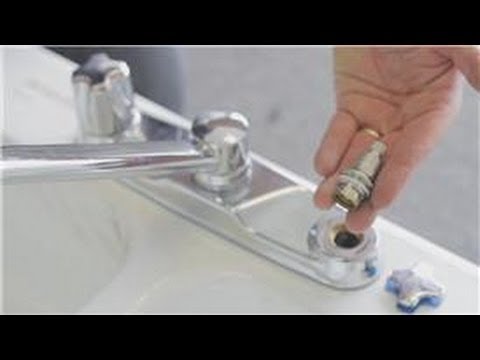
Step 6: Replace Worn Parts
Once you find damaged parts, replace them. Take the old washers or O-rings to the store. Get the same size. This will ensure a good fit.
To replace the washer, unscrew the retaining nut. Then, pull out the old washer. Place the new one in its spot. Make sure it fits snugly.
Step 7: Reassemble the Faucet
After replacing parts, put the faucet back together. First, put the handle back on. Secure it with the screw you removed. If there was a decorative cap, put it back too.
Credit: www.homedepot.com
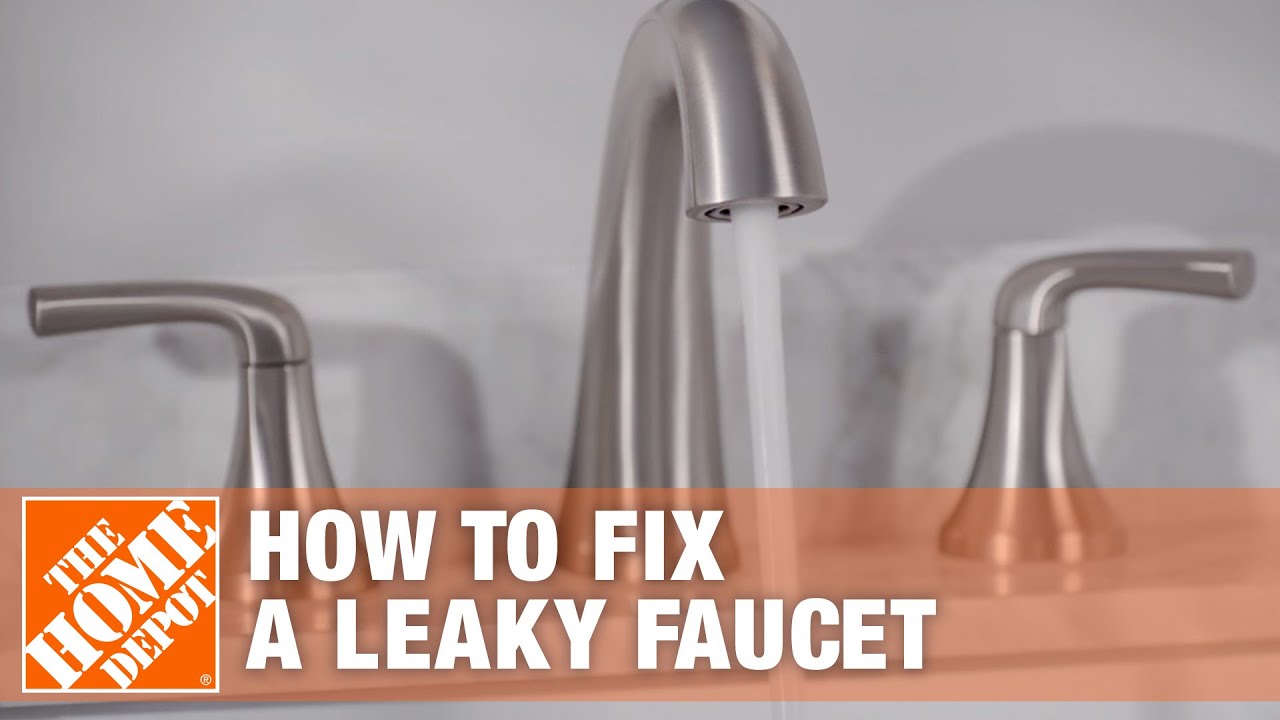
Step 8: Turn the Water Supply Back On
Go back under the sink. Turn on the water supply valves. First, turn on the hot water valve. Then, turn on the cold water valve. This will allow water to flow back into the faucet.
Step 9: Check for Leaks
After turning the water back on, check for leaks. Open the faucet. Let the water run for a few moments. Look under the sink and around the faucet. If you see any water dripping, turn off the water supply again.
If there are still leaks, you may need to check your work. Make sure all parts are tight and fitted correctly.
Step 10: Clean Up
Once you are sure there are no leaks, clean up your workspace. Remove the towel from the drain. Put your tools away. Make sure everything is neat and tidy.
Additional Tips
Here are some extra tips for you:
- Always keep a towel nearby. It can help with spills.
- Take pictures of parts before removing them. This helps during reassembly.
- Use plumber’s grease on O-rings for a better seal.
- If you are unsure, ask for help. A friend or family member can assist.
When to Call a Professional
Sometimes, fixing a faucet can be hard. If you try and still have problems, call a plumber. They have the tools and knowledge. They can help fix leaks quickly.
Frequently Asked Questions
Why Is My Kitchen Faucet Dripping?
A dripping kitchen faucet often means worn-out washers or seals. Check these parts first.
How Can I Stop My Faucet From Leaking?
To stop a leak, replace worn washers or O-rings. Tightening loose parts can also help.
What Tools Do I Need To Fix A Faucet?
Common tools include a wrench, screwdriver, and pliers. These will help you fix most faucet issues.
Can I Fix A Dripping Faucet Myself?
Yes, many people fix dripping faucets themselves. It’s a simple task with the right tools.
Conclusion
Fixing a dripping kitchen faucet is simple. With a few tools and steps, you can do it yourself. This not only saves water but also saves money. Remember to check for leaks after your repair. Enjoy your quiet kitchen with a fixed faucet!