Cleaning kitchen burner grease is important. Grease can build up over time. It can make your kitchen look dirty. It can also be unsafe. This guide will help you clean your burners easily.
Why You Should Clean Your Burners
Burners can get greasy for many reasons. Cooking food often causes this. Food spills, smoke, and splatters add grease. Regular cleaning helps keep your kitchen safe. It also makes cooking easier. Here are some reasons to clean your burners:
- Prevent fires.
- Improve cooking performance.
- Make your kitchen look nice.
- Reduce bad smells.
What You Will Need
Before you start cleaning, gather your supplies. Here is a list of items you need:
- Dish soap
- Baking soda
- Vinegar
- Warm water
- Soft cloths or sponges
- Scrub brush
- Plastic scraper or putty knife
- Old toothbrush
Step-by-Step Cleaning Process
Now that you have your supplies, let’s clean your burners. Follow these steps:
Step 1: Turn Off The Burner
Always turn off the burner first. Make sure it is cool. Safety is important when cleaning.
Step 2: Remove Burner Parts
Take off the burner grates and caps. These parts can usually be lifted off easily. Place them in the sink.
Step 3: Soak The Parts
Fill your sink with warm water. Add dish soap to the water. Let the burner grates and caps soak for about 15 minutes. This will help loosen the grease.
Step 4: Make A Cleaning Paste
While the parts soak, make a cleaning paste. Mix baking soda with a little water. The paste should be thick. This will help remove tough grease.
Step 5: Apply The Paste
Use your cloth or sponge to apply the paste. Rub it on the greasy areas of the burners. Let it sit for about 10 minutes. This will help break down the grease.
Step 6: Scrub The Burners
After 10 minutes, scrub the burners. Use a scrub brush or an old toothbrush. Focus on areas with heavy grease. Rinse with warm water when done.
Step 7: Clean The Burner Grates And Caps
While the burners dry, clean the grates and caps. Use the same soapy water. Scrub them gently with a sponge. Rinse well and let them dry.
Step 8: Wipe Down The Surface
Don’t forget to clean the stove surface. Use a cloth with warm soapy water. Wipe away any leftover grease or food.
Step 9: Reassemble The Burners
Once everything is dry, put the burners back. Place the burner caps and grates where they belong. Make sure they fit well.
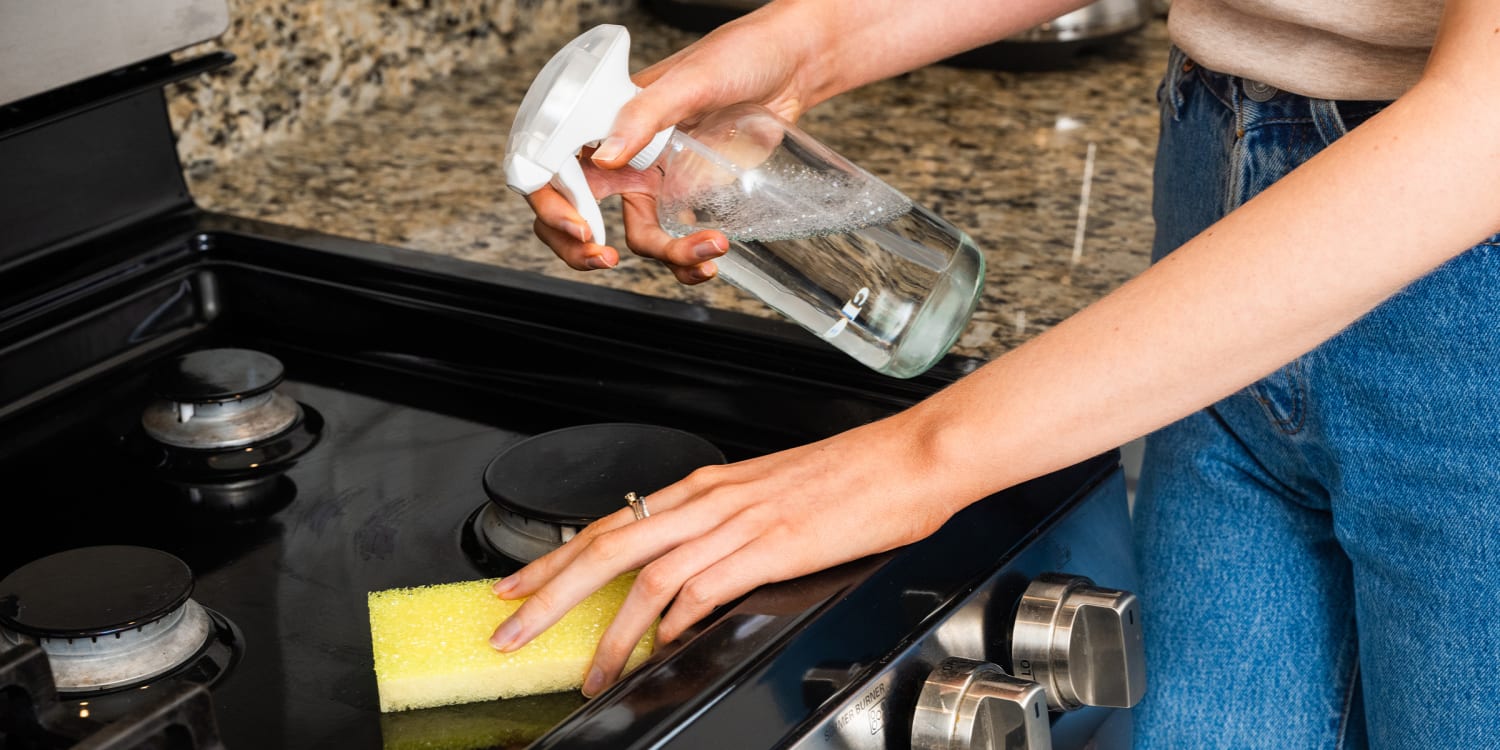
Credit: www.today.com
Extra Tips for Keeping Burners Clean
Cleaning your burners is important. Here are some extra tips to keep them clean:
- Clean spills right away.
- Use a splatter screen when frying.
- Wipe down your stove after each use.
- Deep clean your burners once a month.
Common Mistakes to Avoid
Sometimes, people make mistakes when cleaning. Here are some mistakes to avoid:
- Using harsh chemicals. They can damage the burners.
- Not rinsing well. Soap can leave a residue.
- Forgetting to let parts dry. This can cause rust.
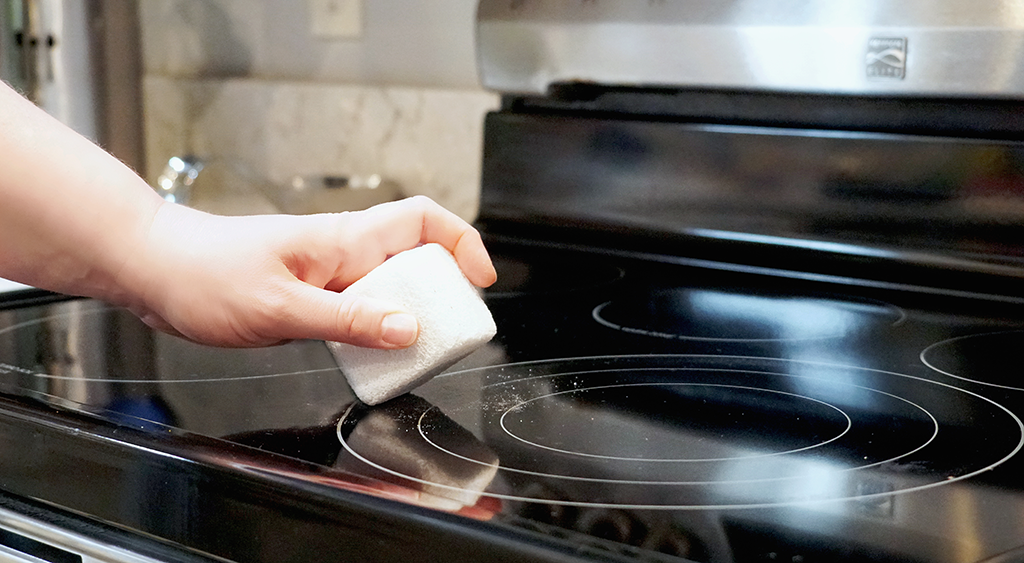
Credit: summitbrands.com
Frequently Asked Questions
How Often Should I Clean My Kitchen Burners?
Clean your kitchen burners at least once a month. This helps prevent grease buildup.
What Is The Best Way To Remove Grease?
Use a mixture of baking soda and vinegar. This combination works well on grease.
Can I Use Vinegar On My Burners?
Yes, vinegar is safe and effective for cleaning burners. It cuts through grease easily.
What Tools Do I Need For Cleaning?
You need a soft cloth, sponge, and a brush. These tools help reach all areas.
Conclusion
Cleaning your kitchen burner grease is easy. With the right tools, you can do it. Follow the steps in this guide. Make your kitchen safe and clean. Remember to clean regularly. This will keep your cooking area looking great.
By taking care of your burners, you create a better cooking space. Enjoy cooking in a clean kitchen!