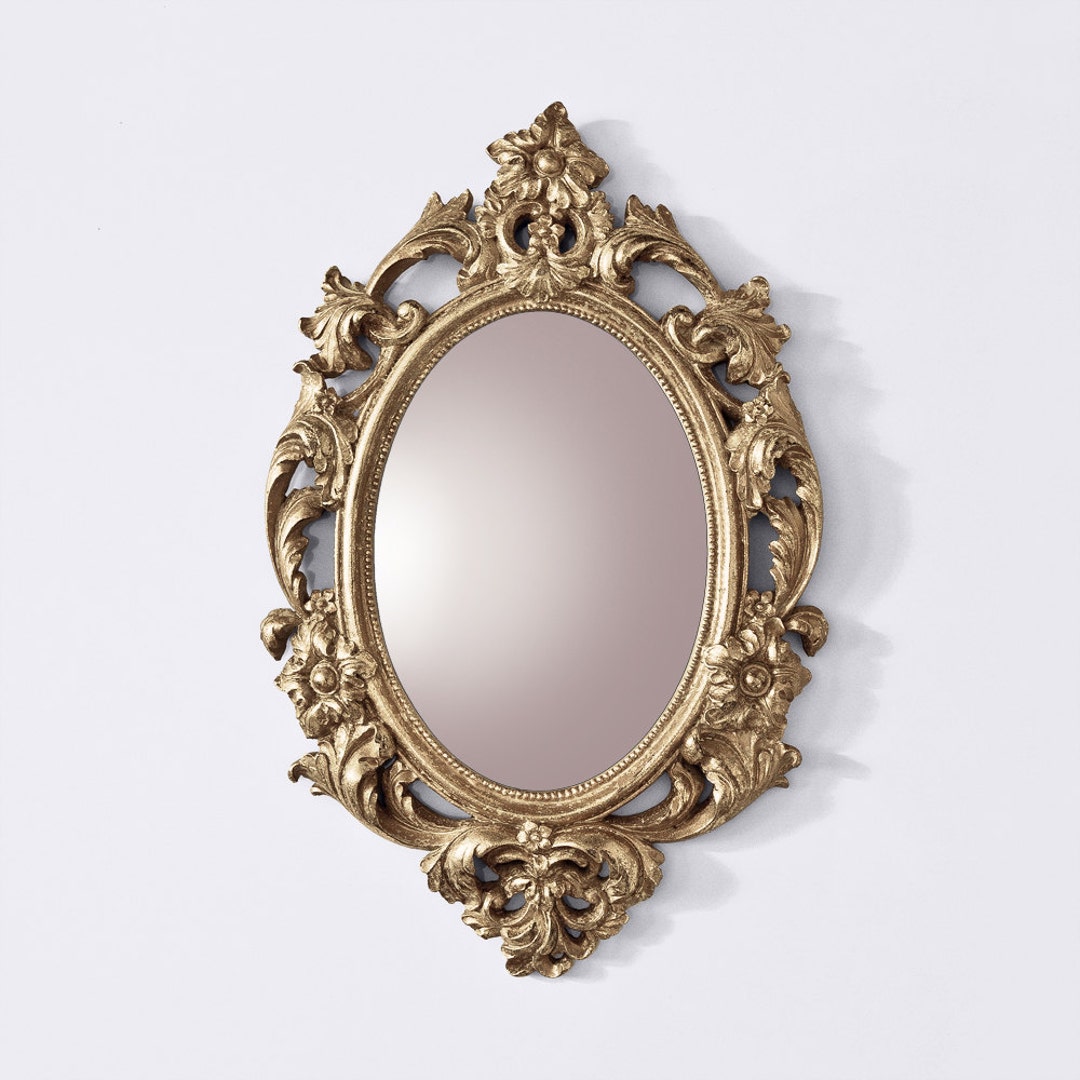
Antiquing a gold mirror frame can be a fun project. It helps add character and charm to your home. If you want to learn how to do this, you are in the right place. This guide will help you step by step. You will need some tools and materials. Let’s get started!
What You Will Need
Before you start, gather all your materials. Here is a list of what you need:
- Gold mirror frame
- Sandpaper (fine and medium grit)
- Dark paint (brown or black)
- Paintbrush
- Cloth or sponge
- Clear wax or varnish
- Sealer (optional)
- Drop cloth or newspaper
Step 1: Prepare Your Workspace
First, you need a clean space. Find a flat surface to work on. Lay down a drop cloth or old newspaper. This will help catch any mess.
Make sure the area is well-lit. Good light will help you see your work better.
Step 2: Clean the Mirror Frame
Next, clean the mirror frame. Use a damp cloth to remove dust. Make sure the surface is dry before you start working.
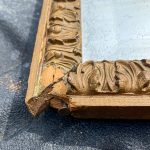
Step 3: Sand the Frame
Now, it’s time to sand the frame. Use medium grit sandpaper first. Lightly sand the frame in circular motions. This will help the paint stick better.
After sanding, switch to fine grit sandpaper. Sand gently to smooth the surface. This step is important for a nice finish.
Step 4: Apply Dark Paint
Once you finish sanding, it’s time to paint. Take your dark paint and brush. Apply a thin coat over the frame. Don’t worry about covering everything.
Let the paint dry completely. This may take a few hours. Check the instructions on the paint can for drying time.
Credit: www.nilos.com
Step 5: Distress the Frame
After the paint is dry, it’s time to distress the frame. Use sandpaper to rub off some paint. Focus on edges and corners. This will create a worn look.
Keep checking your progress. You want it to look old but not ruined.
Step 6: Add More Layers
If you want a deeper look, add more layers. You can apply a second coat of dark paint if needed. Allow it to dry and then distress again.
Step 7: Apply Clear Wax or Varnish
Now it’s time to seal your work. Use a clean cloth or brush to apply clear wax. This will protect the paint. It also adds a nice shine.
Follow the instructions on the wax or varnish. Let it dry for the recommended time.
Step 8: Finishing Touches
After everything is dry, check your frame. If you want more shine, buff the wax with a clean cloth. This will give it a polished look.
You can also apply a sealer if you wish. This step is optional, but it adds extra protection.
Step 9: Hang Your Antique Mirror Frame
Your antique gold mirror frame is ready! Find the perfect spot to hang it. Make sure it is secure on the wall. Enjoy your beautiful work!
Tips for Success
Here are some helpful tips for a successful project:
- Always work in a well-ventilated area.
- Wear gloves to protect your hands.
- Take your time with each step.
- If you make a mistake, don’t worry. Just fix it.
- Practice on a small area first if unsure.

Credit: www.homedepot.com
Common Mistakes to Avoid
Watch out for these common mistakes:
- Skipping the cleaning step. This can cause uneven paint.
- Using too much paint. Thin coats work best.
- Sanding too hard. Be gentle to avoid damage.
- Rushing the drying time. Let everything dry completely.
Frequently Asked Questions
How Can I Antique A Gold Mirror Frame?
Antiquing a gold mirror frame involves using paint, wax, and sandpaper. This process gives it an aged look.
What Materials Do I Need For Antiquing?
You will need gold paint, dark wax, sandpaper, and a clean cloth. These materials help create the antique effect.
How Long Does It Take To Antique A Mirror Frame?
The process usually takes a few hours. Drying time may add extra hours, depending on the products used.
Can I Use Other Colors For Antiquing?
Yes, you can use other colors. Darker shades work well for creating an antique finish.
Conclusion
Antiquing a gold mirror frame is easy and rewarding. With just a few simple steps, you can create a beautiful piece. Enjoy your new decor and show it off to friends!
Remember, take your time and have fun. You can change the look of your home with this simple project. Happy crafting!