Filming in the kitchen can be fun. It lets you share your cooking skills. You can show others how to make tasty dishes. But to film well, you need to set up the kitchen. This article will help you learn how to do that. Let’s get started!
Why Set Up Your Kitchen for Filming?
Setting up your kitchen is important. A good setup helps you create great videos. Here are a few reasons why:
- Good lighting makes food look tasty.
- A clean background keeps viewers focused.
- Organized space makes cooking easier to film.
- Clear audio helps viewers hear your tips.
1. Choose the Right Location
The first step is to pick a good spot. Find a place with enough light. Natural light is best. If your kitchen has windows, use them. If not, use lamps to brighten up the space.
Natural Light Vs. Artificial Light
Natural light is soft and warm. It makes food look good. Artificial lights can be bright. They can create shadows. Use a mix of both if needed.
2. Clean and Organize Your Kitchen
A clean kitchen looks nice on camera. Take time to tidy up. Put away items that you won’t use. This will keep the focus on your cooking.
Tips For Organizing
- Clear the countertops.
- Store away clutter.
- Have your ingredients ready.
- Keep tools easy to find.
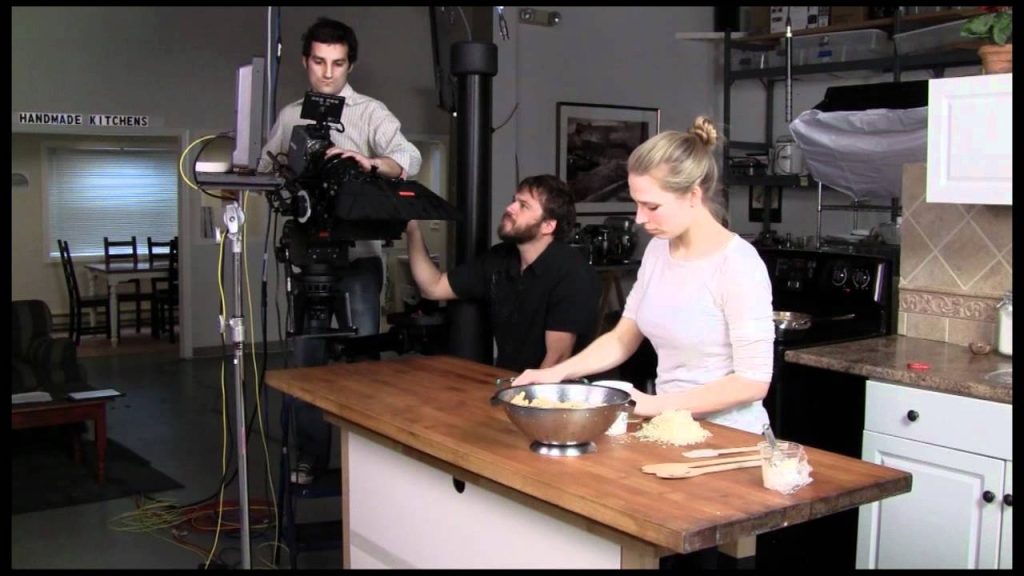
3. Set Up Your Camera
Next, you need to set up your camera. This is key for good filming. You can use a smartphone or a camera. Make sure it has a clear view of your workspace.
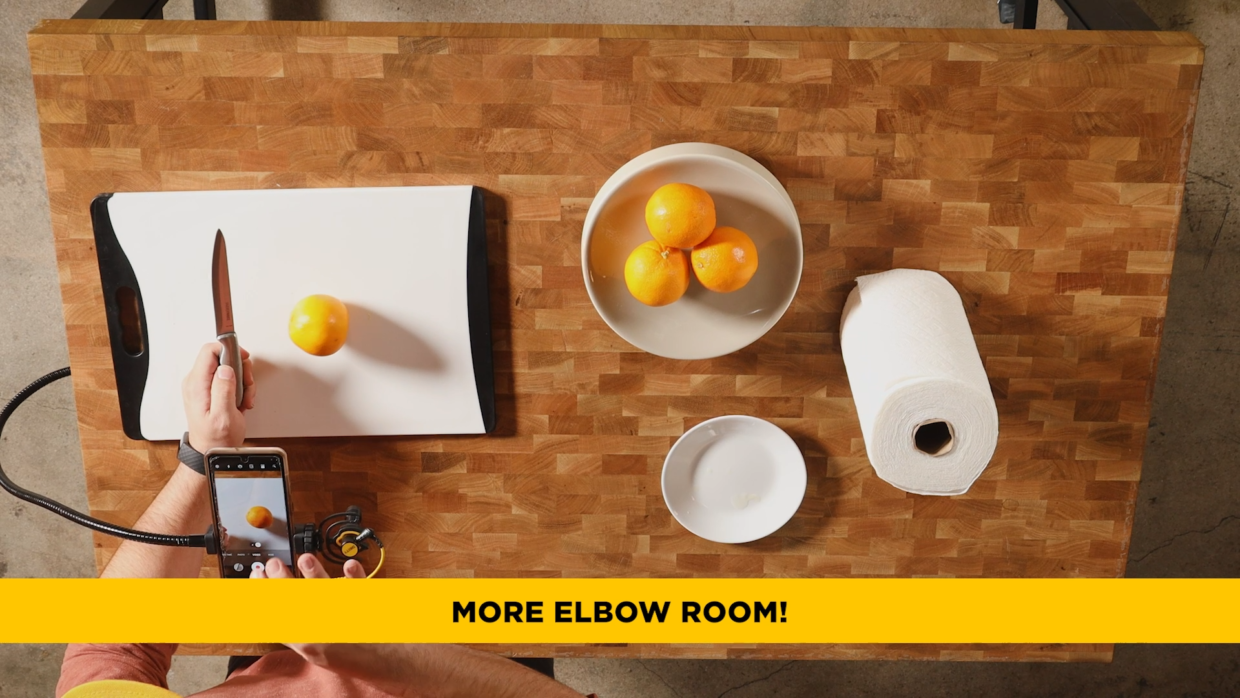
Positioning Your Camera
Place your camera at eye level. This gives viewers a good view. You can also try different angles. A top-down view works great for cooking.
4. Use a Tripod
A tripod helps keep the camera steady. This makes your video smooth. You can buy a simple tripod online or at a store. It is worth the cost.
Choosing The Right Tripod
- Look for adjustable height.
- Check if it fits your camera.
- Make sure it is sturdy.
5. Focus on Lighting
Lighting is very important in filming. Good lighting shows the colors of your food. You want your viewers to see every detail.
How To Improve Lighting
- Use soft boxes or ring lights.
- Avoid harsh shadows.
- Light up the cooking area well.
- Try filming at different times of the day.
6. Prepare Your Ingredients
Before you start filming, prepare your ingredients. Measure and chop everything ahead of time. This makes cooking easier and faster on camera.
Benefits Of Prepping Ingredients
- Reduces stress while filming.
- Makes your video flow better.
- Helps you focus on presenting.

Credit: www.facebook.com
7. Plan Your Shots
Think about what you want to show. Planning your shots will help. Write down the steps of the recipe. Decide how you want to film each part.
Types Of Shots To Consider
- Close-ups of ingredients.
- Wide shots of the cooking area.
- Action shots of cooking techniques.
8. Sound Matters
Good sound makes your video better. You want viewers to hear you clearly. Avoid noisy places. Use a microphone if you can.
Improving Audio Quality
- Choose a quiet time to film.
- Use a clip-on mic for clear sound.
- Avoid background noise.
9. Practice Your Presentation
Before you start filming, practice your presentation. Speak clearly and at a steady pace. This helps viewers understand you better.
Tips For Better Presentation
- Smile and be friendly.
- Explain what you are doing.
- Engage with your audience.
10. Edit Your Video
After filming, it is time to edit. Editing helps you cut out mistakes. You can also add music or text. This makes your video more interesting.
Basic Editing Tips
- Use simple editing software.
- Cut out long pauses.
- Add titles or captions.
Credit: deitymic.com
11. Share Your Video
Once you are happy with your video, it’s time to share it. You can upload it to platforms like YouTube. Share it on social media too. Let your friends and family see your work!
Ways To Share Your Video
- Use social media platforms.
- Share via email with friends.
- Post on your blog or website.
Frequently Asked Questions
How To Set Up A Kitchen For Filming?
Setting up a kitchen for filming involves good lighting, decluttering, and organizing your workspace. Use natural light if possible and keep everything neat.
What Equipment Do I Need For Cooking Videos?
Basic equipment includes a camera, tripod, microphone, and good lighting. A smartphone can also work well for beginners.
How To Choose The Best Lighting For Cooking Videos?
Natural light is best. If not, use soft box lights or ring lights to avoid harsh shadows.
Should I Plan My Shots In Advance?
Yes! Planning shots helps keep the filming smooth and organized. It saves time and improves video quality.
Conclusion
Setting up your kitchen for filming is easy. With the right setup, you can create great cooking videos. Keep practicing and improving your skills. Enjoy sharing your cooking with the world!
Remember, it’s all about having fun. Happy cooking and filming!