Kitchen cabinets can change how your kitchen looks. Old cabinets can make a kitchen feel outdated. New cabinets can make it feel fresh and inviting. Redoing your cabinets is a great way to update your kitchen. It is also a fun project. Let’s learn how to redo kitchen cabinets step by step.
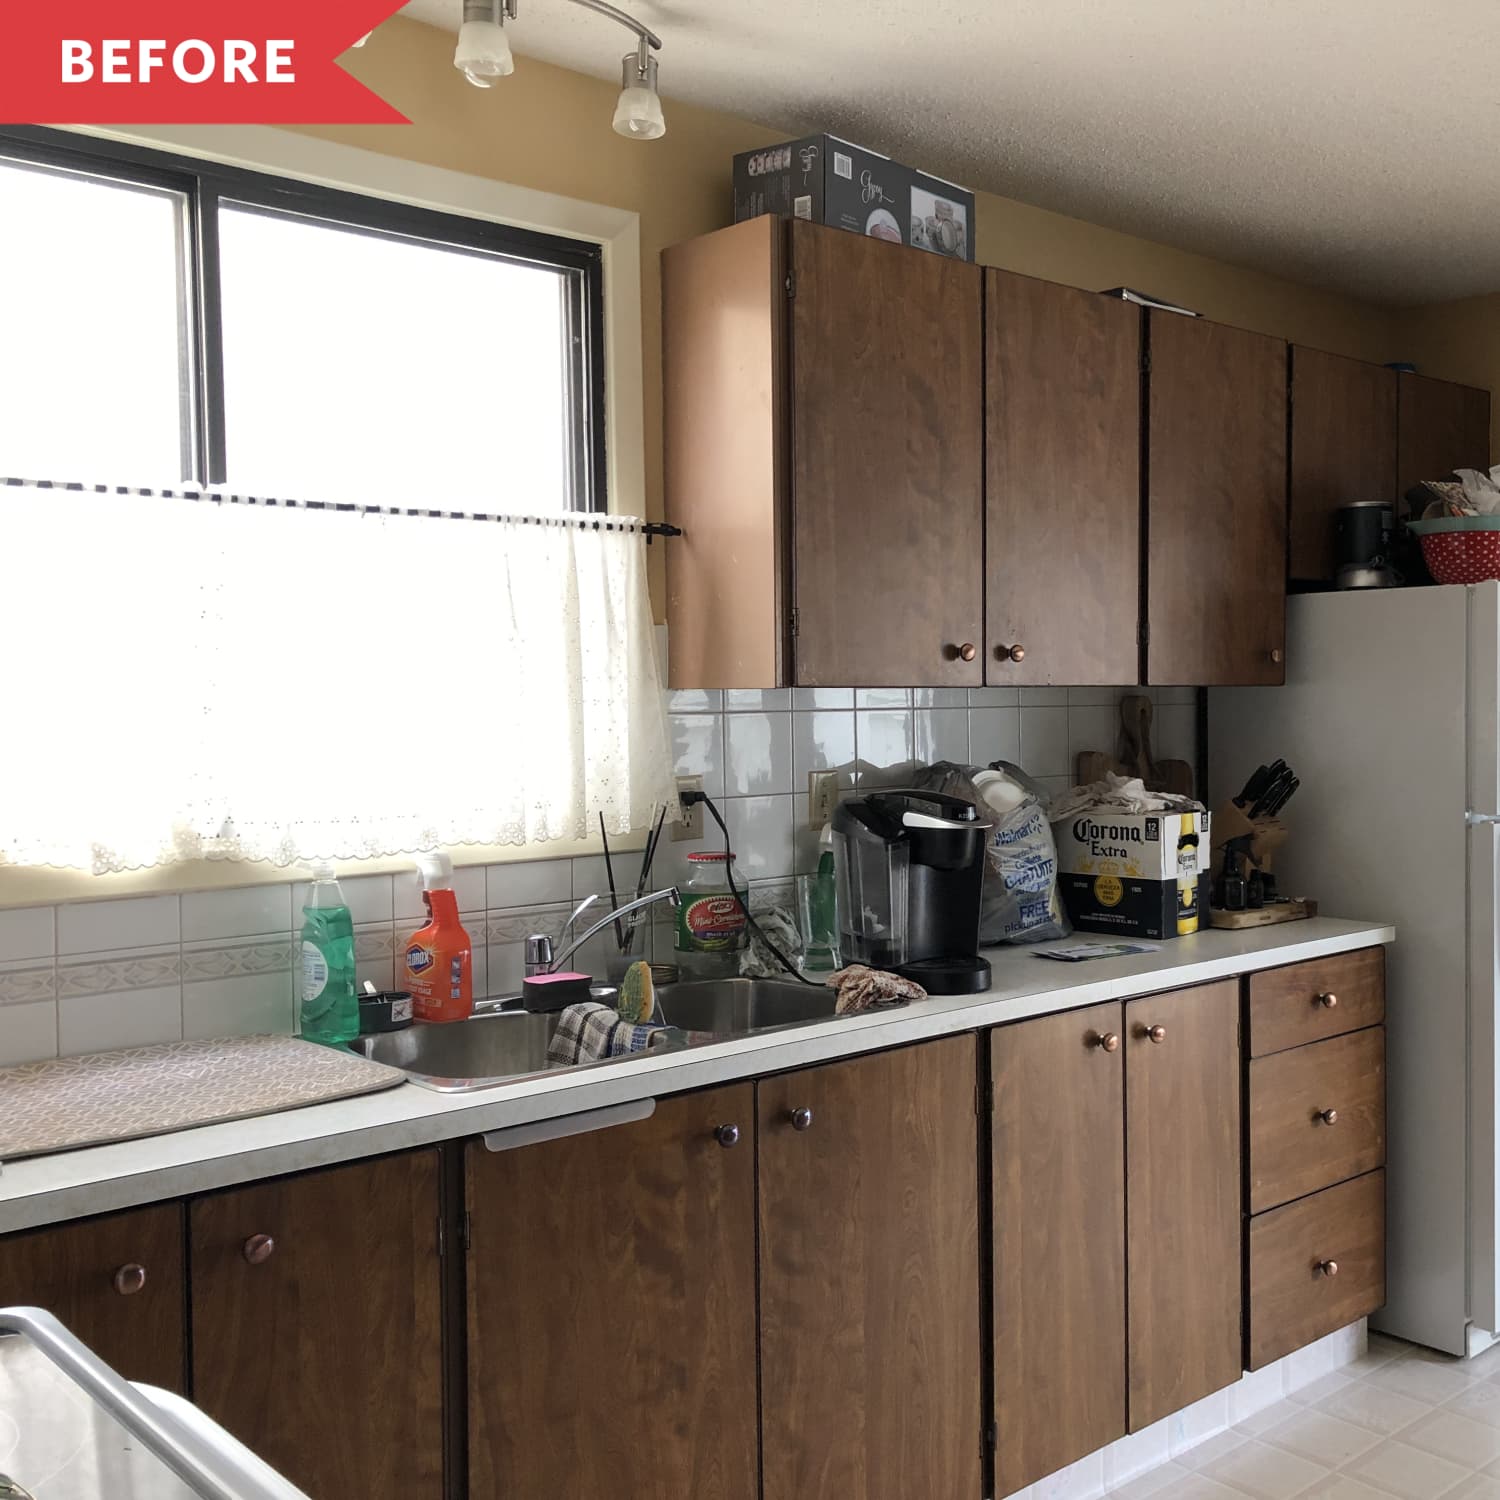
Credit: www.apartmenttherapy.com
Step 1: Gather Your Tools
Before you start, you need some tools. Here is a list of tools you will need:
- Screwdriver
- Sandpaper
- Paint or stain
- Brushes or rollers
- Wood filler
- Clean cloths
- Measuring tape
- Drop cloths
Having the right tools makes the job easier. Make sure you have everything ready.
Step 2: Empty the Cabinets
Next, you must empty your cabinets. Take out all dishes, pots, and pans. This gives you space to work. It also protects your items from dust and paint. Place everything on a table or counter. Keep it organized for later.
Step 3: Remove the Cabinet Doors
Now it is time to remove the cabinet doors. Use your screwdriver to take off the hinges. Place the doors on a flat surface. This helps you work on them more easily.
:max_bytes(150000):strip_icc()/old-kitchen-cabinets-GettyImages-1487995958-b3a30a81bf9d4e84867704b6643ab45b.jpg)
Credit: www.realsimple.com
Step 4: Clean the Cabinets
Cleaning is very important. Use a mild cleaner to wipe the cabinets. This removes dirt, grease, and grime. A clean surface helps paint stick better. Make sure the cabinets are dry before moving on.
Step 5: Repair Any Damage
Check your cabinets for any damage. Look for dents, scratches, or holes. Use wood filler to fix these areas. Apply the filler with a putty knife. Let it dry completely before sanding it smooth.
Step 6: Sand the Cabinets
Sanding helps the paint stick. Use sandpaper to lightly sand the cabinets. Focus on the doors and any rough spots. Wipe away dust with a clean cloth. This ensures a smooth finish.
Step 7: Prime the Cabinets
Priming is an important step. It helps the paint adhere better. Use a primer designed for wood. Apply it with a brush or roller. Make sure to cover all surfaces. Let the primer dry completely.
Step 8: Paint or Stain the Cabinets
Now it is time to add color. You can paint or stain the cabinets. Choose a color you love. If you paint, use a high-quality paint. If you stain, choose a shade that enhances the wood. Apply the first coat and let it dry. You may need a second coat for a richer color.
Step 9: Reattach the Cabinet Doors
Once the paint or stain is dry, it’s time to reattach the doors. Use your screwdriver to put the hinges back on. Make sure the doors open and close smoothly. Adjust them if needed.
Step 10: Add New Hardware
New hardware can make a big difference. Consider adding new knobs or handles. Choose styles that match your new look. Use your screwdriver to attach the new hardware. This simple change can brighten up your cabinets.
Step 11: Clean Up
After finishing, it’s time to clean up. Put away your tools. Throw away any trash. Wipe down surfaces to remove dust or paint. Make sure your kitchen is tidy.
Step 12: Enjoy Your New Cabinets
Your hard work has paid off! Step back and admire your new cabinets. Enjoy the fresh look in your kitchen. You did it all by yourself.
Tips for Redoing Kitchen Cabinets
Here are some tips to help you:
- Choose the right color for your kitchen.
- Be patient. Good results take time.
- Work in a well-ventilated area.
- Follow safety rules while using tools.
- Don’t rush the drying times.
Common Mistakes to Avoid
Some mistakes can make the project harder. Here are common mistakes to avoid:
- Skipping the cleaning step.
- Not using primer before painting.
- Rushing the sanding process.
- Choosing the wrong type of paint.
- Forgetting to measure before drilling holes for hardware.
When to Call a Professional
Sometimes, it is best to hire a pro. If your cabinets are very damaged, a professional can help. They have tools and skills to fix them properly. If you feel overwhelmed, do not hesitate to ask for help
Frequently Asked Questions
How Can I Prepare My Kitchen Cabinets For Painting?
Clean the cabinets well. Remove dirt and grease. Sand the surfaces lightly to help paint stick.
What Materials Do I Need To Redo Kitchen Cabinets?
You’ll need paint, primer, brushes, sandpaper, and a drop cloth. A screwdriver is also helpful for removing hardware.
Can I Redo Kitchen Cabinets Without Sanding?
Yes, you can use a deglosser. This removes the shiny finish without sanding.
How Long Does It Take To Redo Kitchen Cabinets?
It usually takes 1 to 3 days. This depends on the number of cabinets and drying time.
Conclusion
Redoing kitchen cabinets is a fun and rewarding project. With the right tools and steps, you can achieve beautiful results. Remember to take your time and enjoy the process. Your kitchen will look fresh and new. You can be proud of your work!