Crown molding adds beauty to your kitchen. It gives a finished look to your cabinets. Installing crown molding is not very hard. With the right tools and steps, you can do it yourself. This guide will help you understand how to install crown molding for kitchen cabinets.
What is Crown Molding?
Crown molding is a decorative trim. It sits at the top of cabinets. It can make your kitchen look more elegant. There are many styles and sizes. Choose one that fits your kitchen best.

Credit: www.youtube.com
Why Install Crown Molding?
- It enhances the look of your kitchen.
- It adds value to your home.
- It hides gaps between cabinets and walls.
- It is easy to clean and maintain.
Tools You Will Need
Before you start, gather your tools. Here is a list:
- Crown molding
- Miter saw
- Measuring tape
- Pencil
- Nail gun or hammer
- Wood glue
- Caulk
- Sandpaper
- Paint or stain (optional)
Steps to Install Crown Molding
Follow these steps to install crown molding.
Step 1: Measure Your Cabinets
Use a measuring tape. Measure the top of each cabinet. Write down the lengths. This helps you buy the right amount of molding.
Step 2: Choose The Right Molding
Choose a crown molding style. You can find it at home improvement stores. Look for a size that fits your cabinets. Remember, bigger molding looks more elegant.
Step 3: Cut The Molding
Use a miter saw for cutting. Set the saw to a 45-degree angle. Cut the ends of the molding. This helps the pieces fit together.
Step 4: Test Fit The Pieces
Before attaching, test fit the pieces. Hold them up to the cabinets. Make sure they fit well. If needed, trim more off. This will help you avoid mistakes later.
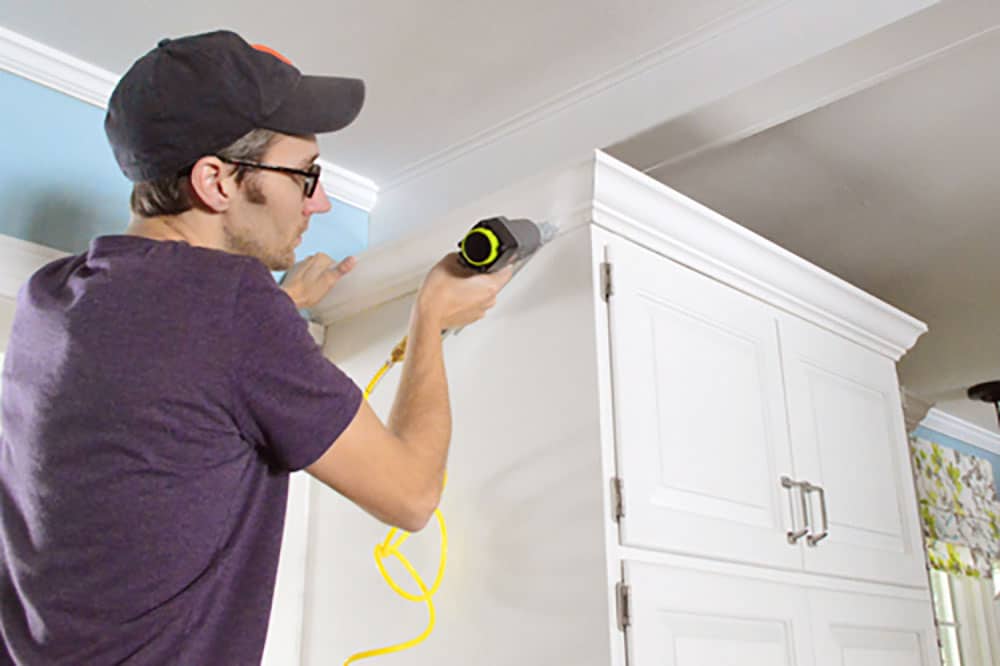
Step 5: Attach The Molding
Start with one piece. Apply wood glue to the back. Press it against the cabinet. Use a nail gun or hammer to secure it. Make sure it is straight. Use a level to check.
Step 6: Join The Corners
For corners, cut two pieces at 45 degrees. Join them together. Make sure they fit snugly. Apply glue and nail them in place.
Step 7: Fill Gaps And Holes
Check for gaps or holes. Fill them with caulk. Use your finger to smooth it out. This makes the finish look nice.
Step 8: Sand And Finish
Sand any rough edges. This helps the molding look clean. If you want, paint or stain the molding. Let it dry completely.
Step 9: Final Inspection
Look over your work. Make sure everything is secure. Check for any missed spots. Touch up if needed. You can also learn How to Update Old Kitchen Cabinets

Credit: www.familyhandyman.com
Tips for a Successful Installation
- Take your time measuring.
- Make sure your cuts are straight.
- Use a level often.
- Ask a friend for help if needed.
Common Mistakes to Avoid
Here are some mistakes to watch out for:
- Not measuring correctly.
- Cutting the wrong angles.
- Forgetting to fill gaps.
- Rushing through the process.
Frequently Asked Questions
How Do I Choose Crown Molding For Kitchen Cabinets?
Select crown molding that matches your cabinet style. Consider size and shape for a cohesive look.
What Tools Are Needed For Installing Crown Molding?
You need a miter saw, nail gun, and measuring tape. A level and caulk can help too.
Can I Install Crown Molding Myself?
Yes, you can install crown molding yourself. With the right tools and patience, it’s doable.
What Type Of Wood Is Best For Crown Molding?
Popular choices include pine, oak, and MDF. Each offers different looks and prices.
Conclusion
Installing crown molding is a great project. It can change the look of your kitchen. Follow these steps carefully. Take your time and enjoy the process. You will be proud of your work.
Now you know how to install crown molding for kitchen cabinets. With practice, it will become easier. Gather your tools and start your project. Your kitchen will look beautiful in no time!