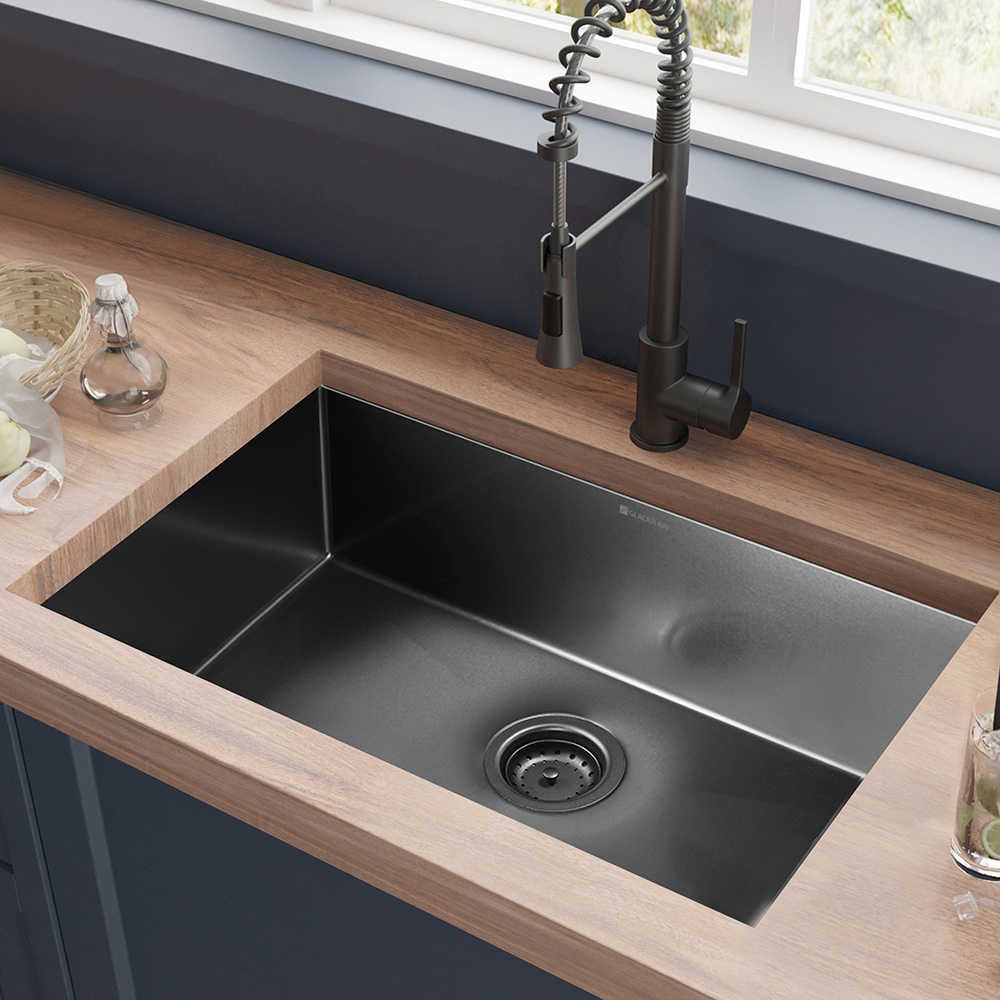
Installing a kitchen sink in a new countertop can be easy. This guide will help you do it step by step. You will need some tools and materials. Follow these steps for a successful installation.
Tools You Will Need
- Adjustable wrench
- Screwdriver (flat and Phillips)
- Plumber’s putty
- Silicone caulk
- Bucket
- Measuring tape
- Utility knife
- Level
Materials Needed
- New kitchen sink
- Sink clips
- Water supply lines
- Drain assembly
- Shut-off valves (if needed)
Before You Start
Before installing the sink, prepare your workspace. Make sure the countertop is clean and dry. You should also have all your tools and materials ready. This will make the process smoother.
Step 1: Measure the Sink Space
First, measure the space for your sink. Use a measuring tape. Measure the width and depth of the opening. Ensure the new sink fits well. Check the manufacturer’s instructions for measurements. This is very important.
Step 2: Prepare the Countertop
Next, you need to prepare the countertop. If there is an old sink, remove it first. You may need to cut the caulk around the edges. Use a utility knife for this. Once the old sink is out, clean the area.
Step 3: Mark the Sink Placement
Now, place the new sink on the countertop. Mark the edges of the sink. This will help you know where to cut. Make sure it is centered. You can use a level to check this. A level sink looks better and works better.
Step 4: Cut the Countertop
Carefully cut the countertop along the marked line. Use a jigsaw for this task. Follow the line closely. Take your time and wear safety goggles. This is to protect your eyes from any debris.

Credit: www.youtube.com
Step 5: Test the Sink Fit
Once you cut the countertop, test the sink. Place it in the opening. Make sure it fits well. If it does not fit, you may need to adjust your cut. Always check before moving to the next step.
Step 6: Apply Plumber’s Putty
Now, it is time to apply plumber’s putty. Roll it into a long rope. Place this rope around the sink’s edge. This will help create a seal. It prevents leaks. Press the sink down into the hole. Make sure it is pushed in firmly.
Step 7: Secure the Sink
After the sink is in place, secure it. Use sink clips that came with the sink. Attach them under the sink. Tighten them with a screwdriver. Make sure the sink is held tightly. This will keep it in place.
Step 8: Install the Drain Assembly
Next, install the drain assembly. Follow the instructions provided with your sink. Place the drain in the hole at the bottom of the sink. Use plumber’s putty around the edges. This helps to prevent leaks.
Step 9: Connect the Water Supply Lines
Now it is time to connect the water supply lines. Check if you need new lines. If yes, install them. Attach the lines to the sink’s faucet. Use an adjustable wrench for this. Make sure they are tight but not too tight.
Step 10: Check for Leaks
After everything is connected, check for leaks. Turn on the water supply. Let the water run for a few minutes. Look under the sink for any leaks. If you see any, tighten the connections. If it still leaks, you may need to reapply plumber’s putty.
Step 11: Caulk the Edges
To finish, caulk around the edges of the sink. Use silicone caulk for this. Apply a thin line along the edge. This helps to seal any gaps. It also makes your sink look nice. Let the caulk dry completely.
Step 12: Clean Up
Now that the sink is installed, clean up your workspace. Put away all tools and materials. Dispose of any trash properly. Make sure everything is tidy. You can now enjoy your new sink.

Credit: www.homedepot.com
Common Mistakes to Avoid
- Not measuring correctly.
- Skipping the putty step.
- Over-tightening connections.
- Forgetting to caulk the edges.
- Ignoring leaks during the check.
Tips for Success
- Read all instructions before starting.
- Take your time with each step.
- Ask for help if needed.
- Use proper safety gear.
- Stay organized while working.
Frequently Asked Questions
How Do I Measure For A Kitchen Sink In A New Countertop?
To measure for a kitchen sink, start by measuring the sink’s width and depth. Check the countertop thickness too.
What Tools Are Needed To Install A Kitchen Sink?
You will need a wrench, screwdriver, measuring tape, and a caulking gun. These tools help make the installation easier.
Can I Install A Kitchen Sink Myself?
Yes, you can install a kitchen sink yourself. Just follow a step-by-step guide for best results.
What Type Of Sink Works Best With A New Countertop?
Stainless steel sinks are popular for new countertops. They are durable and easy to clean.
Conclusion
Installing a kitchen sink in a new countertop is not too hard. With the right tools and steps, you can do it. Follow this guide carefully. Remember to check for leaks and seal the edges. Enjoy your new kitchen sink!
