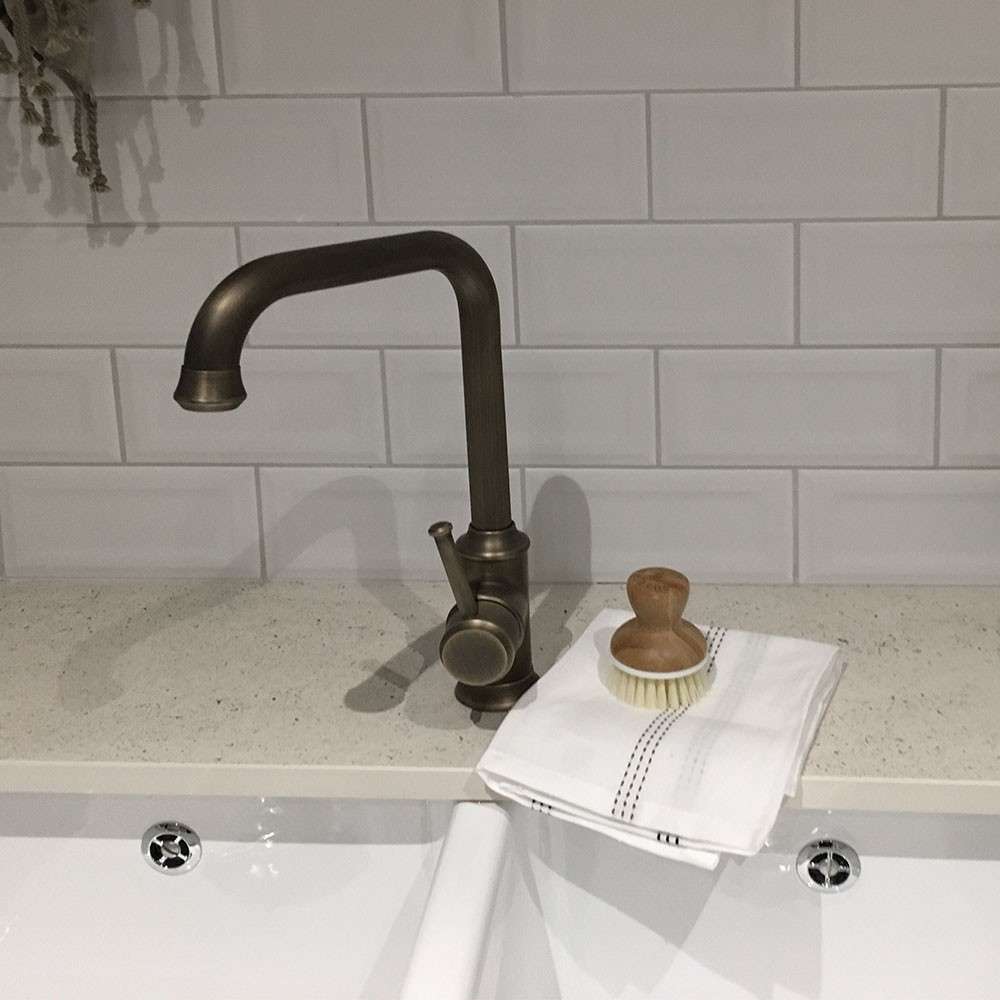
Are your kitchen sink tiles looking old? Do they have cracks or stains? If so, it might be time to re grout them. Re grouting is a simple way to make your tiles look new again. In this article, we will explain how to re grout kitchen sink tiles step by step.
What is Grout?
Grout is a mixture used to fill gaps. It is often used between tiles. Grout helps keep tiles in place. It also helps to keep water from getting behind the tiles. Over time, grout can become dirty or damaged. This is why re grouting is important.

Credit: www.youtube.com
Why Re Grout Kitchen Sink Tiles?
- Improve Appearance: Fresh grout looks clean and nice.
- Prevent Water Damage: Good grout stops water from leaking.
- Reduce Mold Growth: New grout helps keep mold away.
Tools You Will Need
Before you start, gather your tools. Here is a list:
- Grout saw or utility knife
- Vacuum cleaner
- Grout float
- New grout
- Bucket for mixing
- Water
- Sponge
- Sealer (optional)
Step-by-Step Guide to Re Grouting Kitchen Sink Tiles
Step 1: Remove Old Grout
First, you need to remove the old grout. This is important. Use a grout saw or utility knife. Carefully cut out the old grout. Be gentle. You do not want to damage the tiles. Work slowly and take your time.
Step 2: Clean The Area
After removing the old grout, clean the area. Use a vacuum cleaner to remove dust and debris. Make sure the gaps are clear. This will help the new grout stick well.
Step 3: Prepare New Grout
Next, you need to prepare the new grout. Read the instructions on the package. Mix the grout in a bucket. Add water as needed. The mixture should be thick but smooth. It should not be runny. Let it sit for a few minutes.
Step 4: Apply New Grout
Now, it is time to apply the new grout. Use a grout float for this step. Hold the float at a 45-degree angle. Press the grout into the gaps between the tiles. Make sure to fill them completely. Do not leave any empty spaces.
Step 5: Clean Excess Grout
After applying the grout, clean up any excess. Use the edge of the float. Scrape off the extra grout from the tiles. This will help the tiles look nice. Be careful not to remove grout from the gaps.
Step 6: Let The Grout Dry
Once you finish applying the grout, let it dry. This can take a few hours. Check the instructions for the drying time. Avoid touching the grout during this time. It needs to set properly.
Step 7: Clean The Tiles
After the grout is dry, clean the tiles. Use a damp sponge to wipe the surface. Remove any leftover grout haze. This will help your tiles shine. Make sure the tiles are clean and clear.
Step 8: Seal The Grout (optional)
Sealing the grout is optional but recommended. Sealer helps protect the grout. It makes it last longer. If you choose to seal, wait a few days after grouting. Then, apply the sealer according to the instructions.
Tips for Success
- Work in a well-lit area.
- Do not rush the process.
- Use gloves to protect your hands.
- Always read the instructions on products.
- Practice on a small area if unsure.

Credit: www.wallsandfloors.co.uk
Common Mistakes to Avoid
- Not cleaning old grout properly.
- Applying grout too thickly.
- Touching grout before it dries.
- Skipping the sealer step.
Frequently Asked Questions
How Often Should I Re-grout Kitchen Sink Tiles?
Re-grouting kitchen sink tiles is best done every 3 to 5 years. Look for cracks or discoloration.
What Tools Do I Need For Re-grouting Tiles?
You will need a grout saw, sponge, bucket, and new grout. A trowel can help apply the grout.
Can I Re-grout Over Old Grout?
Yes, you can re-grout over old grout if it is intact. Remove any loose or damaged grout first.
How Do I Prepare Tiles For Re-grouting?
Clean the tiles and remove old grout. Ensure the surface is dry before applying new grout.
Conclusion
Re grouting your kitchen sink tiles is a great way to refresh your space. It is an easy DIY project. Follow the steps above for the best results. Remember to take your time and do it right. Soon, your kitchen will look clean and new again.
Now that you know how to re grout, why not give it a try? With a little effort, you can make your kitchen sink tiles shine bright. Happy grouting!


