
Building a kitchen island can be fun. It adds space and style. Many people enjoy cooking and eating in the kitchen. An island can help with both. This guide will show you how to build your own kitchen island.
Why Build a Kitchen Island?
There are many reasons to build a kitchen island. Here are some:
- Extra Space: It gives you more room for cooking.
- Storage: You can store pots, pans, and utensils.
- Seating: It can provide extra seating for family or friends.
- Style: It makes your kitchen look nice.
What You Need to Start
Before you start building, gather your tools and materials. Here is a list:
Tools:
- Measuring tape
- Level
- Drill
- Saw
- Screwdriver
- Sander
- Pencil
Materials:
- Wood for the frame
- Wood for the top
- Screws
- Stain or paint
- Sealer
Step 1: Plan Your Kitchen Island
Planning is very important. Think about the size and shape. How big do you want it? A common size is 4 feet long. But you can make it bigger or smaller. Measure your kitchen space carefully.
Step 2: Build the Frame
The frame is the base of your island. Use strong wood for this part. Follow these steps:
- Cut the wood to the right size.
- Assemble the pieces into a rectangle.
- Use screws to hold the pieces together.
Make sure the frame is level. This step is important for the top to fit well.
Step 3: Add Legs or Support
Your island needs support. Add legs or a support beam. This helps hold the weight of the top.
Make sure the legs are strong. Use the same wood as the frame. Attach the legs to each corner of the frame.
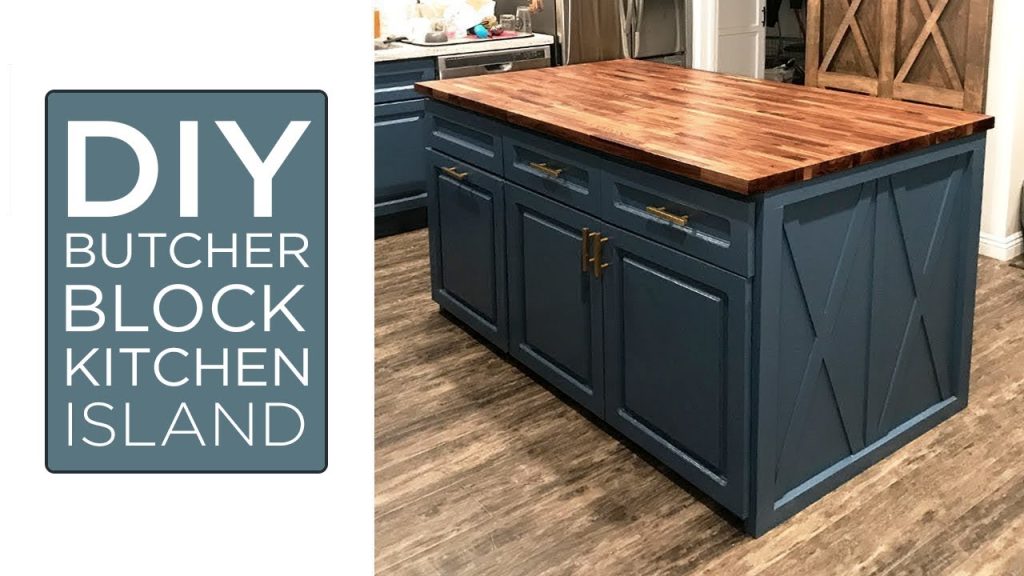
Step 4: Make the Top
The top of the island is where you will cook and eat. You can use different types of wood. Some people like to use butcher block wood. Others like granite or quartz. Choose what fits your style.
Cut the top to fit the frame. Leave some overhang. This makes it easier to sit at the island.
Step 5: Attach the Top
Now it is time to attach the top. Use screws to hold it in place. Make sure it is centered on the frame. Check that everything is level again.

Credit: www.housebythebaydesign.com
Step 6: Finish Your Island
Now that your island is built, it is time to finish it. You can stain or paint the wood. This makes it look nice. Choose a color that matches your kitchen.
Apply a sealer to protect the wood. This will help it last longer. Let everything dry completely.
Step 7: Add Storage and Accessories
Your kitchen island can have storage. You can add shelves or cabinets underneath. This gives you a place for pots and pans.
You can also add hooks for utensils. This keeps everything organized. Think about what you need and add it.
Step 8: Enjoy Your New Kitchen Island
Your kitchen island is now ready! Invite friends and family to see it. Use it for cooking, eating, or chatting. Enjoy the extra space and style in your kitchen.
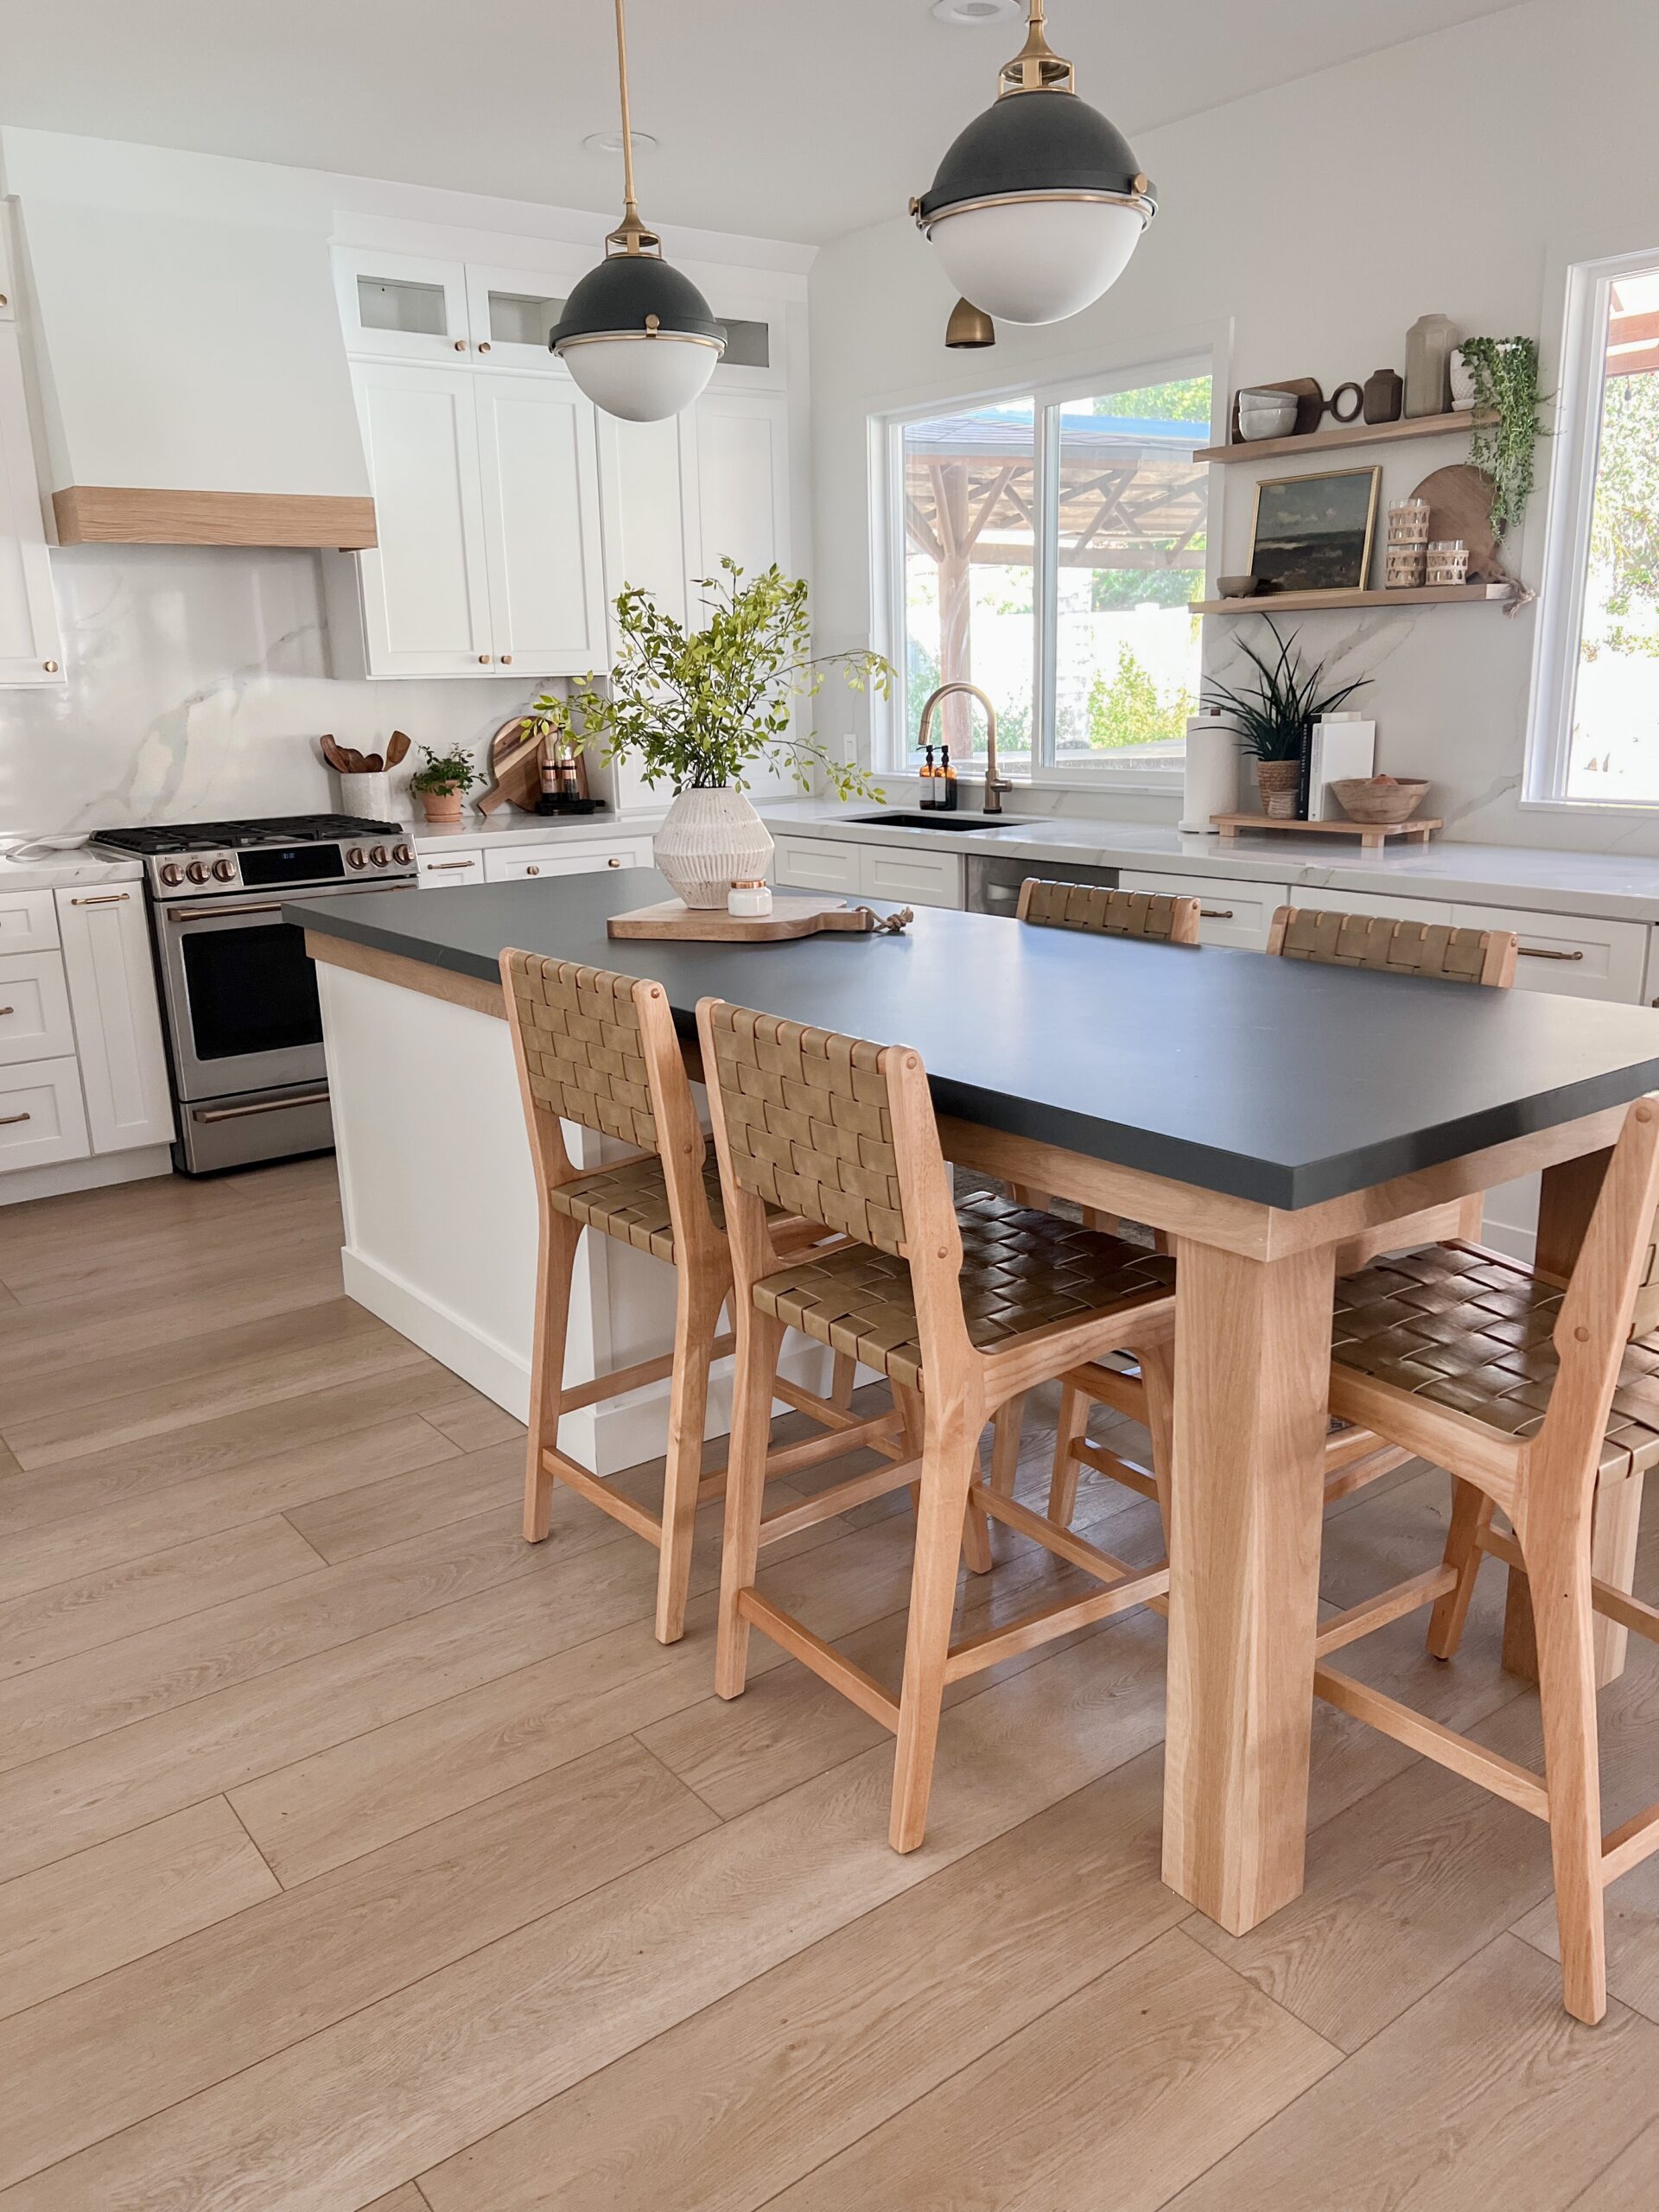
Credit: domesticblonde.com
Tips for Building Your Kitchen Island
Here are some helpful tips:
- Take your time while building.
- Ask for help if you need it.
- Measure twice before cutting.
- Choose a design that fits your kitchen.
Common Mistakes to Avoid
Here are some common mistakes:
- Not measuring correctly.
- Using weak wood for the frame.
- Not allowing enough drying time for paint or stain.
- Forgetting to check for level surfaces.
Frequently Asked Questions
What Materials Do I Need To Build A Kitchen Island?
To build a kitchen island, you will need plywood, wood screws, a countertop, and paint or stain.
How Do I Choose The Right Size For My Kitchen Island?
Measure your kitchen space. Consider the room’s flow and how many people will use it.
Can I Build A Kitchen Island On My Own?
Yes, many people build kitchen islands themselves. Basic carpentry skills will help you succeed.
What Tools Are Essential For Building A Kitchen Island?
You will need a saw, drill, measuring tape, level, and sandpaper for this project.
Conclusion
Building a kitchen island is a rewarding project. It gives you extra space and style. Follow these steps, and you can create your own island. Remember to plan well and take your time. Enjoy your new kitchen space!

