Making kitchen cabinets is a fun project. You can create beautiful storage spaces. With some tools, you can do this at home. This guide helps you understand how to make kitchen cabinets. Let’s dive in!
What You Need
Before you start, gather your materials. Here is a list of what you will need:
- Wood boards (like plywood or MDF)
- Wood screws
- Wood glue
- Sandpaper
- Paint or stain
- Measuring tape
- Level
- Power drill
- Table saw or circular saw
- Clamps
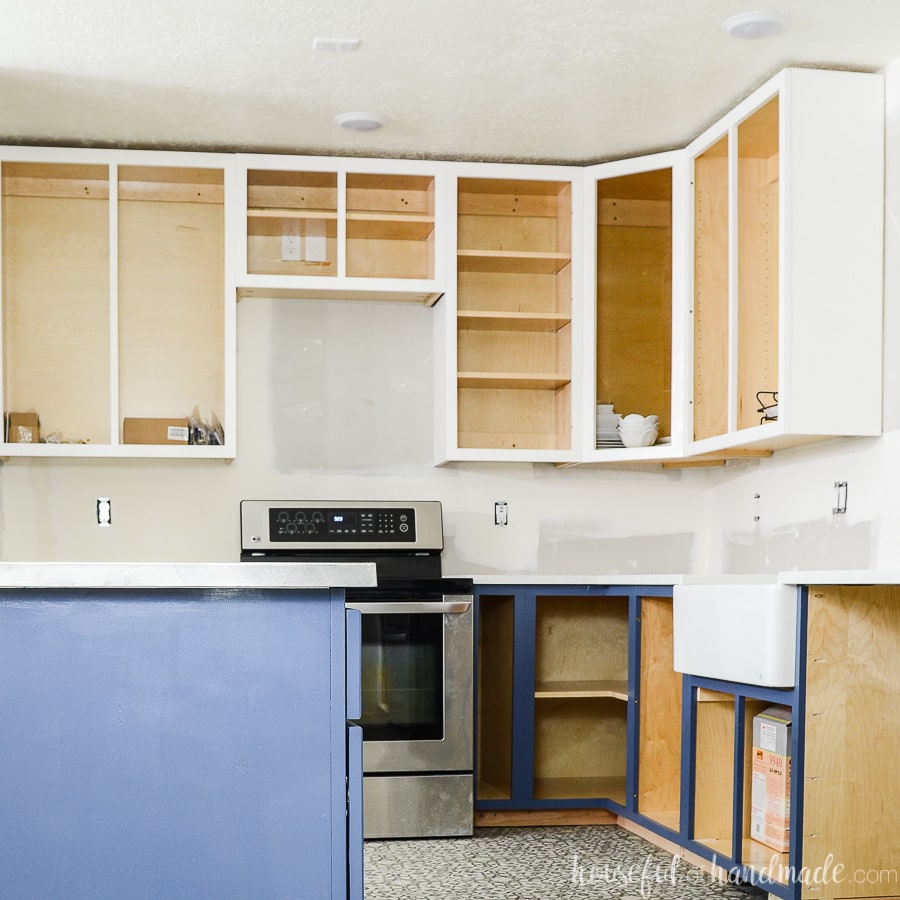
Credit: housefulofhandmade.com
Steps to Make Kitchen Cabinets
Now, let’s go through the steps. Follow them carefully.
Step 1: Measure Your Space
First, measure the area where you want the cabinets. Use a measuring tape. Write down the height, width, and depth. This helps you know how big your cabinets should be.
Step 2: Design Your Cabinets
Next, design your cabinets. You can use paper or a computer program. Think about how many shelves you want. Decide if you want doors. Draw a simple plan. This will guide you in building.
Step 3: Cut The Wood
After designing, it’s time to cut the wood. Use a table saw or circular saw. Be careful with the saw. Always wear safety glasses. Cut the wood to the sizes in your design. You should have pieces for the sides, top, bottom, and shelves.
Step 4: Sand The Edges
Next, sand the edges of each piece. Use sandpaper to smooth the edges. This helps the paint or stain stick better. It also makes your cabinets look nice.
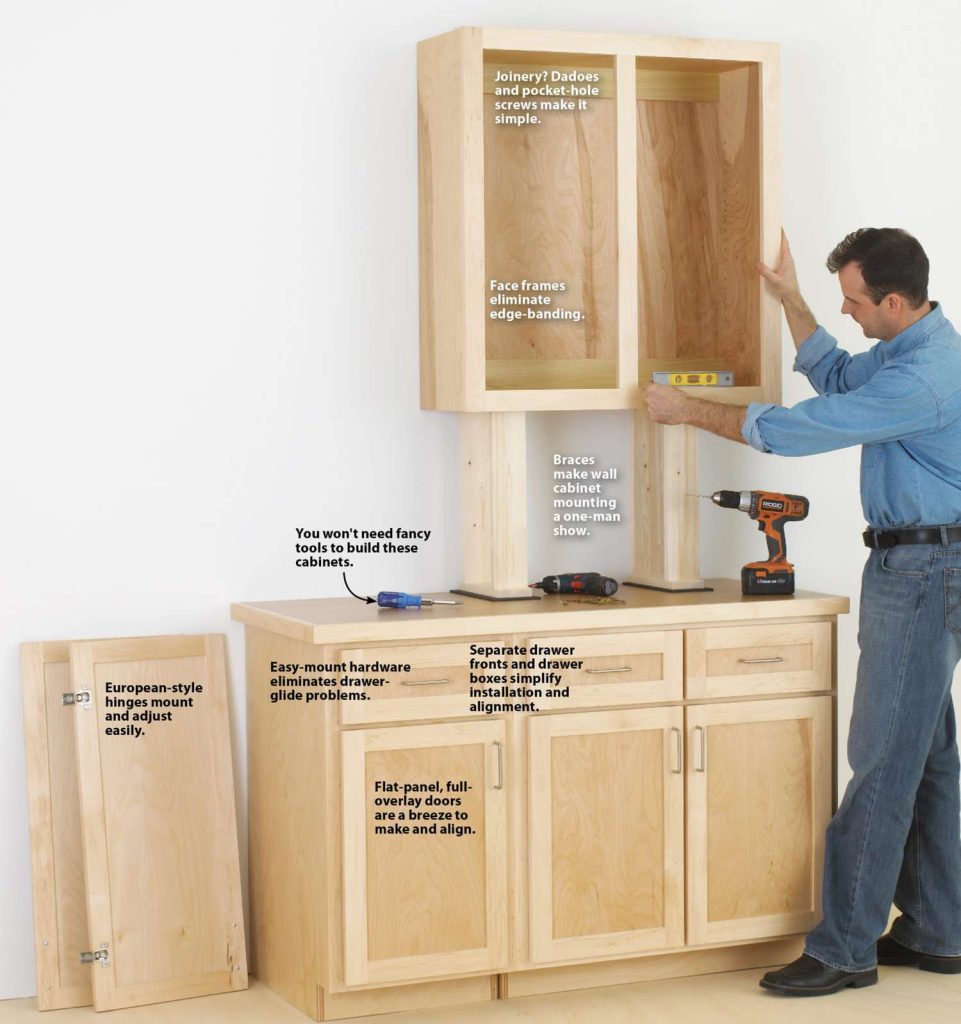
Step 5: Assemble The Cabinets
Now, it’s time to put the pieces together. Start with the sides. Use wood glue to hold them. Then, add the top and bottom pieces. Use clamps to keep everything tight. Let the glue dry for a few hours.
Step 6: Add Shelves
When the glue is dry, add the shelves. Decide where you want the shelves to go. Use wood screws to secure them. Make sure they are level. This helps keep your items from falling.
Step 7: Attach The Doors
If you want doors, now is the time to add them. Cut the wood for the doors. Attach them using hinges. Make sure they open and close easily. You can use a level to check if they are straight.
Step 8: Finish The Cabinets
Now, it’s time to finish your cabinets. You can paint or stain them. Choose a color that matches your kitchen. Use a paintbrush or roller for even coverage. Let it dry completely before using.
Step 9: Install The Cabinets
Finally, install your cabinets. Use a level to position them. Make sure they are straight and secure. Use wood screws to attach them to the wall. This keeps them safe and sturdy.
Tips for Success
Here are some tips to help you:
- Always measure twice before cutting.
- Use clamps to hold pieces together while drying.
- Choose a paint or stain that is durable.
- Ask someone for help if you need it.
Common Mistakes to Avoid
When making kitchen cabinets, watch out for these mistakes:
- Not measuring correctly. This can lead to bad fits.
- Skipping the sanding step. This affects the finish.
- Rushing the drying time for glue or paint.
- Not using enough screws for stability.
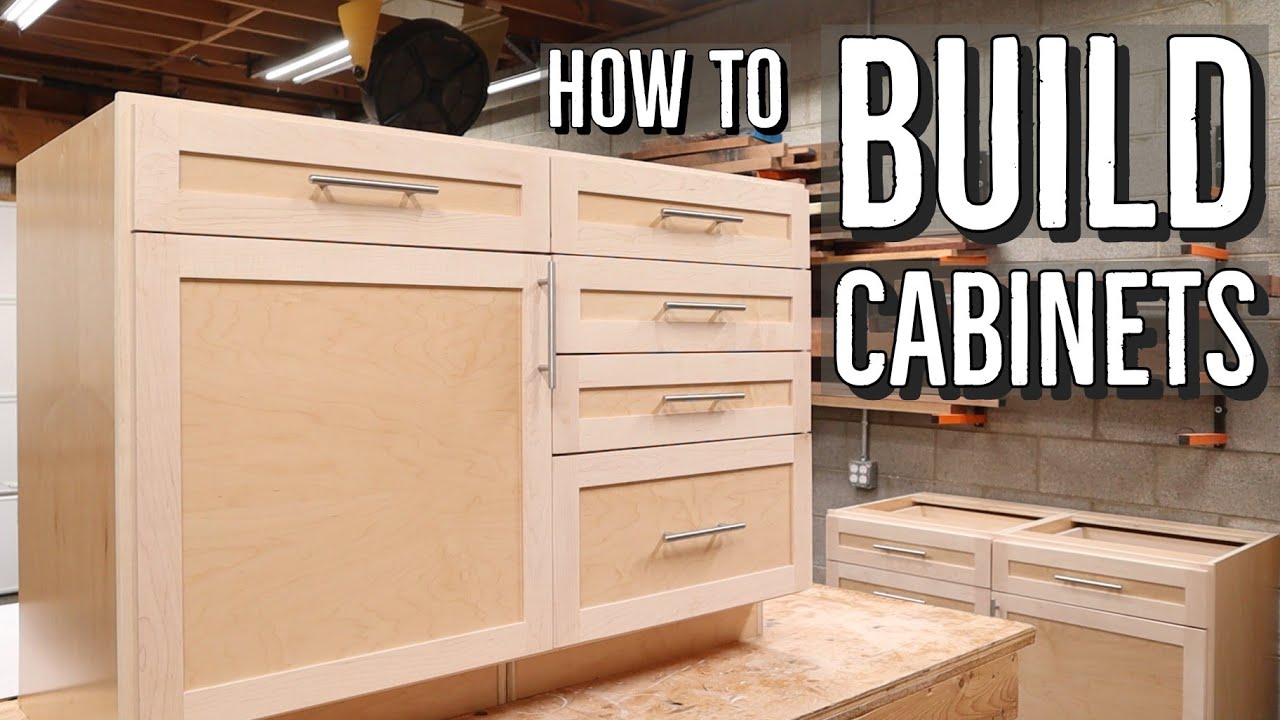
Credit: www.youtube.com
Frequently Asked Questions
How Do I Start Making Kitchen Cabinets?
Begin by planning your design and measuring your space. Gather your materials and tools next.
What Wood Is Best For Kitchen Cabinets?
Plywood is popular for its strength and durability. Solid wood like oak or maple is also a great choice.
How Can I Measure For Kitchen Cabinets?
Measure the height, width, and depth of the space. Use a tape measure for accuracy.
Can I Paint My Kitchen Cabinets?
Yes, painting is a great way to refresh your cabinets. Choose a quality paint for the best results.
Conclusion
Making kitchen cabinets is a rewarding project. With the right tools and steps, you can do it. Take your time and enjoy the process. You will have beautiful cabinets to use in your kitchen. Good luck with your project!