Antique mirrors have a special charm. They add beauty to homes. You can create your own antique mirror. The process is fun and simple. In this guide, we will show you how to antique a mirror.
What is an Antique Mirror?
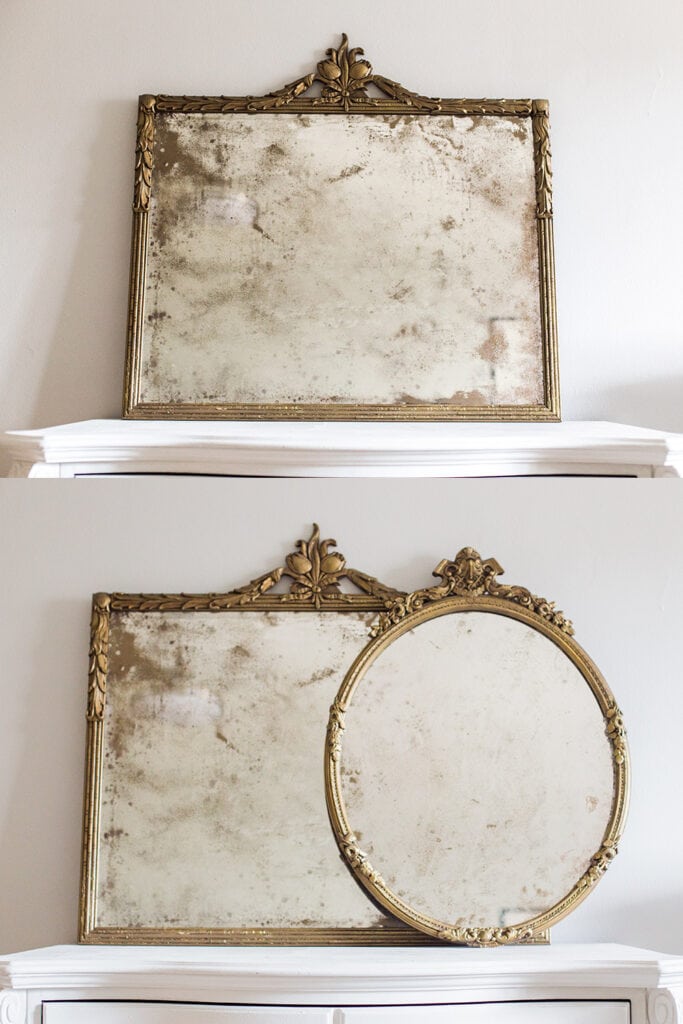
An antique mirror looks old. It has a unique style. These mirrors often have a cloudy look. They can show interesting patterns. People love antique mirrors for their character.
Why Antique a Mirror?
There are many reasons to antique a mirror:
- It can make a room look vintage.
- It can match old furniture.
- It adds a personal touch to your decor.
- You can save money compared to buying an antique mirror.

Credit: m.youtube.com
Materials You Will Need
Before starting, gather your materials:
- A clean, flat mirror.
- Glass etching cream.
- A paintbrush.
- A sponge or cloth.
- Masking tape.
- Safety gloves.
- Safety goggles.
- Old newspapers or plastic sheets.
Credit: www.jennasuedesign.com
Step-by-Step Guide to Antique a Mirror
Now let’s start the process. Follow these simple steps:
Step 1: Prepare Your Work Area
Choose a good place to work. Make sure it is well-ventilated. Cover the table with newspapers or plastic. This will protect the surface.
Step 2: Clean The Mirror
Clean your mirror well. Use a glass cleaner or soap and water. Make sure it is free from dust and dirt. Let it dry completely.
Step 3: Tape The Edges
Use masking tape to cover the edges. This protects the areas you do not want to antique. Be careful and stick the tape neatly.
Step 4: Apply Glass Etching Cream
Put on your safety gloves and goggles. Take the glass etching cream. Use a paintbrush to apply it. Coat the back of the mirror with a thick layer. Cover all areas where you want the antique effect.
Step 5: Wait For The Cream To Work
Check the instructions on the etching cream. Most creams need to sit for about 10 to 20 minutes. Do not touch or move the mirror during this time.
Step 6: Rinse The Mirror
After waiting, rinse the cream off. Use water and a sponge. Rinse thoroughly to remove all cream. This step is important for safety.
Step 7: Remove The Tape
Carefully peel off the masking tape. Do this slowly to avoid damaging the edges. You should see a nice, antique look.
Step 8: Let The Mirror Dry
Place the mirror in a safe spot. Let it dry completely. This may take a few hours. Make sure it is not in direct sunlight.
Additional Tips
Here are some extra tips to help you:
- Practice on a small mirror first.
- Choose a glass etching cream that is easy to use.
- Try different patterns to see what you like.
- Use a soft cloth to buff the surface after drying.
Common Mistakes to Avoid
While antiquing a mirror, avoid these mistakes:
- Not cleaning the mirror properly.
- Using too much or too little etching cream.
- Not waiting long enough for the cream to work.
- Rushing the rinsing process.
Maintenance of Your Antique Mirror
After making your antique mirror, care for it well. Here are some tips for maintenance:
- Use a soft cloth for cleaning.
- Avoid harsh chemicals.
- Keep it away from direct sunlight.
- Store it in a safe place to avoid scratches.
Where to Use Your Antique Mirror
Your antique mirror can go anywhere. Here are some ideas:
- In the living room as a focal point.
- In the hallway for a vintage touch.
- In a bedroom for a charming look.
- In a bathroom for added elegance.
Frequently Asked Questions
How Do You Create An Antique Mirror Look?
To create an antique mirror look, use a special silvering solution. Apply it to the back of a glass mirror.
What Materials Do I Need For Antique Mirror Diy?
You will need a mirror, silvering solution, painter’s tape, and a spray bottle.
Can I Use Regular Mirrors For Antiquing?
Yes, regular mirrors work well. Just follow the antiquing process carefully.
Is It Safe To Antique Mirrors At Home?
Yes, it’s safe if you follow instructions. Use protective gear and work in a well-ventilated area.
Conclusion
Creating an antique mirror is easy and fun. With simple materials and steps, you can make something beautiful. Enjoy your new antique mirror. It will surely add charm to your home.