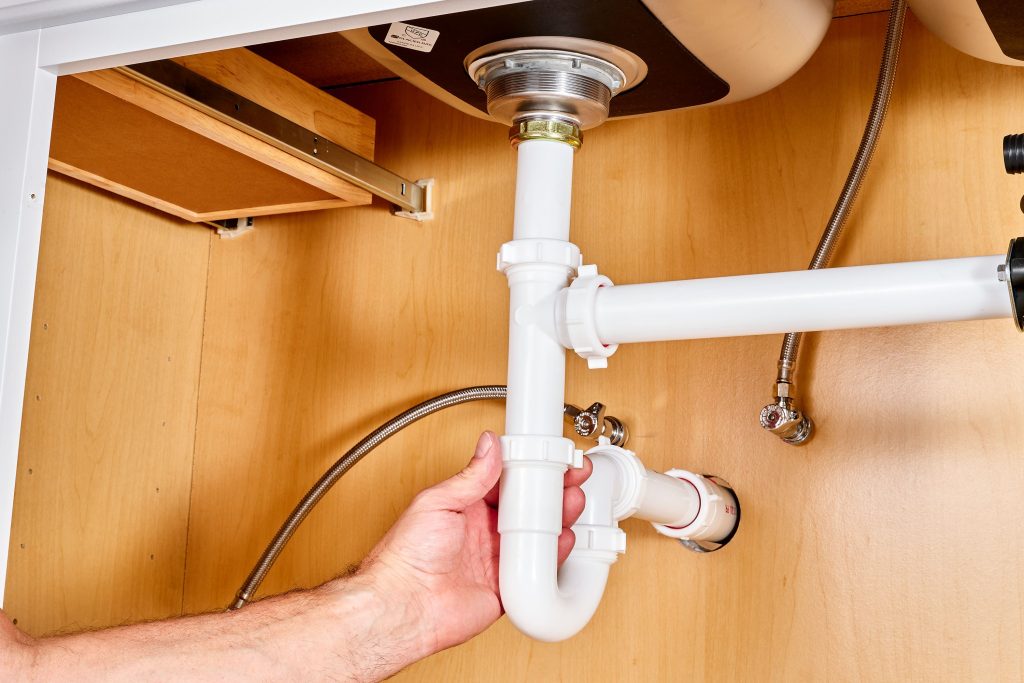
Installing a kitchen sink drain is an important task. It helps your sink work well. If your sink does not drain, you need to fix it. This guide will help you install a kitchen sink drain easily. You can do it yourself with some simple tools.

Credit: www.aresheng.com.tw
Tools You Will Need
Before you start, gather these tools:
- Pipe wrench
- Plumber’s putty
- Bucket
- Adjustable pliers
- Drain assembly kit
- Screwdriver
- Towels
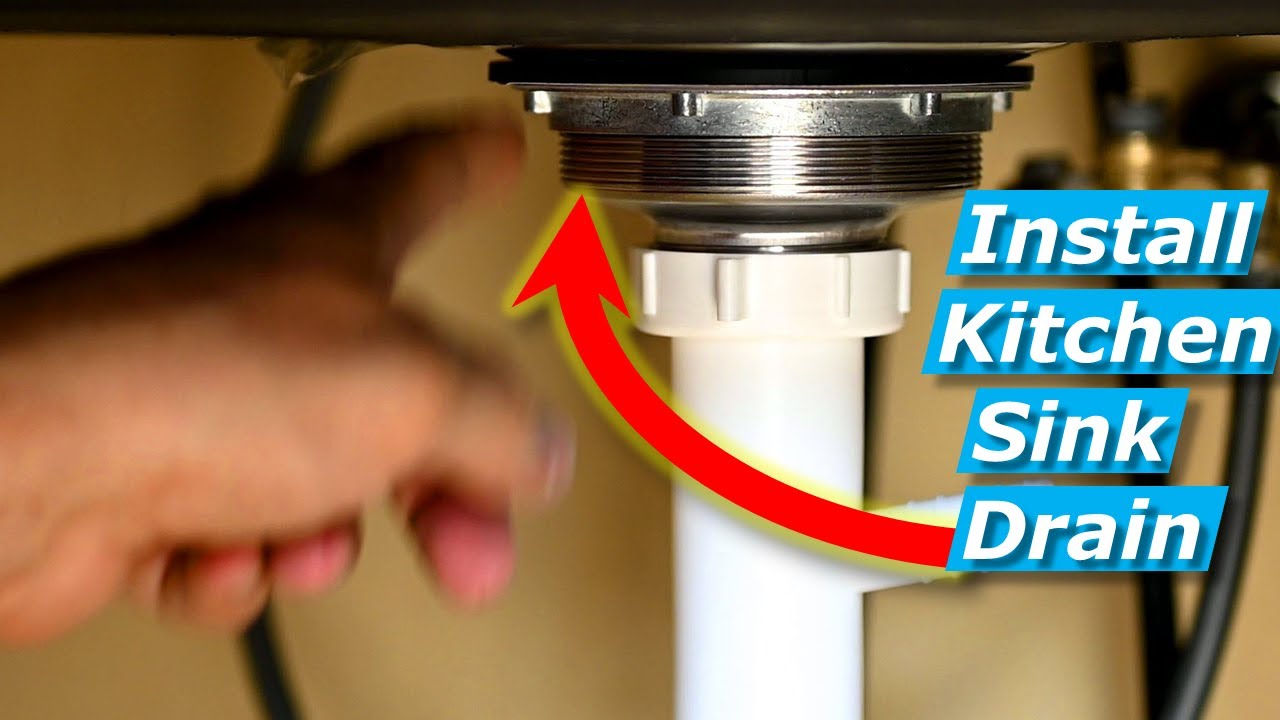
Credit: www.youtube.com
Materials Needed
Next, gather your materials:
- New sink drain
- Rubber washer
- Locknut
- Tailpiece
- Strainer basket
Step-by-Step Guide to Install a Kitchen Sink Drain
1. Prepare The Area
First, clear the area under the sink. Remove any items. You need space to work. Place a bucket under the sink. This will catch any water.
2. Remove The Old Drain
Use the pipe wrench to loosen the old drain. Turn it counter-clockwise. If it is stuck, use some force. Once loose, remove it completely. Clean any leftover putty.
3. Apply Plumber’s Putty
Take a small amount of plumber’s putty. Roll it into a rope. Place this rope around the new drain hole. This will help seal the drain.
4. Install The New Drain
Insert the new drain into the sink. Press it down firmly. Make sure it sits flat. Then, place the rubber washer on the drain. Follow this with the locknut.
5. Tighten The Locknut
Use the adjustable pliers to tighten the locknut. Be careful not to over-tighten. This can damage the sink. Make sure it is snug and secure.
6. Attach The Tailpiece
Now, attach the tailpiece to the drain. This is the long pipe that leads down. Twist it onto the drain. Use pliers to make it tight.
7. Connect The P-trap
The P-trap is a curved pipe. It helps trap water. Connect it to the tailpiece. Make sure it fits tightly. Use a locknut to secure it.
8. Check For Leaks
Now, it is time to test your work. Turn on the water. Let it run for a few minutes. Check under the sink for leaks. If you see any, tighten the connections.
9. Clean Up
After you finish, clean up the area. Remove the bucket. Put away your tools. Make sure everything is dry and tidy.
Tips for a Successful Installation
- Work slowly and carefully.
- Use the right tools for the job.
- Read the instructions that come with the drain kit.
- Ask for help if you need it.
- Practice safety while working under the sink.
Common Mistakes to Avoid
- Not using plumber’s putty. This can cause leaks.
- Over-tightening connections. This can break parts.
- Forgetting to check for leaks. This can lead to water damage.
- Not cleaning the area before starting. This can make work harder.
- Ignoring the instructions. This can lead to mistakes.
Frequently Asked Questions
How Do I Choose The Right Kitchen Sink Drain?
Choosing the right kitchen sink drain depends on your sink’s size and type. Look for compatibility with your plumbing.
What Tools Do I Need To Install A Kitchen Sink Drain?
You will need a wrench, plumber’s putty, and a screwdriver. These tools help make the installation easier.
Can I Install A Kitchen Sink Drain Myself?
Yes, you can install a kitchen sink drain yourself. Follow instructions carefully for best results.
What Is The Best Way To Seal A Kitchen Sink Drain?
Using plumber’s putty is the best way to seal a kitchen sink drain. Apply it evenly for a tight seal.
Conclusion
Installing a kitchen sink drain is a simple task. With the right tools and materials, you can do it. Just follow the steps carefully. Take your time to ensure it is done right. Soon, you will have a working sink that drains well.
Remember, practice makes perfect. If you make a mistake, do not worry. You can always fix it. Enjoy your new kitchen sink drain!