A kitchen island is a great addition to any kitchen. It provides extra space. You can use it for cooking or eating. It also adds style to your kitchen. In this guide, we will show you how to create a kitchen island. It is easy and fun.
Step 1: Decide the Purpose
First, think about why you want a kitchen island. Do you need more space for cooking? Do you want a place to eat? Maybe you want a spot for friends to gather. Knowing the purpose helps you design it better.
Step 2: Measure Your Space
Next, measure your kitchen. Use a tape measure. Make sure you know the size of your kitchen. Leave enough room to walk around the island. A good rule is to have at least 36 inches around it. This space helps people move easily.
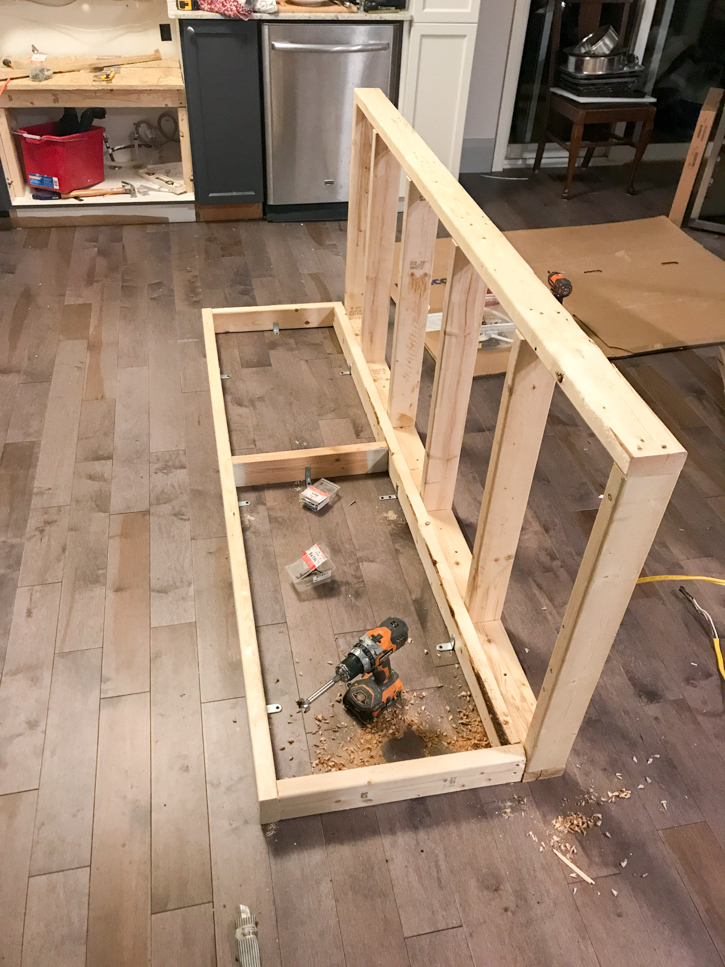
Credit: domesticblonde.com
Step 3: Choose the Size
Now that you know your space, choose the size of your island. A common size is 4 feet long and 2 feet wide. But you can make it larger or smaller. Think about how you will use it. If you want to eat at the island, make it bigger.
Step 4: Pick a Style
Next, pick a style for your island. It can match your kitchen. Some styles are modern, rustic, or traditional. Choose colors that fit your kitchen. You can also choose materials like wood or metal. Think about what looks good to you.
Step 5: Gather Materials
Now, it’s time to gather materials. Here is a simple list of what you may need:
- Wood for the frame
- Plywood for the top
- Paint or stain
- Screws
- Wood glue
Make sure you have all the tools too. You will need a saw, drill, and measuring tape.
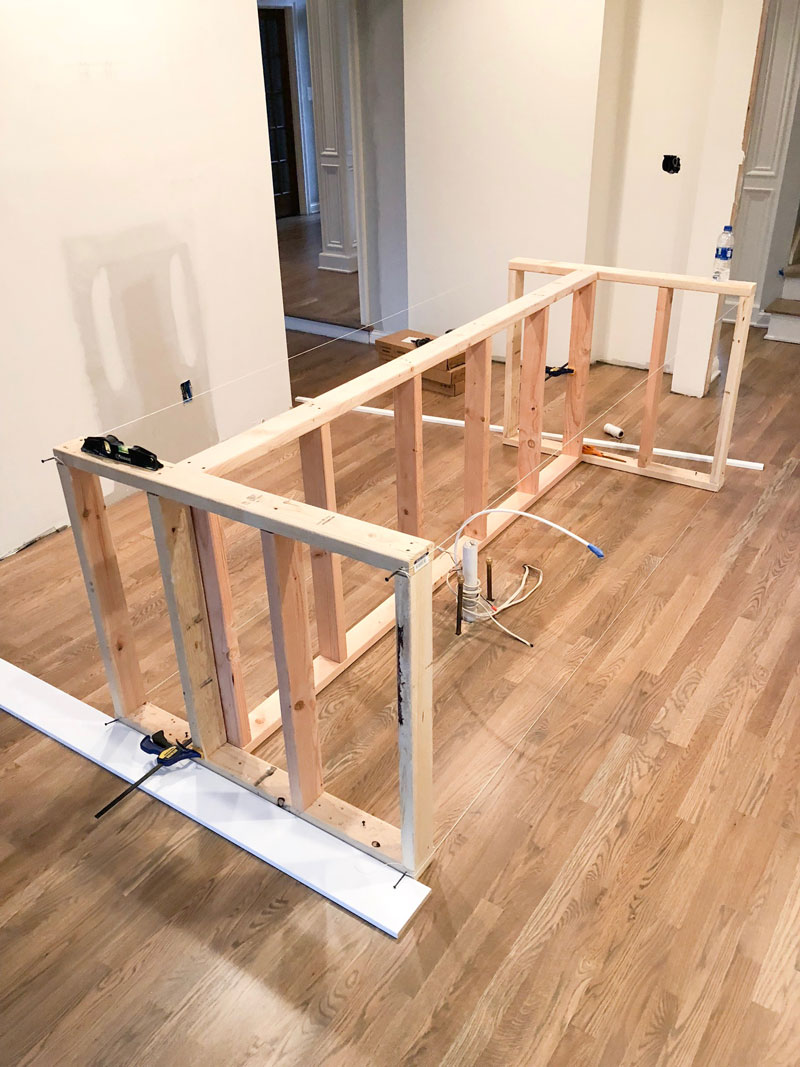
Credit: housewithhome.com
Step 6: Build the Frame
Now, let’s build the frame. Start by cutting the wood to size. Make sure to follow your measurements. Use wood screws to attach the pieces together. This will be the base of your island.
Step 7: Add the Top
Next, cut the plywood for the top. This is where you will cook or eat. Attach the plywood to the frame with screws. Make sure it is secure. You want it to be strong.
Step 8: Finishing Touches
Now, it is time for finishing touches. You can paint or stain the wood. This makes it look nice. Allow the paint or stain to dry completely. You can also add a coat of sealant. This helps protect the wood.
Step 9: Add Storage (Optional)
If you want, you can add storage to your island. This is a great way to keep things organized. You can add shelves or cabinets. This gives you space for pots, pans, or dishes. Think about what you need to store.
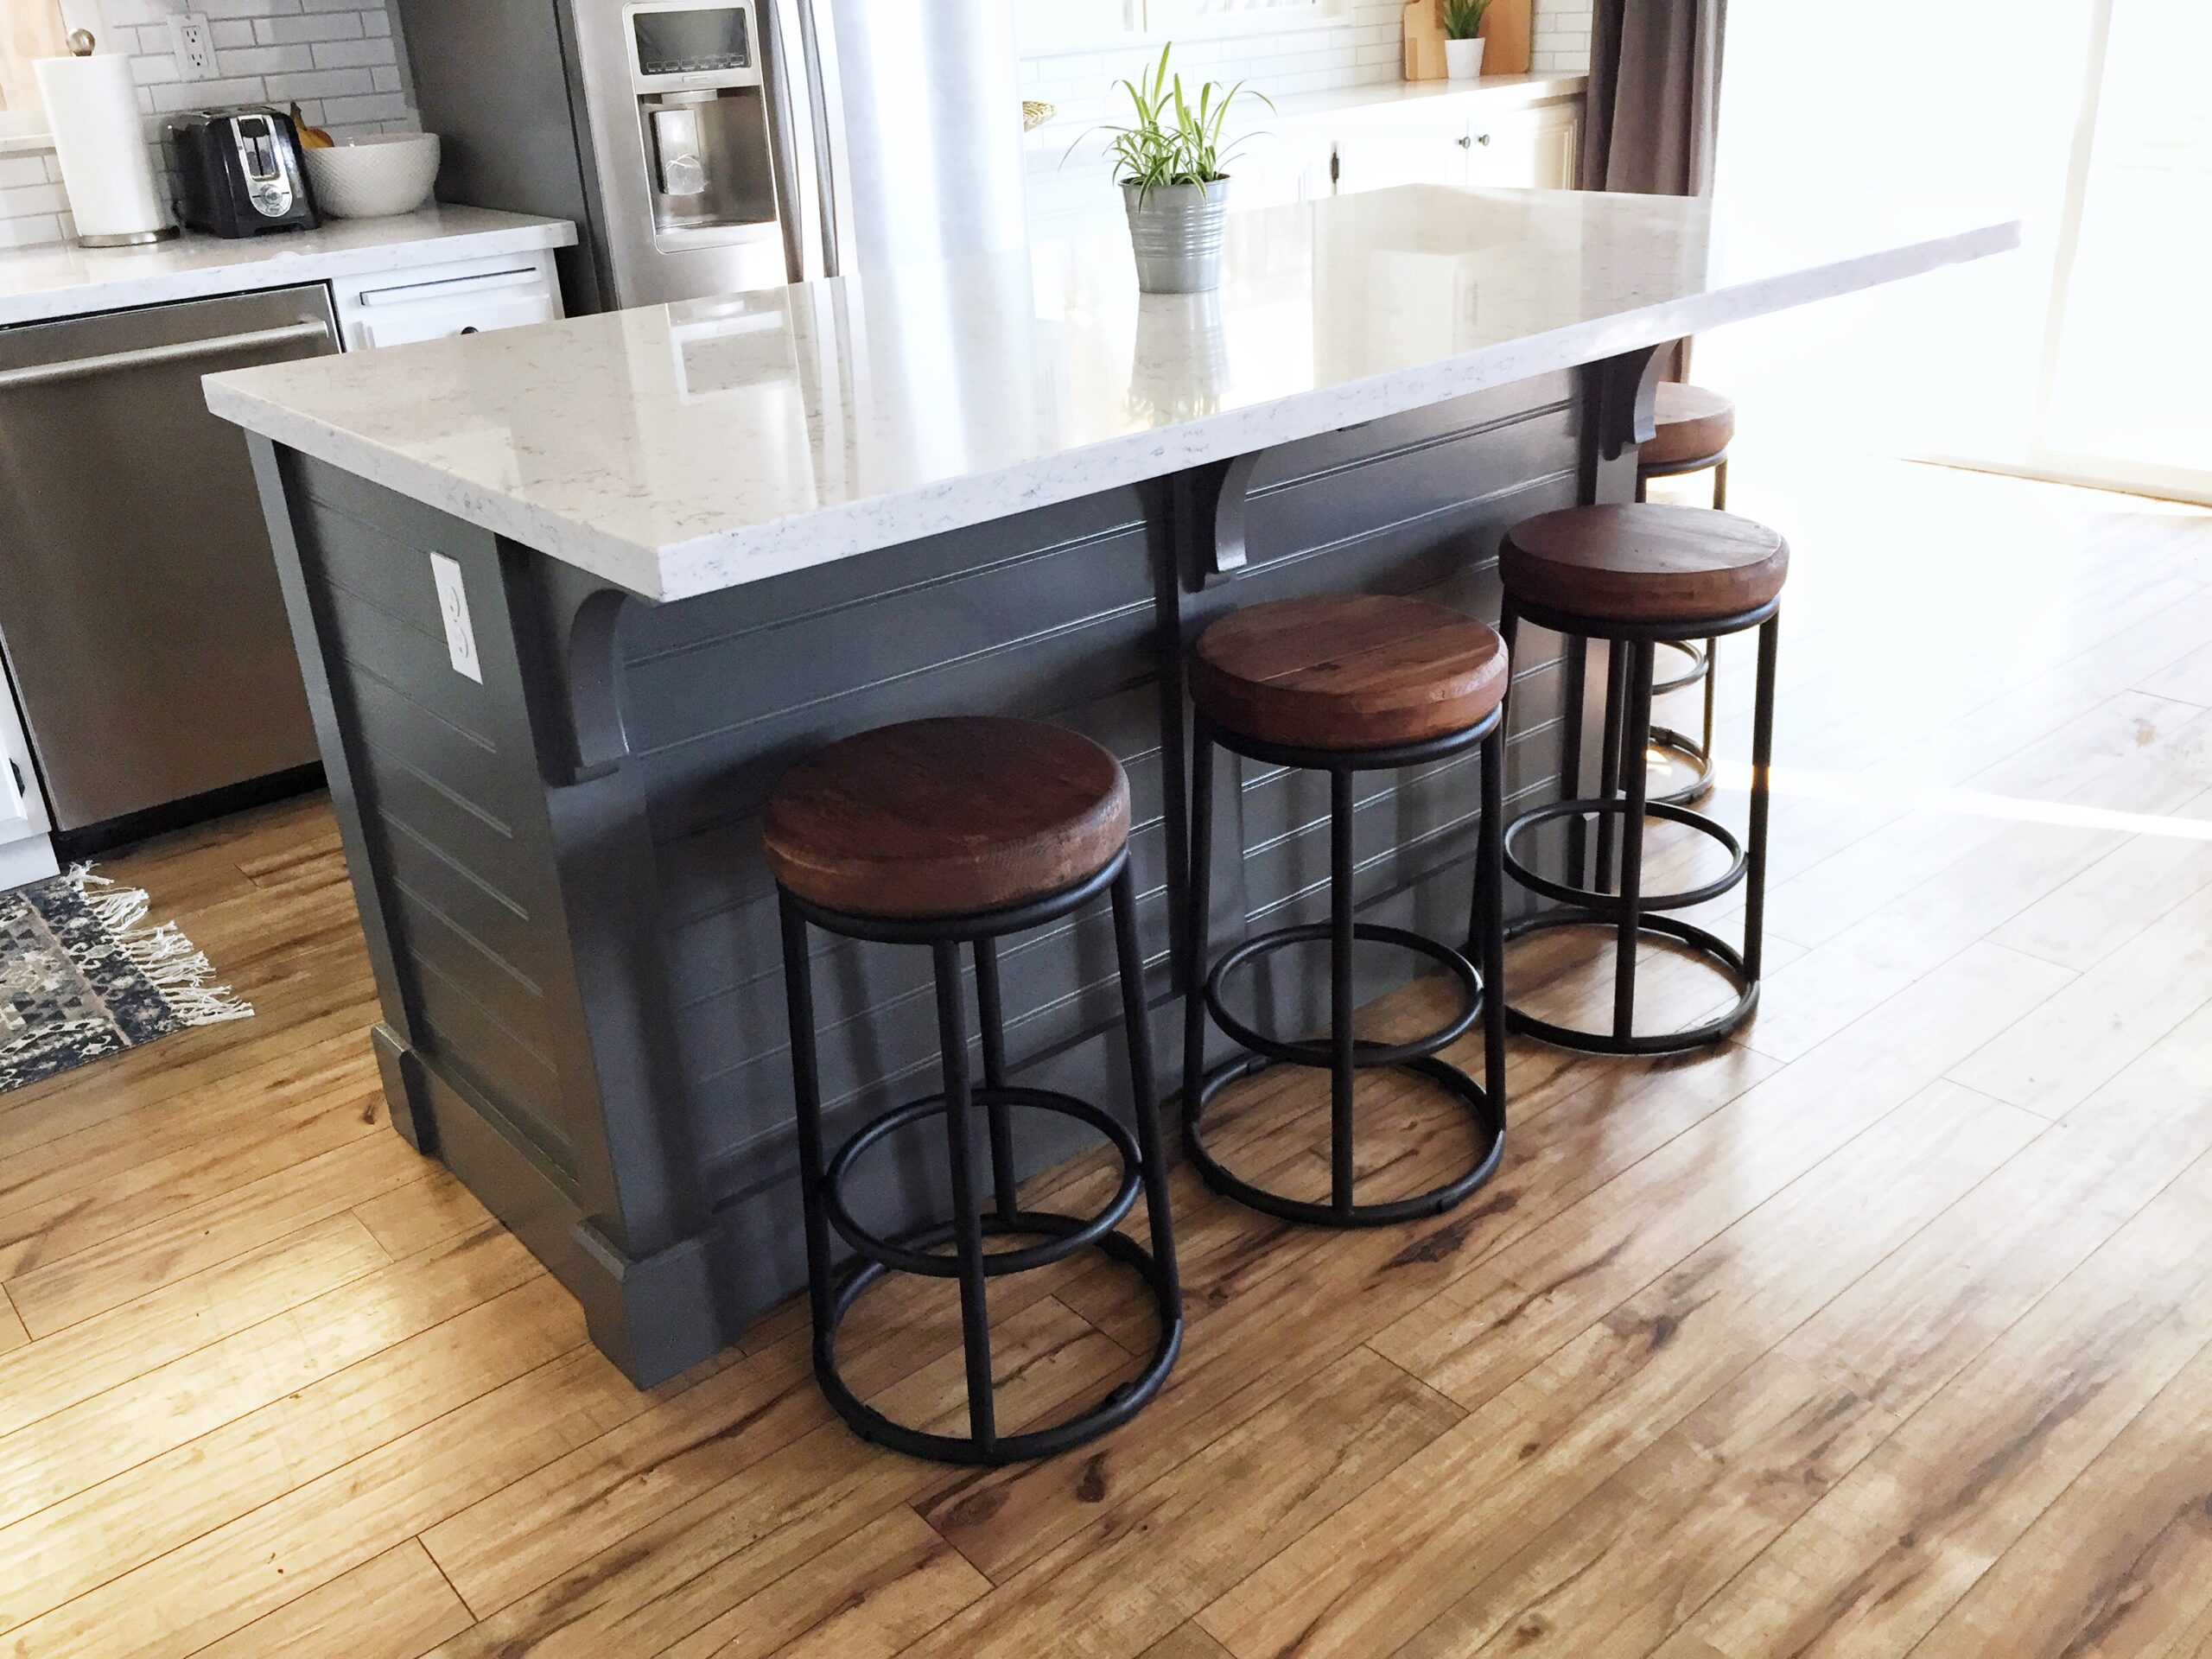
Step 10: Arrange Seating (Optional)
If you want to eat at the island, arrange seating. You can add stools or chairs. Make sure they fit well under the island. There should be enough space for people to sit comfortably.
Step 11: Final Check
Before you finish, do a final check. Make sure everything is secure. Look for any rough spots on the wood. If you find any, sand them down. You want your island to be safe and smooth.
Step 12: Enjoy Your New Kitchen Island
Your kitchen island is now ready. You can use it for many things. Cook, eat, or gather with friends. It will be a great spot in your home. Enjoy your new space!
Tips for Success
Here are some tips to help you:
- Be patient. Building takes time.
- Ask for help if you need it.
- Follow safety rules when using tools.
- Have fun with the design.
- Don’t rush. Take your time.
Frequently Asked Questions
How Do I Choose The Right Size For A Kitchen Island?
Choose a kitchen island size that fits your space. Measure your kitchen area and leave room for walking.
What Materials Work Best For Kitchen Islands?
Wood, stone, and metal are popular materials. Each offers different looks and feels. Choose one that matches your style.
Can I Build A Kitchen Island On A Budget?
Yes, you can. Use affordable materials like plywood or repurpose old furniture. Creativity helps save money!
What Features Should I Add To My Kitchen Island?
Consider adding storage, seating, or a sink. These features improve functionality and make your island more useful.
Conclusion
Creating a kitchen island is simple. With the right steps, you can make one. It adds space and style to your kitchen. Follow this guide and enjoy your new kitchen island. Happy building!